
Django is a free and open-source Python internet framework that helps you shortly develop safe and maintainable internet functions.
In this tutorial, I’ll information you step-by-step as we create a calculator app utilizing django.
This is a beginner-friendly tutorial, so if you’re new to Django, you possibly can observe alongside.
How Will Our Calculator App Look?
You can get the complete code on this GitHub repository.
How to Set Up the Django Calculator Project
Assuming that you’ve got Django put in in your system, we are going to now be engaged on creating the challenge. For this, that you must open the terminal and use the next command:
django-admin startproject calculatorThis command creates the challenge default construction with recordsdata like handle.py, and a folder with the challenge identify which incorporates recordsdata like settings.py, urls.py and so forth. We will undergo these recordsdata as we work on our app.
After the challenge is created, we have to change the working listing to the challenge listing. In Linux, the command is cd calculator/.
The subsequent step is to create a Django app named calculatorapp with the next command:
python handle.py startapp calculatorappThis app incorporates recordsdata like fashions.py, views,py, admin.py, migrations, and so forth.
Once the app is created, the primary vital factor is to register the app within the INSTALLED_APPS record in settings.py file.
For this, you’ll need to navigate to the settings.py file which is inside your Django challenge, and is the calculator on this tutorial. The settings.py file incorporates the INSTALLED_APPS record and you’ll need so as to add your app identify to the record. So, the INSTALLED_APPS record ought to seem like this:
INSTALLED_APPS = [
    'calculatorapp',
    'django.contrib.admin',
    'django.contrib.auth',
    'django.contrib.contenttypes',
    'django.contrib.sessions',
    'django.contrib.messages',
    'django.contrib.staticfiles',
]
Now that the app is registered, we’re able to work on the challenge.
How to Add Routes
Now, let’s work on including the routes. You have to create a urls.py file within the calculatorapp listing. The code is added under:
from django.urls import path
from . import views

urlpatterns = [
    path('', views.home, name="home"),
]
Here, you’ll need to import path from django.urls after which import views.
In the urlpatterns lists, that you must cross your view operate, which we can be creating very quickly.
But first, let’s register this app URL file to the challenge urls.py file.
So, you’ll need to open the urls.py file contained in the calculator listing and add the next code:
from django.contrib import admin
from django.urls import path, embody

urlpatterns = [
    path('admin/', admin.site.urls),
    path('', include('calculatorapp.urls')),
]
Here, it contains the URL of calculatorapp. If you need add any new URL on your calculatorapp, you are able to do that from calculatorapp/urls.py file.
How to Write Views
Now, if you happen to attempt visiting http://localhost:8000/ URL, you’re going to get the error as a result of it is on the lookout for the house view operate. The view operate for / route is house and since there isn’t a house view, it is giving an error.

In Django, there are two kinds of views: function-based views and class-based views. In this tutorial, we can be utilizing function-based views and so they begin with the def key phrase.
To repair the above error, you’ll need to go to the views.py file which is contained in the calculatorapp and create a house view operate.
def house(request):
    cross
How to Add Templates to the App
Now, if you happen to attempt visiting the http://localhost:8000/ URL, you’re going to get a distinct error. As you possibly can see from the screenshot under, it’s on the lookout for some response to return.
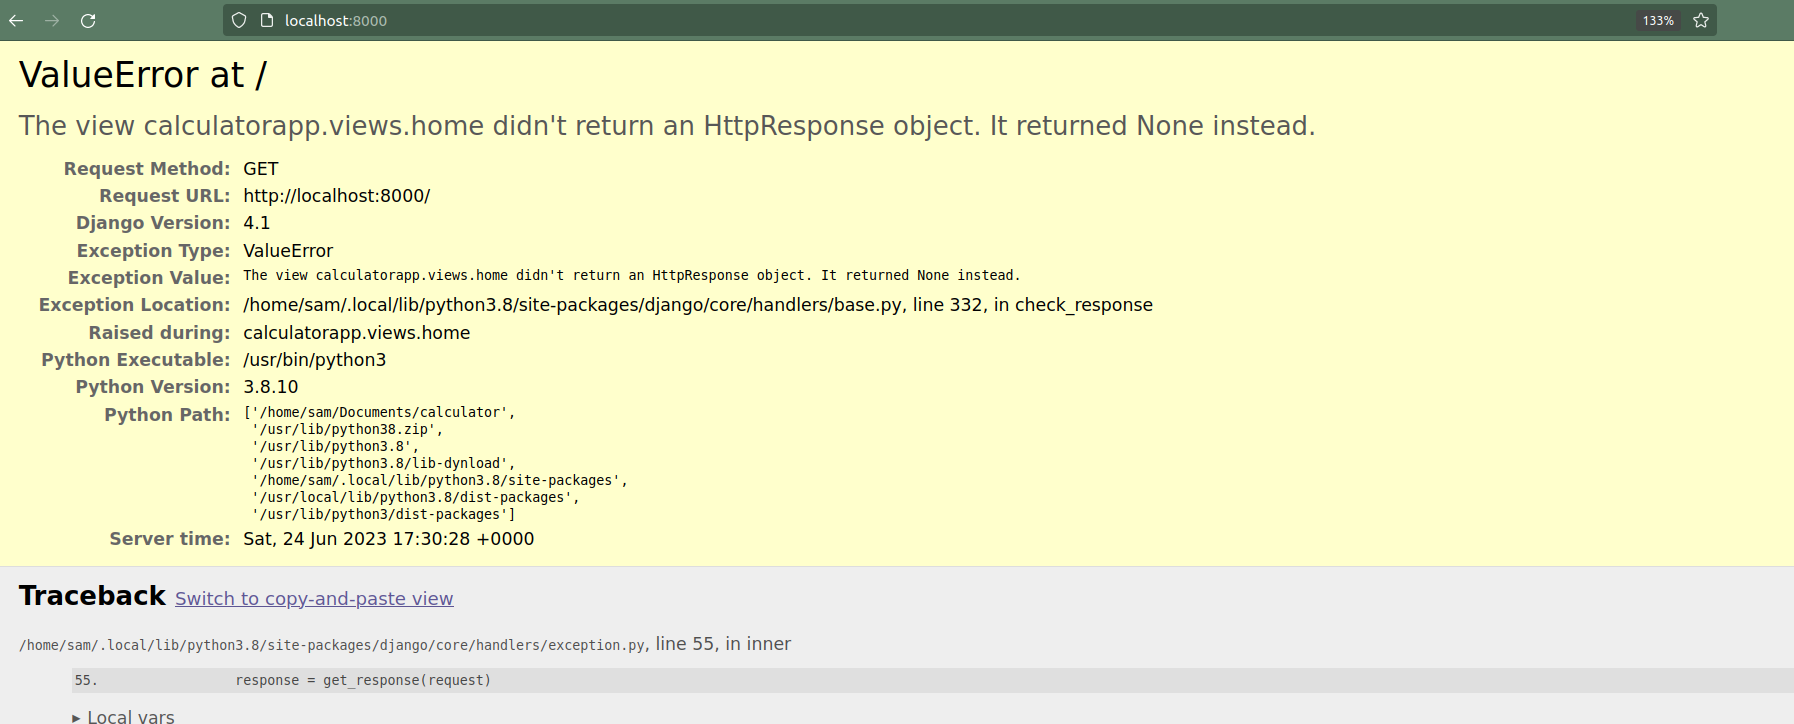
So as an alternative of simply utilizing the random textual content like cross you’ll need to render an HTML template. Templates are used to render the dynamic HTML content material.
def house(request):
    return render(request, 'house.html')
As you possibly can see for the house view, it is returning the house.html template.
Now, you’ll need to create a templates folder within the root listing of your app, which is calculatorapp on this tutorial.
Inside this templates folder, you’ll need to create a house.html file.
This house.html template will include the shape with completely different buttons for the calculator.
The house.html will include the next code:
<div class="heart">
<h1>Basic Calculator</h1>

<kind motion="consequence">
    <enter sort="quantity" identify="number1" placeholder="Enter first quantity">
    <br>
    <br>
    <enter sort="quantity" identify="number2" placeholder="Enter second quantity">
    <br>
    <br>
    <button sort="submit" identify="add">Add</button>
    <button sort="submit" identify="subtract">Subtract</button>
    <button sort="submit" identify="multiply">Multiply</button>
    <button sort="submit" identify="divide">Divide</button>

</kind>
</div>

<fashion>
  .heart {
    margin: auto;
    width: 60%;
    border: 3px strong #a5addb;
    padding: 10px;
  }
</fashion>
The above code incorporates a easy HTML kind with two enter fields and 4 buttons. There is a few styling to show the code within the heart with some bordering.
The vital factor to note within the above code is <kind motion="consequence">, which implies that on submitting the shape it should redirect to the consequence URL.
Now if you happen to attempt to carry out any operations within the browser, you’re going to get a brand new error since there isn’t a consequence web page.
How to Add the URL for the Result Page
On submitting the shape, it’s on the lookout for the consequence path. So, the subsequent step is to create the consequence view and add a template and URL for it.
The up to date urls.py file can be as follows:
from django.urls import path
from . import views

urlpatterns = [
    path('', views.home, name="home"),
    path('result/', views.result, name="result"),

]
How to Add Template Code for the Result View
The second URL from the urlpatterns lists is on the lookout for the consequence view. So, let’s work on it now. First, I’ll present you the code for the consequence view after which clarify what every line does.
def consequence(request):
    num1 = int(request.GET.get('number1'))
    num2 = int(request.GET.get('number2'))


    if request.GET.get('add') == "":
        ans = num1 + num2

    elif request.GET.get('subtract') == "":
        ans = num1 - num2

    elif request.GET.get('multiply') == "":
        ans = num1 * num2

    else:
        ans = num1 / num2

    return render(request, 'consequence.html', {'ans': ans})
Now, let’s break down the above code:
- It’s getting the worth from the
number1andnumber2enter fields which you get from the shape. - Then it checks for circumstances based mostly on the buttons clicked.
- Since all buttons are given completely different names clicking these give the empty string worth within the URL. And based mostly on that it is including circumstances for
add,subtract,multiply, anddivide. - It renders the
consequence.htmltemplate with theanscontext. The context in Django is a dictionary with key-value pairs that may be handed to the template.
Now, you’ll need to create a consequence.html file contained in the templates folder and add the next code:
<div class="heart">
The result's:
<h1>{{ans}}</h1>

<a href="https://www.freecodecamp.org/information/how-to-create-a-calculator-app-in-django/{% url"house' %}">Go Back</a>
</div>
<fashion>
  .heart {
    margin: auto;
    width: 60%;
    border: 3px strong #a5addb;
    padding: 10px;
  }
</fashion>
Here, it is displaying the worth of ans. And it additionally incorporates the house URL with some primary styling for the web page.
In Django, the double curly brackets {{}} are used to show the worth of variables. And variables output the worth from the context.
Finally, we’re achieved making a calculator app with primary options like addition, subtraction, multiplication, and division in Django.
Conclusion
This is how one can create a primary calculator app in Django.
In this tutorial, you discovered about dealing with views, templates, URLs, and the required configurations to make the Django app practical.
I did not cowl something about fashions on this submit. So, if you wish to save the report within the database you possibly can mess around with that additional.
I hope you discovered this tutorial helpful.
You can discover me on Twitter for every day content material relating to Web growth.
Enjoy Coding in Python!