
I lately went by way of the difficulty of distributing a Rust package deal. I needed that there was a easy information on distributing one package deal to many platforms, so I wrote this information.
Follow me as we publish my package deal, RustScan, to a number of distributions.
Semantic Versioning
Semantic Versioning is a system defining the right way to write model numbers. The 3 numbers are:
Major.Minor.Bugs
If you’ve fastened some bugs, increment the bugs counter.
If you’ve added a minor function, increment the minor counter.
If you’ve achieved one thing main, increment the most important counter.
We can signify whether or not a launch remains to be being rested or not by including “rc” (launch candidate) to the tip of the model. “5.0.0rc1” signifies “launch candidate 1” which implies that is the primary public testing launch of model 5.0.0.
Cargo
Cargo is a package deal registry system for Rust. Imagine it as PyPi (Pip for Python) or NPM (for JavaScript).
As a rustacean, you might have heard of this – and even used it to obtain packages your self. So let’s skip proper to the great half.
Before publishing to Cargo, we want to ensure our cargo.toml file has the required info.
There are 3 issues we want:
The title of our undertaking.
Describe what the undertaking does.
What license do you utilize? Specifically, we have to use a license identification code. View the Linux Foundation’s SPDX web site for all of the license identification codes.
However, you’ll in all probability need greater than these in your package deal. Some good ones are:
The location of your README file, which is used to fill out the README on the Cargo web site.
These are tags in your undertaking. When a consumer searches a key phrase comparable to “stitching”, and your undertaking has that key phrase, your undertaking will come up within the search outcomes.
This is RustScan’sCargo.toml:
[package]
title = "rustscan"
model = "1.0.1"
authors = ["Autumn <[email protected]>"]
version = "2018"
description = "Faster Nmap Scanning with Rust"
homepage = "https://github.com/bee-san/rustscan"
repository = "https://github.com/bee-san/rustscan"
license = "MIT"
key phrases = ["port", "scanning", "nmap"]
classes = ["command-line-utilities"]
readme="README.md"
For extra info on the manifest file, look right here:
The Manifest Format – The Cargo Book
Now we’re able to publish! Go to the Crates.io web site and register an account. Then, go into the settings and create a brand new API key.
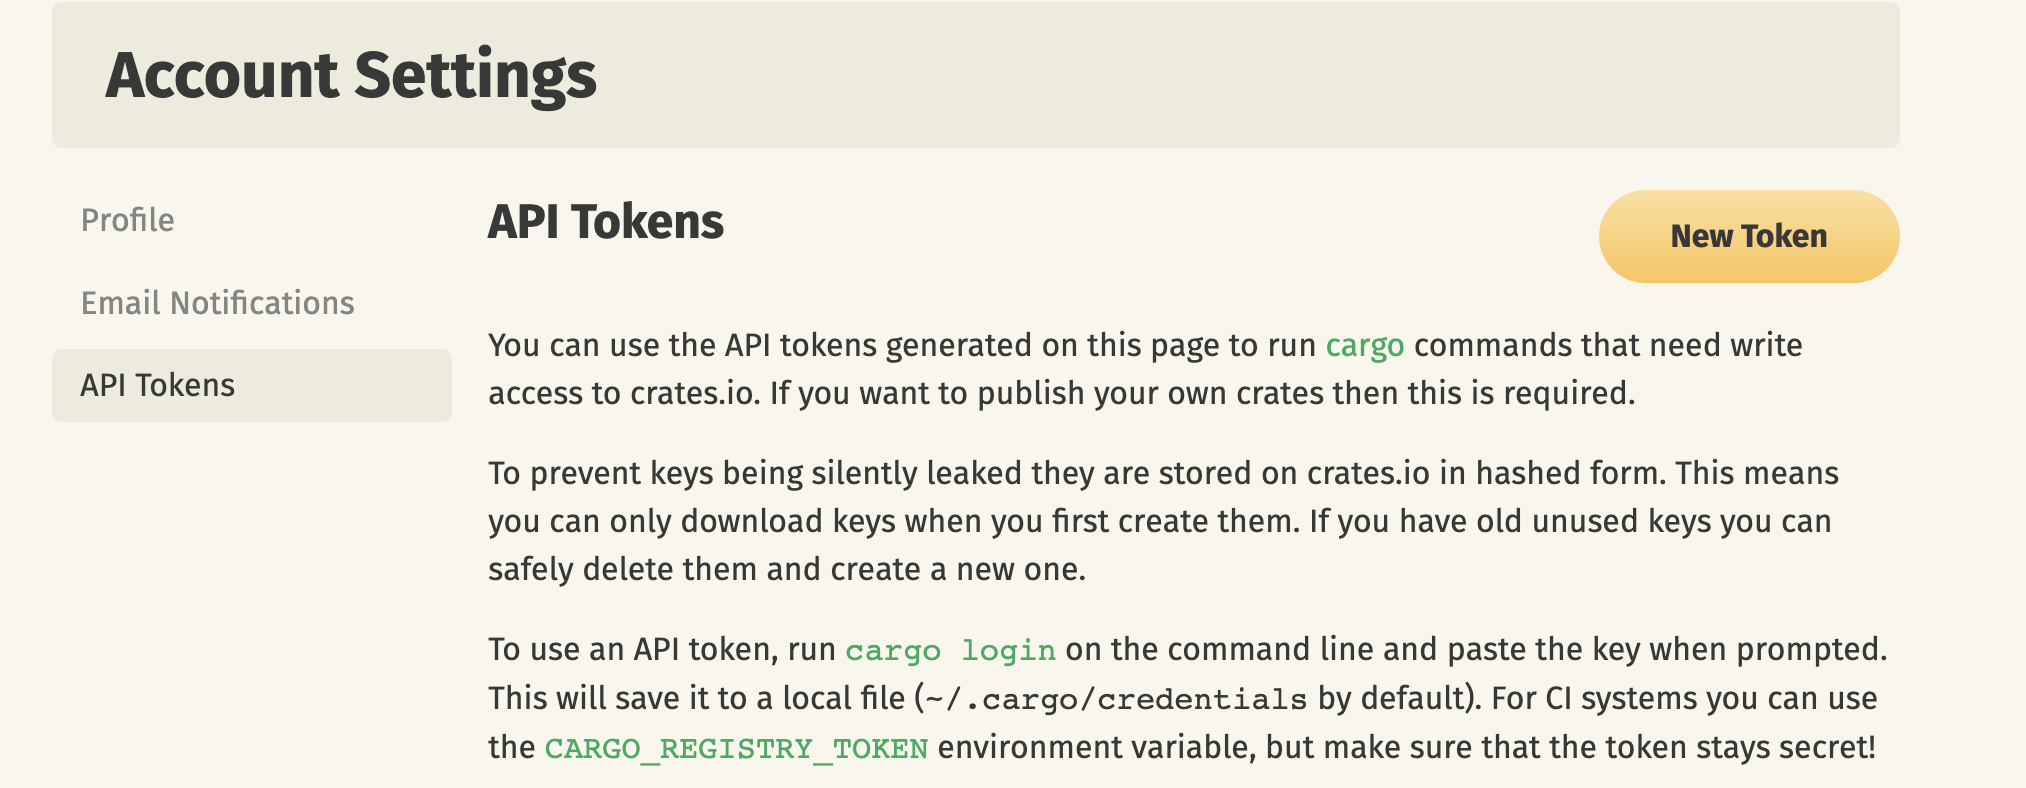
Now in a terminal, execute cargo login <API_KEY>. You’re now logged into Crates.io and might publish!
Build your Rust package deal utilizing the discharge profile, which optimises it on the highest degree Rust can present:
cargo construct --release
And then publish it.
cargo publish
Ta-da! Your package deal is now accessible on the Crates.io web site, and could be put in with cargo <your_package_name>.
You can use Cargo Dist for this:
GitHub – axodotdev/cargo-dist: 📦 shippable utility packaging for Rust
📦 shippable utility packaging for Rust. Contribute to axodotdev/cargo-dist improvement by creating an account on GitHub.
You can generate the CI utilizing:
cargo dist init --ci=githubThis creates a bunch of information (see pull request beneath)
Implement cargo dist by SkeletalDemise · Pull Request #226 · bee-san/Ares
Generated cargo dist workflow utilizing cargo dist init –ci=github The workflow will draft a brand new launch and robotically add binaries to it at any time when we make a brand new GitHub tag that appears like a versi…

It works, and it makes binaries for all the main working methods.
🤠
If you do not care about them a lot and simply need to hand out binaries, you possibly can cease studying right here.
Homebrew
Homebrew is a package deal supervisor utilized by Mac OS customers however can can be used on Linux.
Unfortunately, I discovered the documentation to be lacklustre in explaining the right way to get a package deal into Homebrew.
Let’s assume we’re utilizing GitHub to retailer our code.
Homebrew expects an TAR archive. To get this, we create a brand new launch on GitHub.
On the GitHub repo’s homepage, click on “Releases” on the right-hand aspect menu.
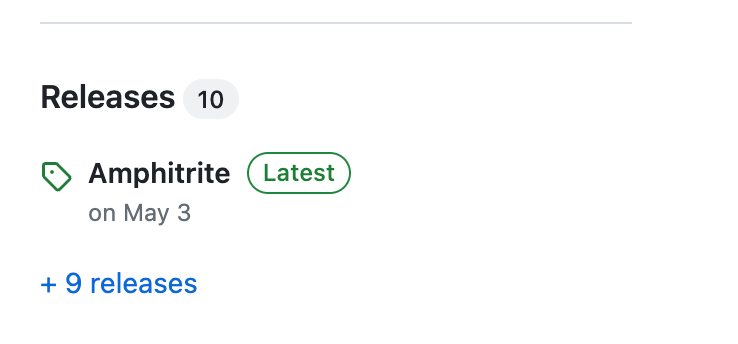
You must be taken to this web page. Click “Draft a brand new launch”.
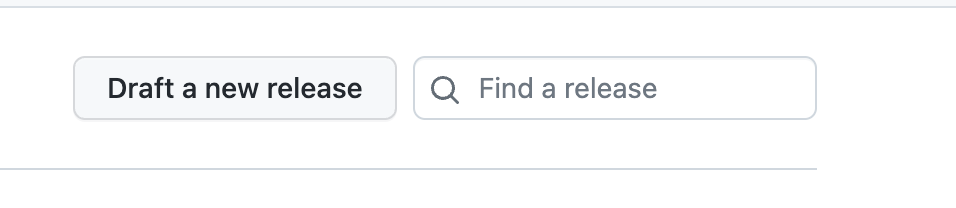
Now create a brand new launch.
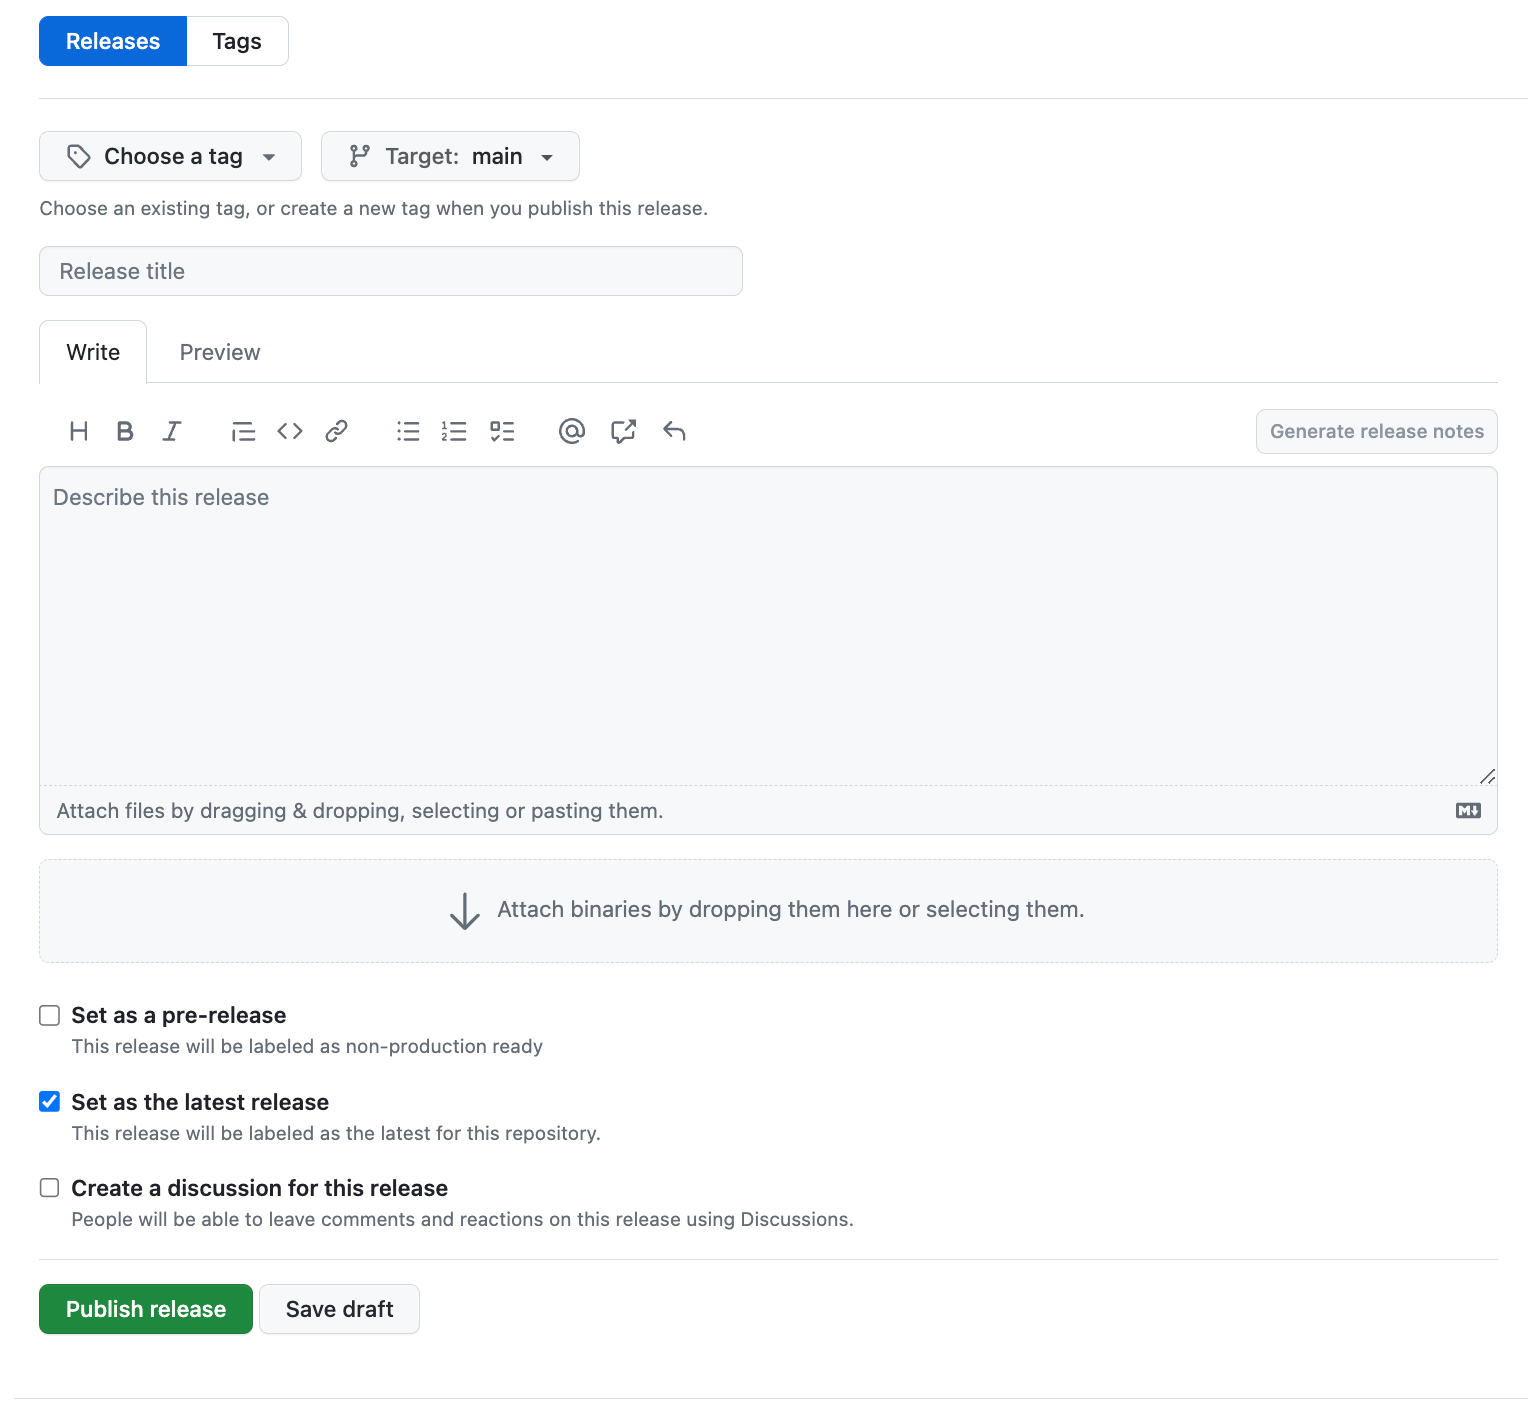
Use semantic versioning to create the Tag Version. Create a brand new launch title, and describe the discharge.
An excellent format for launch descriptions is:
# Features

# Maintenance

# Bugs
Similar to the semantic versioning guidelines. I usually pull these from pull requests, or write them down as I merge commits.
Once we’ve entered some info, click on Publish launch. We now have a broadcast launch of our app!
Our code is now in .tar.gz format if we glance on the releases web page once more. GitHub does it for us!
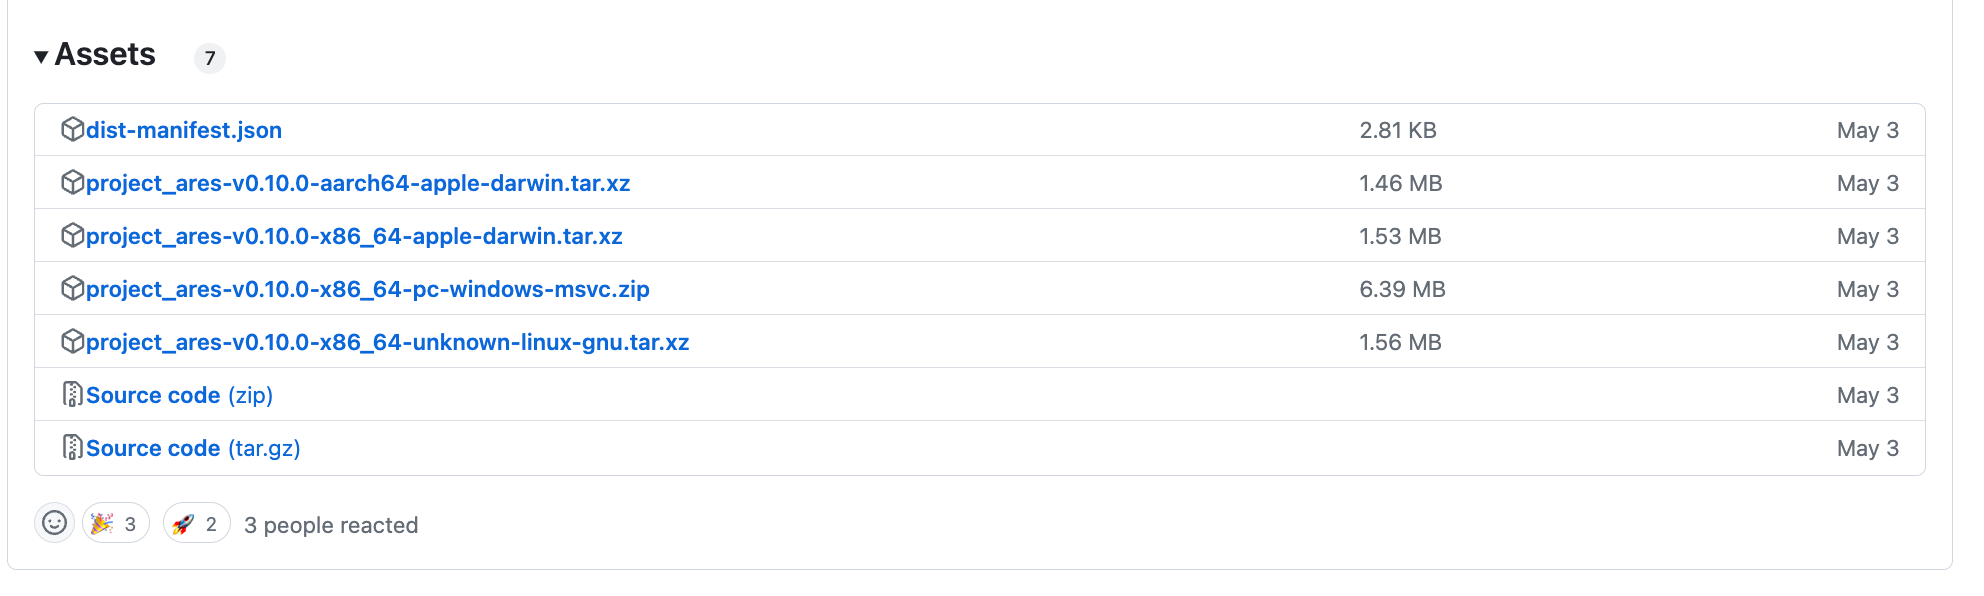
Right click on Source code (tar.gz) and click on on “get hyperlink”. Now we now have the hyperlink to our tar.gz folder.
Go right into a terminal, and kind:
wget <hyperlink>
the place <hyperlink> is changed by the hyperlink you simply copied.
We want the SHA256 Hash of the archive, so let’s calculate it:
shasum -a 256 rustscan.tar.gz
Where rustscan.tar.gz is the file you simply downloaded with wget.
🐬
Note down the shasum, this is a vital step for later. Also word down the hyperlink we used to obtain it.
The GitHub Repository
Homebrew requires a separate GitHub repository in your undertaking. Or you possibly can change the title of your present repository.
Homebrew calls these faucets. Taps are third-party GitHub repositories with particular names and configuration information.
Go to GitHub and create a brand new repository. Naming it:
homebrew-<undertaking>
Where is the title of your undertaking? Note it should begin with the title “homebrew-“.
In my case, it’s:
homebrew-rustscan
GitHub – RustScan/homebrew-rustscan: RustScan’s HomeBrew repo
RustScan’s HomeBrew repo. Contribute to RustScan/homebrew-rustscan improvement by creating an account on GitHub.
Now clone your new repo onto your machine:
git clone homebrew-<undertaking>
Creating the components
Homebrew requires a file known as a components. This is a Ruby file that particulars your undertaking together with the right way to set up the binary. You don’t must know Ruby to create this.
cd into our newly cloned repo, and create the next file construction:
- Formula/
    - <undertaking>.rb
In my case:
- Formula/
    - rustscan.rb
Capitalise the folder title if it’s not already.
Now copy and paste the next file into your rustscan.rb (or no matter your undertaking known as).
# Documentation: https://docs.brew.sh/Formula-Cookbook
#                https://rubydoc.brew.sh/Formula
# PLEASE REMOVE ALL GENERATED COMMENTS BEFORE SUBMITTING YOUR PULL REQUEST!
class Rustscan < Formula
  desc "Faster Nmap Scanning with Rust"
  homepage "https://github.com/bee-san/rustscan"
  url "https://github.com/RustScan/RustScan/archive/1.3.tar.gz"
  sha256 "3bbaf188fa4014a57596c4d4f928b75bdf42c058220424ae46b94f3a36b61f81"
  model "1.3.0"
  depends_on "rust" => :construct

  def set up
    system "cargo", "construct", "--release", "--bin", "rustscan"
    bin.set up "goal/launch/rustscan"
  finish
finish
Change the category title to match the title of your program:
class Rustscan < Formula
Then add a brief description and hyperlink the homepage (in my case, the GitHub repo).
  desc "Faster Nmap Scanning with Rust"
  homepage "https://github.com/bee-san/rustscan"
Now we have to fill out the obtain hyperlink and the SHA-256.
  url "https://github.com/RustScan/RustScan/archive/1.3.tar.gz"
  sha256 "3bbaf188fa4014a57596c4d4f928b75bdf42c058220424ae46b94f3a36b61f81"
Remember earlier after I advised you to write down down the hyperlink & the shasum? This is strictly the place you’d place them!
Now insert your model quantity, the identical one for the entire launch:
model "1.3.0"
Our program depends on Rust to construct the binary, we word this down right here:
depends_on "rust" => :construct
The subsequent step is to element the right way to construct the binary and set up our program. We inform Homebrew to construct the binary utilizing cargo construct, after which to put in it with bin.set up.
  def set up
    system "cargo", "construct", "--release", "--bin", "rustscan"
    bin.set up "goal/launch/rustscan"
  finish
And identical to that, we’ve made the components file.
Upload this to your homebrew-<undertaking> repository like so:
git add .
git commit -m 'First launch'
git push
Installing the Package
Let’s set up the package deal to double examine all the pieces went nicely.
brew faucet bee-san/rustscan
brew set up rustscan
Where bee-san/rustscan is your GitHub username mixed with the undertaking’s title.
My username is bee-san, and the undertaking known as rustscan.
I created a one-command set up for my customers. which is simply the two instructions mixed. You could discover this beneficial.
brew faucet bee-san/rustscan && brew set up rustscan
Debian
👽
The best method to create Debian binaries is to make use of the crate cargo-deb. Cargo-deb is put in
cargo set up cargo-deb
Once it’s put in, run the command:
cargo-deb
And we now have a .deb file for our undertaking on our system structure.
But what if we wished to package deal for different architectures?
Luckily I’ve created a (albeit badly made) Docker script to package deal for different architectures.
The script packages the undertaking for:
It requires some enhancing (because it was made for RustScan), however as soon as achieved it’s going to robotically package deal your script for you.
Create a separate folder in your primary undertaking’s repo, comparable to rustscan-debbuilder.
Then place these 3 information in there:
entrypoint.sh
#!/bin/bash

cd /RustScan
git pull --force

#amd64
cargo deb

#arm64
rustup goal add arm-unknown-linux-gnueabihf
cargo deb --target=arm-unknown-linux-gnueabihf

#i386
rustup goal add i686-unknown-linux-gnu
cargo deb --target=i686-unknown-linux-gnu

discover goal/ -name *.deb -exec cp {} /debs ;
Change cd /RustScan to your undertaking title.
run.sh
#!/bin/bash
docker construct -t rustscan-builder . || exit

# This creates a quantity which binds your currentdirectory/debs to
# the situation the place the deb information get spat out within the container.
# You need not fear about it. Just chmod +x run.sh && ./run.sh and
# you will get yer .deb file in a couple of minutes. It runs quicker after you've got used it the primary time.
docker run -v "$(pwd)/debs:/debs" rustscan-builder
Dockerfile
FROM rust:newest

RUN git clone https://github.com/bee-san/RustScan
WORKDIR "/RustScan"
RUN git pull --force
RUN cargo set up cargo-deb

RUN apt replace -y && apt improve -y
RUN apt set up libc6-dev-i386 -y
RUN git clone --depth=1 https://github.com/raspberrypi/instruments /raspberrypi-tools
ENV PATH=/raspberrypi-tools/arm-bcm2708/gcc-linaro-arm-linux-gnueabihf-raspbian-x64/bin/:$PATH
ENV CARGO_TARGET_ARM_UNKNOWN_LINUX_GNUEABIHF_LINKER=arm-linux-gnueabihf-gcc
RUN mkdir /root/.cargo
RUN echo "[target.arm-unknown-linux-gnueabihf]" >> /root/.cargo/config
RUN echo "strip = { path = "arm-linux-gnueabihf-strip" }" >> /root/.cargo/config
RUN echo "objcopy = { path = "arm-linux-gnueabihf-objcopy" }" >> /root/.cargo/config

COPY ./entrypoint.sh /entrypoint.sh
RUN chmod +x /entrypoint.sh
ENTRYPOINT ["/entrypoint.sh"]
Change RUN git clone [https://github.com/bee-sa/RustScan](https://github.com/bee-san/RustScan) to the git repository hyperlink of your selection.
Change WORKDIR "/RustScan to your undertaking’s title.
The listing ought to appear like:
- rustscan-debbuilder /
    Dockerfile
    run.sh
    entrypoint.sh
Now to run this builder:
cd rustscan-debbuilder
chmod +x run.sh
./run.sh
And it’s going to construct 3 Debian binaries for you.
Installation of .deb information
To set up .deb information, you possibly can run dpkg -i on the file, or you possibly can double-click the file (on some methods).
The best method to distribute for AUR is to make use of the Cargo package deal cargo-aur.
The PKGBUILD file is just like cargo.toml, or our Homebrew file.
Let’s open up the file and edit some fields (if we need to).
# Maintainer: Bee <[email protected]>
pkgname=rustscan
pkgver=1.4.1
pkgrel=1
pkgdesc="Faster Nmap Scanning with Rust"
url="https://github.com/bee-san/rustscan"
license=("MIT")
arch=("x86_64")
gives=("rustscan")
choices=("strip")
supply=("https://github.com/bee-san/rustscan/releases/obtain/v$pkgver/rustscan-$pkgver-x86_64.tar.gz")
sha256sums=("7bed834f5df925b720316341150df74ac2533cc968de54bb1164c95ea9b65db8")

package deal() {
    set up -Dm755 rustscan -t "$pkgdir/usr/bin/"
}
The pkgname is the title of the package deal. Please see the Arch wiki for steerage on naming conventions.
pkgver is the semantic model of our package deal. This is robotically taken from cargo.toml.
pkgrel means “this package deal has up to date”. Nothing extra to it, however the Arch Wiki explains this idea in additional element.
pkgdesc is the outline of our package deal.
arch is the structure our package deal will compile on.
gives is an array of packages that the software program gives the options are. Packages offering the identical merchandise could be put in side-by-side except one in every of them has a conflicts array.
choices per the Arch Wiki:
This array permits overriding among the default conduct of makepkg, outlined in
/and so forth/makepkg.conf. To set an choice, embrace the title within the array. To disable an choice, place an!earlier than it.
Personally, I don’t know why that is wanted. But it’s an automatic technology, so we are able to’t complain an excessive amount of.
supply is the situation of the discharge on GitHub, and sha256sums are the checksums of the package deal.
Finally, package deal() exhibits Arch the right way to set up our package deal.
Uploading this package deal to the AUR
cargo aurconstructed a tarball.tarfile. Create a brand newlaunch on GitHub and fasten the.tar` file that was simply created.- Create an account on the AUR https://aur.archlinux.org/
- Upload your SSH public key to your account.
Check for SSH keys with:
ls -al ~/.ssh
And you’re possible searching for a file like *id_rsa.pub. *
If this doesn’t exist, generate a brand new SSH key with:
$ ssh-keygen -t rsa -b 4096 -C "[email protected]"
And comply with the on-screen prompts. Or comply with this information if you’re nonetheless confused.
Next, go to your account web page on the AUR and add your public SSH key.
- In a brand new listing, git clone your repo on the AUR.
This is type of complicated. But say the package deal title is rustscan (verify there is no such thing as a different package deal on the AUR utilizing your tasks title by looking out right here).
git clone ssh://[email protected]/rustscan.git
I usually clone this in a folder format like:
- rustscan /
    - rustscan / # the rust package deal
    - rustscan / # the package deal we now have git cloned
    - homebrew-rustscan /
Make certain to alter the title of the package deal rustscan to the title you need.
- Copy the PKGBUILD you in-built stage 1 into the brand new Git repo.
- Run
makepkg --printsrcinfo > .SRCINFOwithin the repo.
Your listing ought to now appear like:
- rustscan /
- rustscan / # the rust package deal
- rustscan / # the package deal we now have git cloned
- PKGBUILD
- .SRCINFO
- homebrew-rustscan /
Now push these:
git add . git commit -m ‘preliminary launch’ git push
And Ta-Da! We now have an Arch Linux AUR package deal!
Eventually, it’s possible you’ll need to clear up the default Rust AUR package deal for no matter motive. This is the one RustScan makes use of. Feel free to repeat & change it nonetheless you want:
# Maintainer: Hao Last_name_emited_for_privacy <email_emited_for_privacy>

pkgname=rustscan
_pkgname=RustScan
pkgver=1.6.0
pkgrel=1
pkgdesc="Faster Nmap Scanning with Rust"
arch=("x86_64" "i686")
url="https://github.com/rustscan/RustScan"
license=("GPL3")
gives=('rustscan')
conflicts=('rustscan')
relies upon=("nmap")
makedepends=("cargo")
supply=("${pkgname}-${pkgver}.tar.gz::${url}/archive/${pkgver}.tar.gz")
sha256sums=('a4ebe4b8eda88dd10d52d961578c95b5427cc34b3bf41e5df729a37122c68965')

construct() {
  cd ${_pkgname}-${pkgver}
  cargo construct --release --locked --all-features --target-dir=goal
}

package deal() {
  cd ${_pkgname}-${pkgver}
  set up -Dm755 goal/launch/${pkgname} ${pkgdir}/usr/bin/${pkgname}
}
Note: another person made this for RustScan.