
Microsoft Designer is a graphic design internet utility that anybody can use to create completely different graphics for numerous functions, together with social media posts, postcards, invites, and extra rapidly and simply.
The utility gives two methods to create graphics, together with by AI utilizing the mixing of the DALL-E language mannequin from OpenAI that converts textual content descriptions into pictures, or you may as well select a clean web page and use the accessible options to create a selected picture from scratch.
This how-to information will stroll you thru the steps to get began with the Microsoft Designer on Windows 11, however because it’s an internet device, you’ll be able to refer to those steps from any computing platform utilizing an internet browser.
Get began with Microsoft Designer
The means of getting began with Designer begins with accessing the net utility, selecting the creation methodology, and utilizing descriptive textual content to generate a picture with AI or utilizing the accessible instruments to create the precise graphic you want.
Access Designer with a Microsoft account
Microsoft Designer does not have an utility for Windows 11, so you should entry the service on-line utilizing your Microsoft account. Alternatively, you’ll be able to obtain the net app that brings internet expertise to the desktop from the Microsoft Store.
At the time of this writing, you’ll be able to entry the net app without spending a dime through the preview interval. However, it is unclear whether or not or not it’s going to grow to be an unique part of the Microsoft 365 subscription or if it will likely be free with restricted functionalities with no subscription.
To join and entry Microsoft Designer, you should utilize this hyperlink.
Create a design with AI
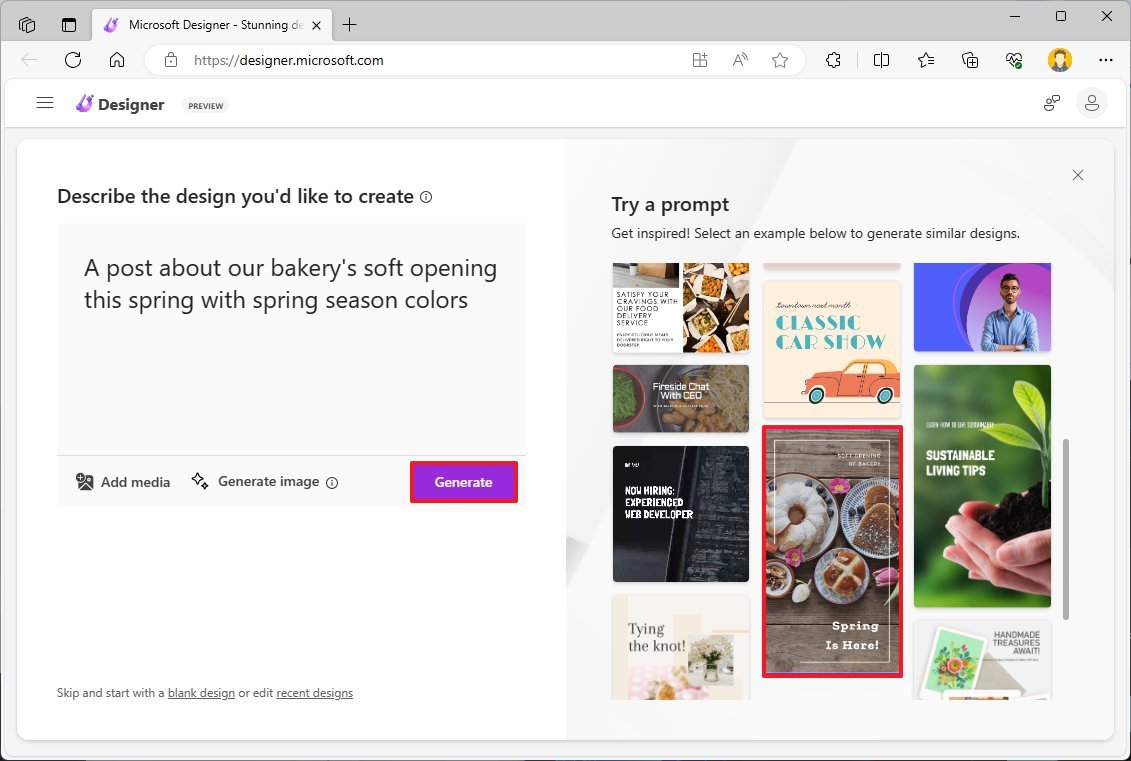
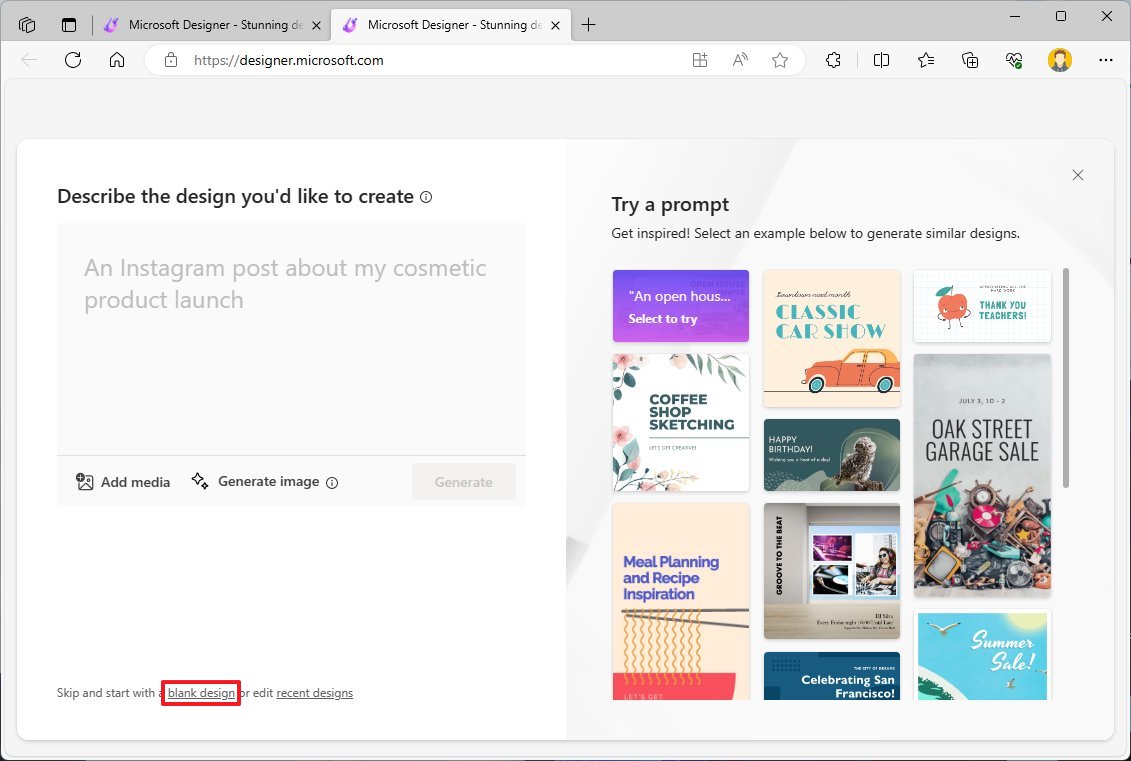
Once you sign up together with your account, you’ll discover a immediate field and graphics samples on the best. The field allows you to enter a descriptive textual content of your required picture design. You can even click on the “Add media” choice to add one or a number of pictures to create a graphic primarily based on that picture.
On the web page, there’s additionally a “Generate picture” possibility that additionally gives random options for prompts that you should utilize to create a picture.
If you are undecided in regards to the graphics you need, select one of many samples from the best to create a immediate (that you would be able to modify), and click on the “Generate” button.
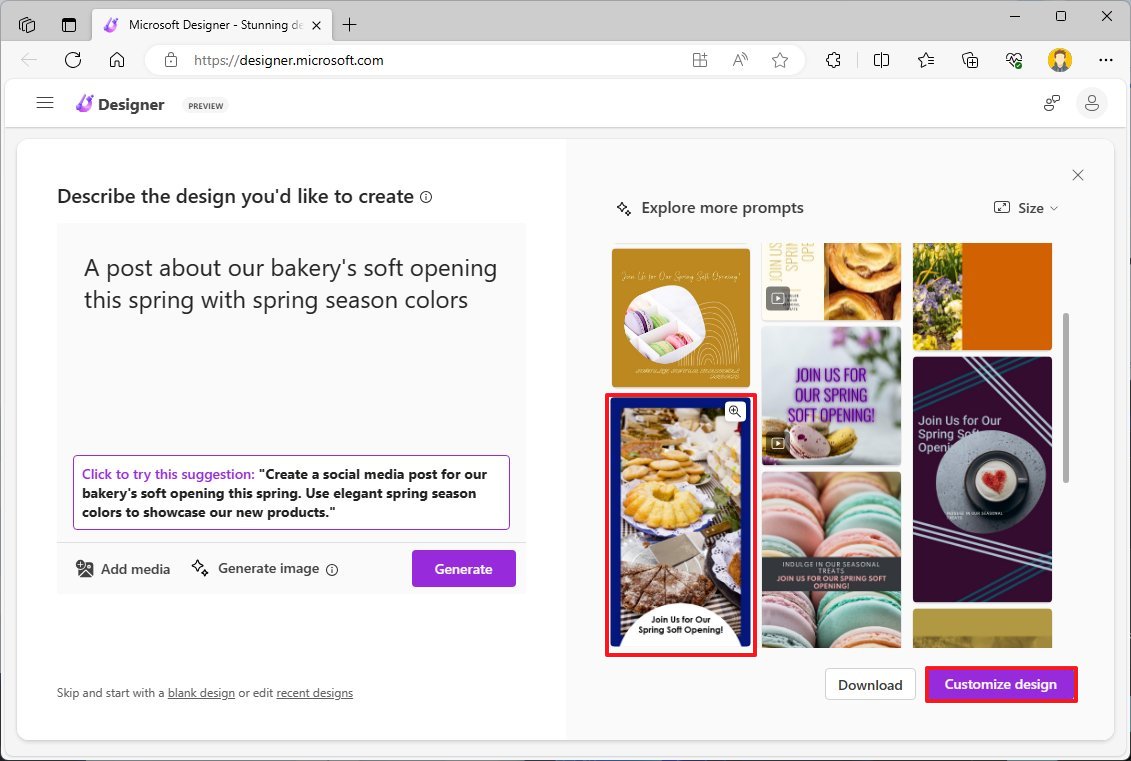
On the best, you’ll be able to choose one of many options or refine the immediate till you get the design you need. Once you discover the very best design, choose it and click on the “Customize design” button to open it with the Microsoft Designer editor.
In the primary interface, you might have the toolbar on the prime with a drop-down menu with completely different settings, together with beginning a brand new design or looking earlier designs, and you’ll duplicate, resize, or rename.
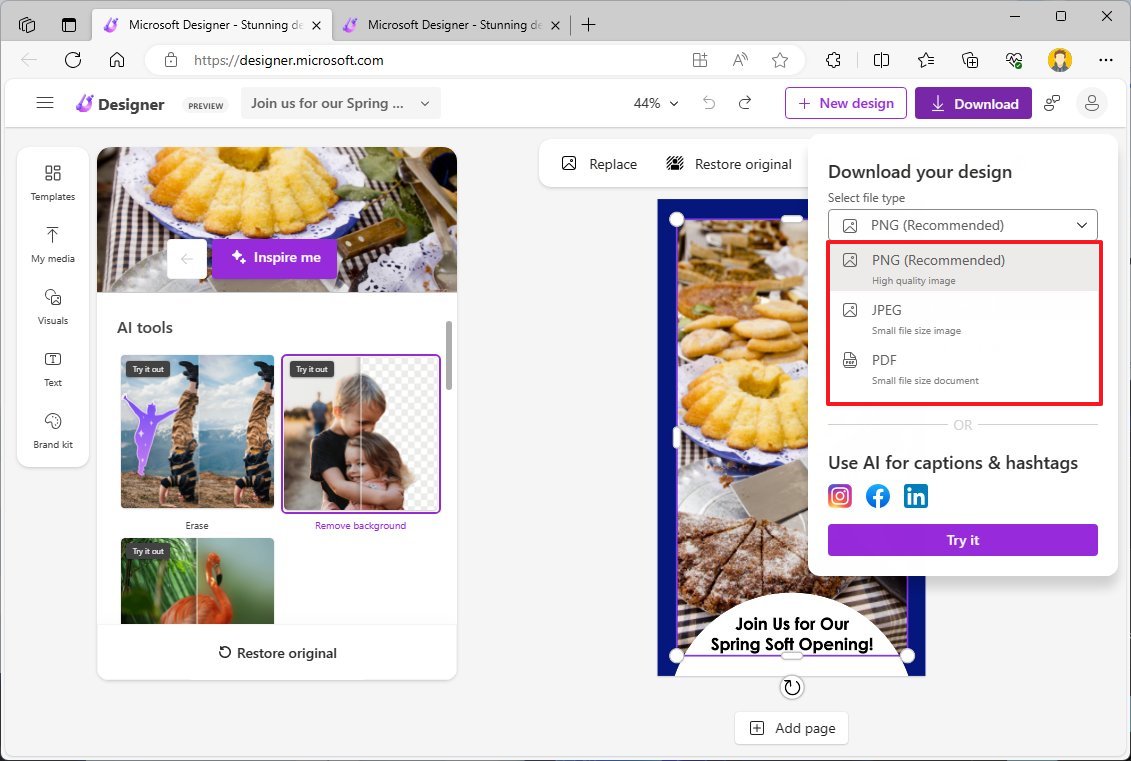
In the middle, you will discover controls to zoom, undo, and redo, and on the best, you even have the choice to begin a brand new design and obtain the ultimate model of the graphic as a “.png,” “.jpg,” or “.pdf.”
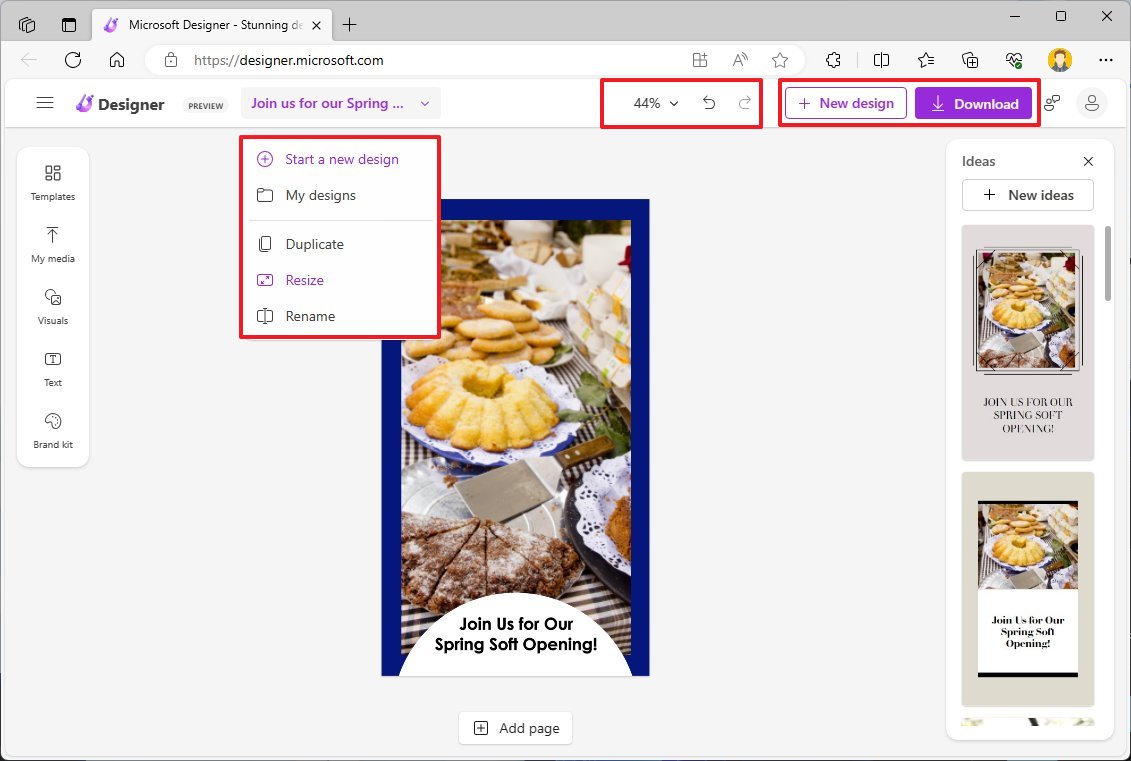
The canvas additionally gives numerous instruments. On the best aspect, there’s an “Ideas” flyout with different options to the present design you are modifying.
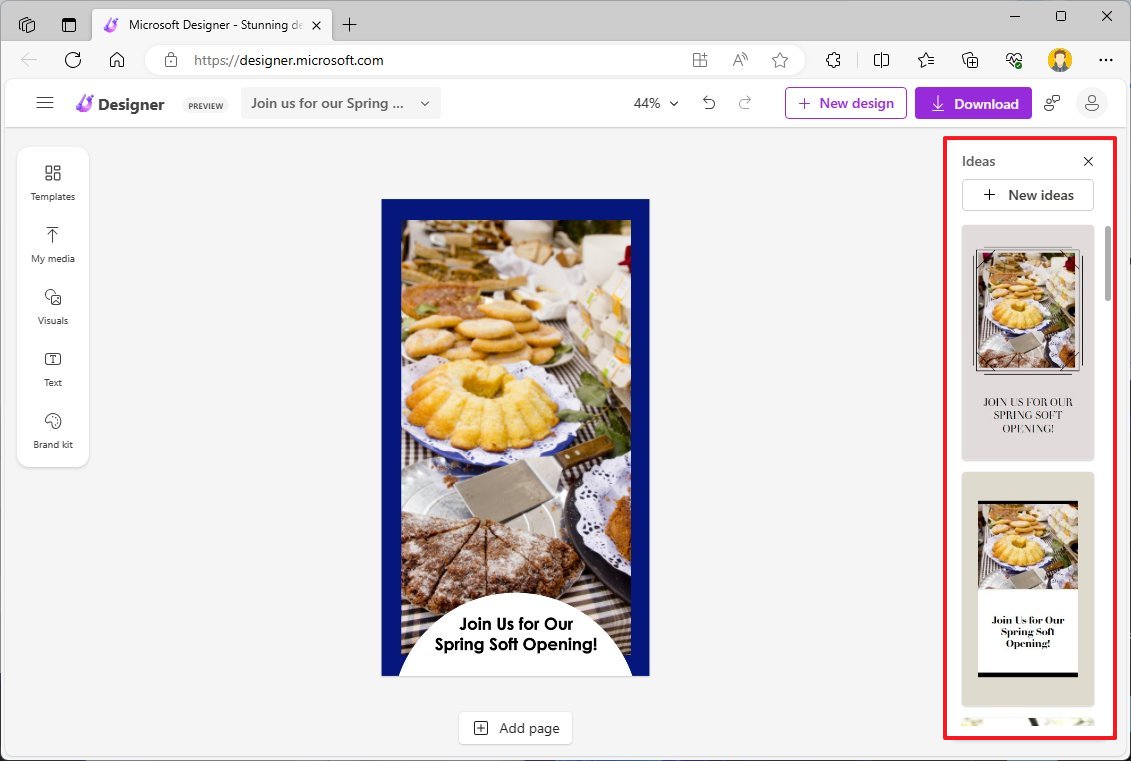
On the left aspect, you will discover completely different instruments you should utilize to edit the present design created with AI or when utilizing a clean web page, together with “Templates,” “My media,” “Visuals,” “Text,” and “Brand package.”
The “Templates” possibility permits you to change your complete design of the graphics, and doing so can even replace the “Ideas” options.
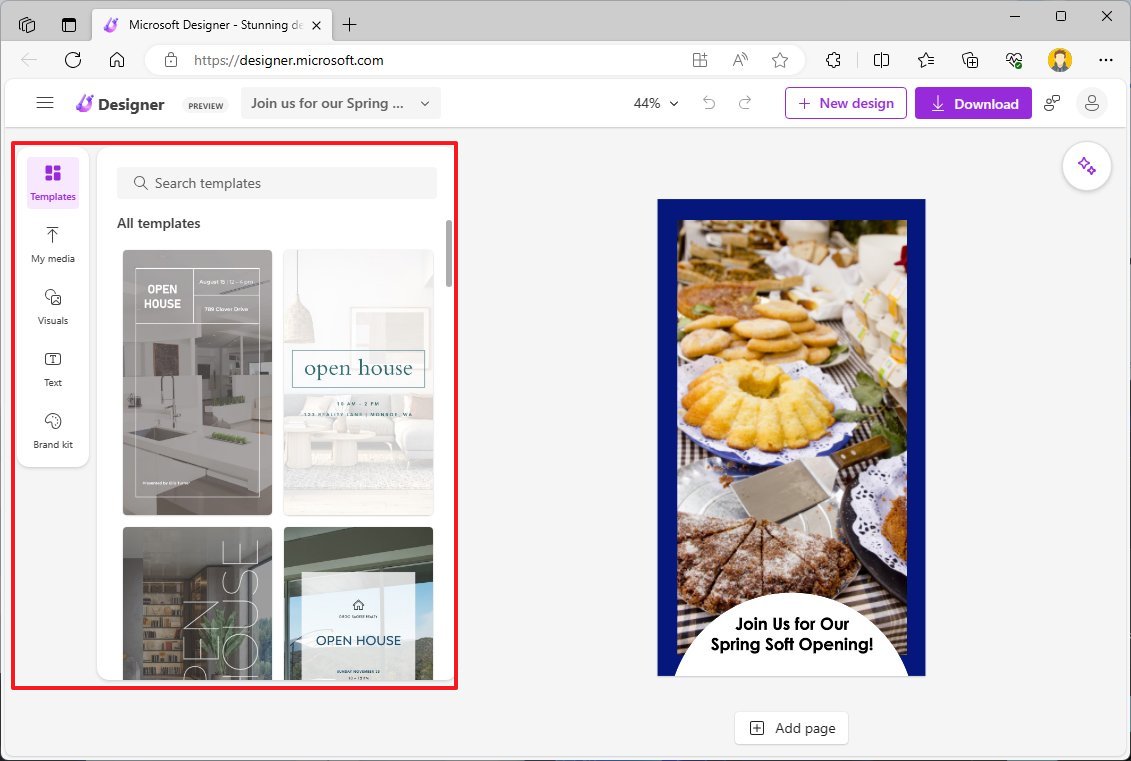
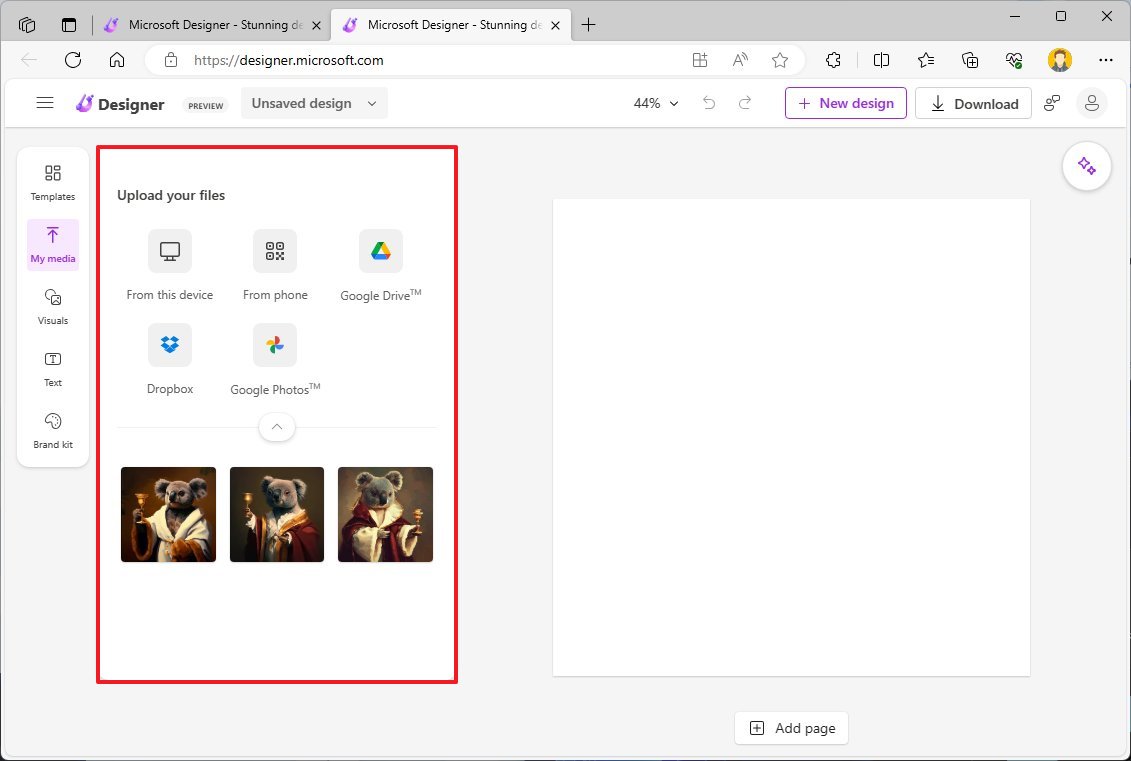
The “My media” possibility permits you to add pictures out of your laptop, cellphone, or on-line storage providers.
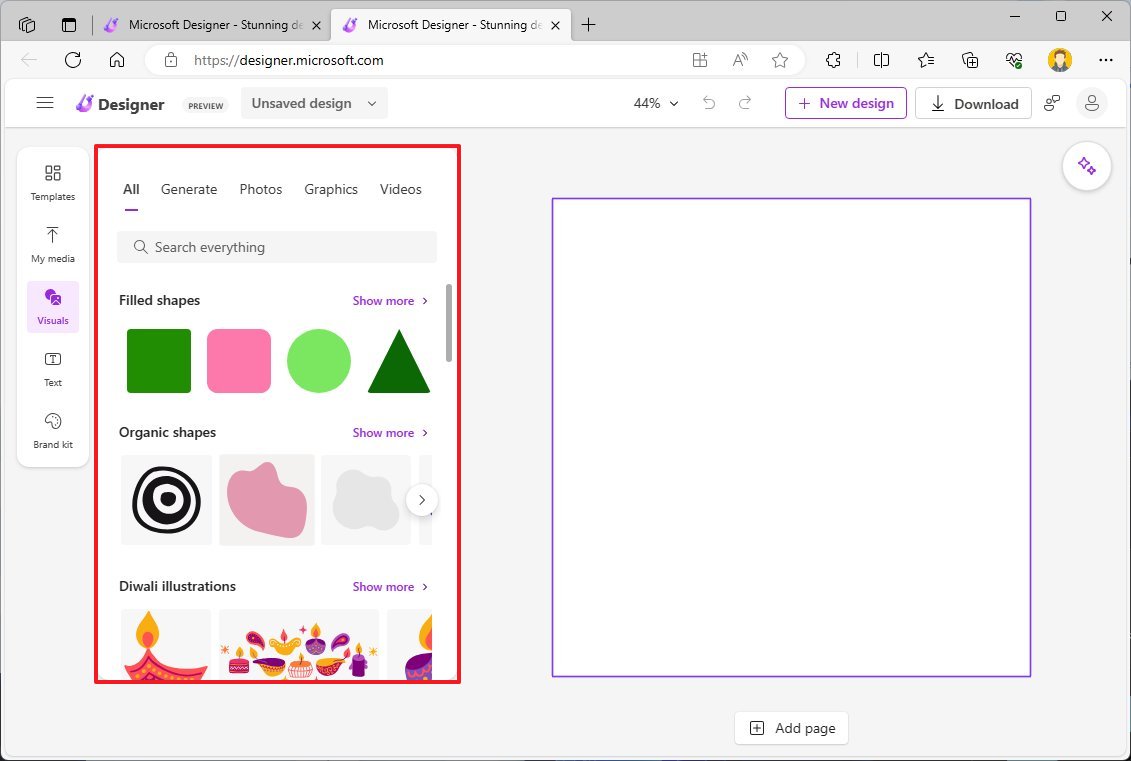
The “Visuals” possibility contains suggestions primarily based on the present design, shapes, icons, movies, and extra. Also, the “Generate” tab permits you to use the DALL-E mannequin to create AI pictures from a textual content immediate.
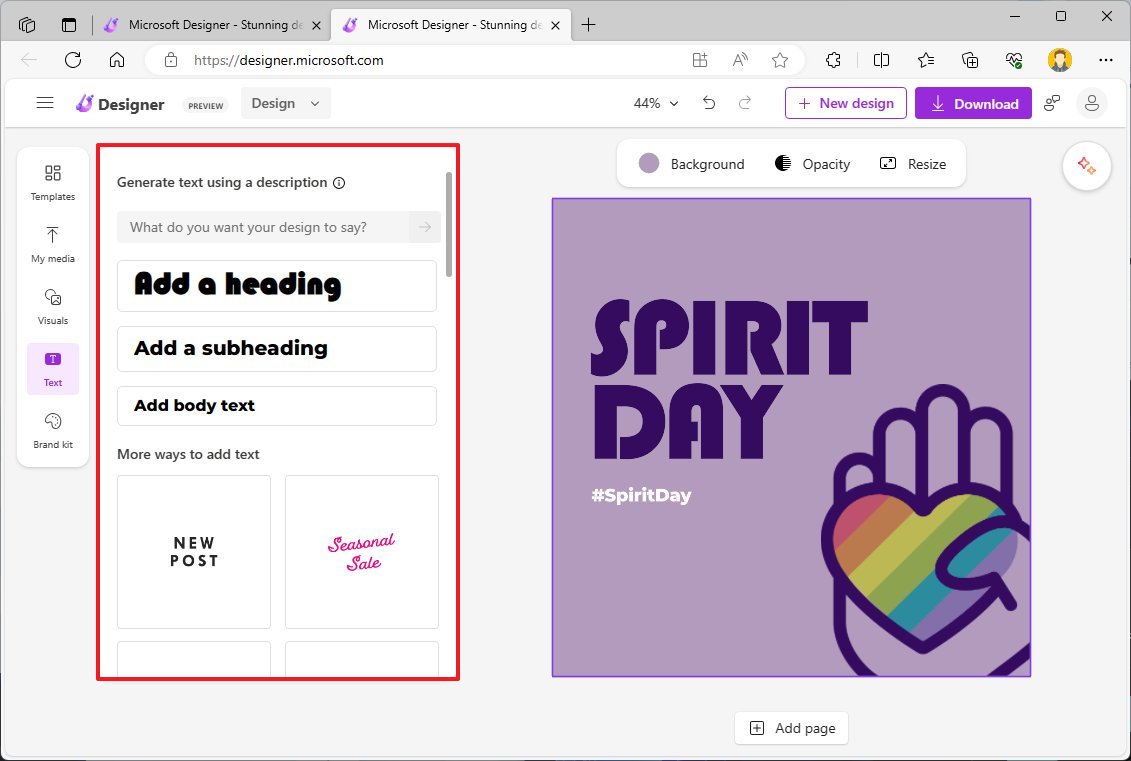
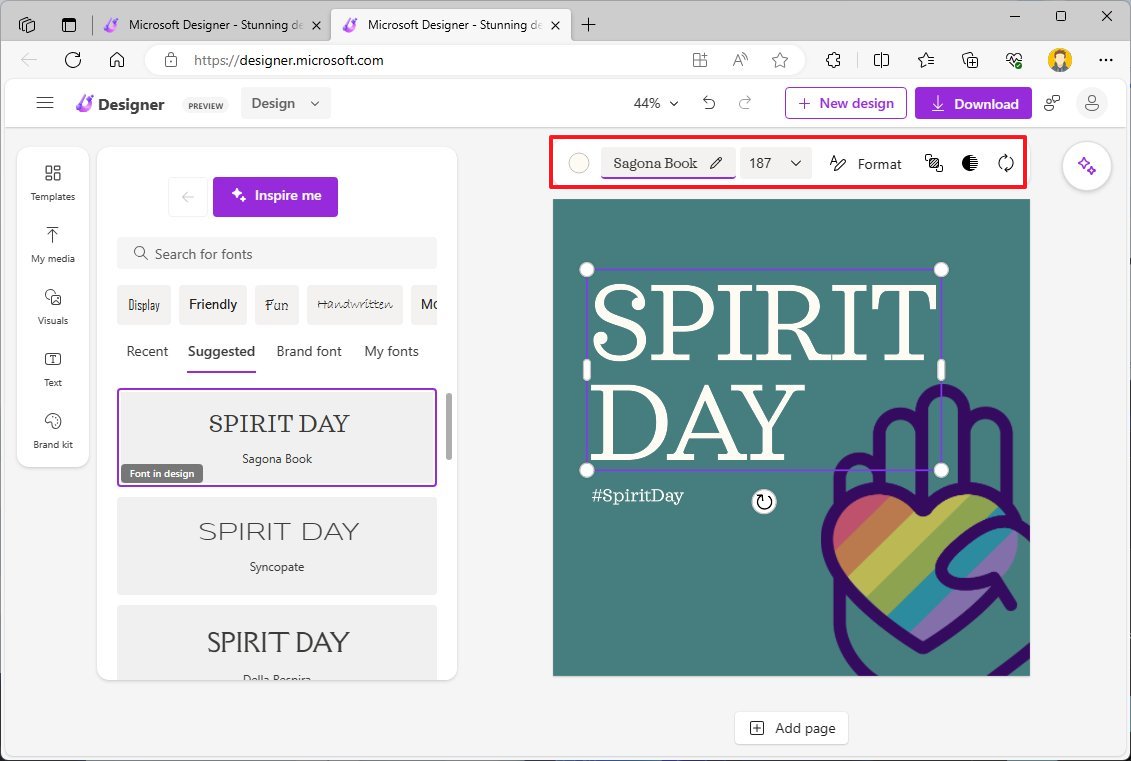
The “Text” possibility contains all of the font-related settings, similar to the flexibility to insert messages with completely different fonts and sizes.
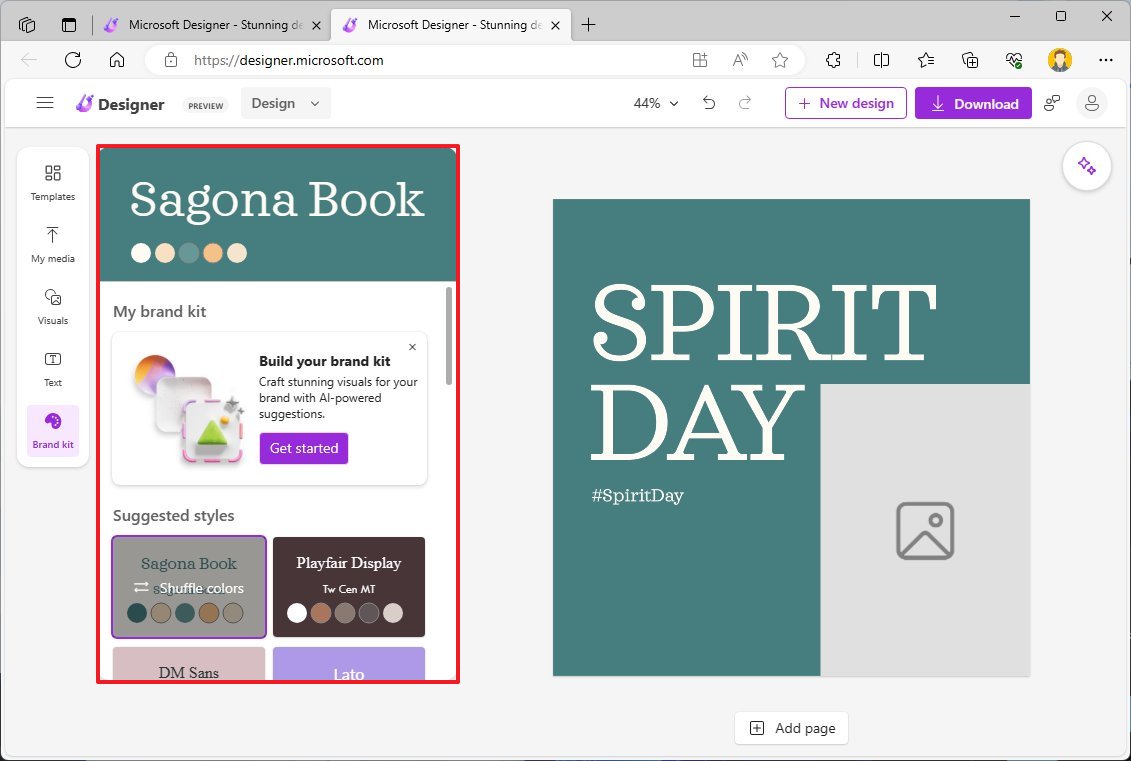
The “Brand Kit” gives completely different coloration patterns and fonts that you should utilize to vary your design rapidly. You can even discover the “Generate” choice to create customized kits.
If you are utilizing a template you created with AI, you possible have a lot of the work performed, and the one factor left is to replenish the gaps and alter just a few components.
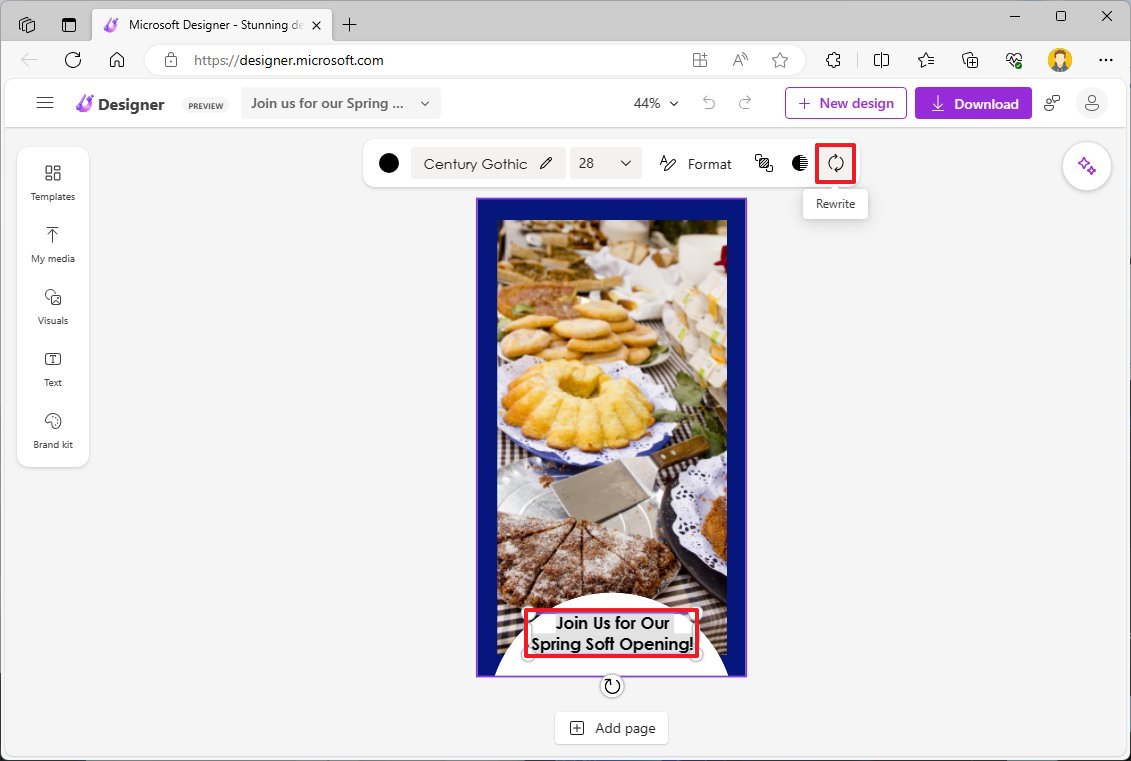
For instance, to edit the textual content, choose the block to carry up the contextual menu with associated instruments to vary the font type, measurement, place, and extra. The menu even features a “Rewrite” possibility to enhance the textual content on the design utilizing AI.
If you choose a picture, the menu will floor instruments to vary the background, change the picture, crop, rotate, and extra.
In the case that you simply’re working with an image, you’ll be able to select the “Image instruments” choice to entry AI instruments to take away objects or your complete background from the picture, or you may as well blur the background.
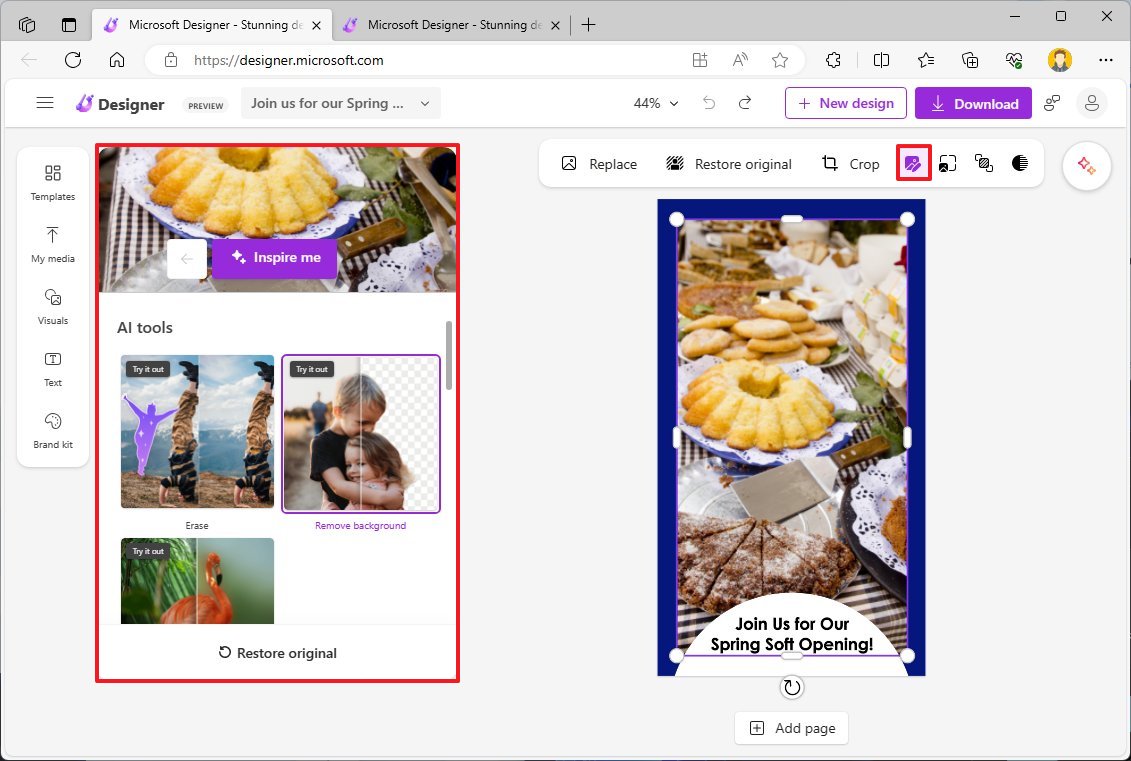
The instruments additionally embody filters and different choices to edit the image you are utilizing within the undertaking.
Once you’re performed creating, click on the “Download” button to avoid wasting the picture in your laptop or share it by social media platforms. Regardless of your save possibility, Designer will all the time maintain your designs within the cloud, which you’ll be able to entry from the top-left menu.
Create a design from scratch
If you do not wish to use AI to get impressed to construct a design, you’ll be able to all the time create a clean web page. After you sign up together with your account, you’ll be able to click on the “clean design” possibility, select the dimensions for the canvas, after which you can begin designing.
Since you are ranging from scratch, that is when the instruments from the left aspect will turn out to be useful.
You can begin from the “My media” tab, because it permits you to add pictures out of your laptop, cellphone, or on-line storage providers to create your design.
In addition, you should utilize the “Visuals” tab for shapes, icons, movies, and extra, and inserting these components is as straightforward as dragging and dropping.
If it is advisable add a caption, the “Text” tab contains font-related settings, similar to the flexibility to insert messages with completely different fonts and sizes.
The “Brand Kit” gives completely different coloration patterns and fonts that you should utilize in your design. You can even discover the “Generate” choice to create customized kits.
Similar to modifying an AI picture, you’ll be able to edit each component you drop on the design. For instance, as you drop an image, you’ll discover a set of instruments to vary the background, change the picture, crop, rotate, and extra. If you are engaged on a form, you will note the instruments edit that individual component. Also, in case you are utilizing textual content, choosing the block brings up the contextual menu with associated instruments to vary the font type, measurement, place, and extra. The menu even features a “Rewrite” possibility to enhance the textual content on the design utilizing AI.
If you are having points developing with a design concept, you’ll be able to all the time click on the “Ideas” button from the top-right to step again and use AI to create a base design.
After you’re performed with the design, click on the “Download” button to avoid wasting the picture in your laptop or share it by social media platforms.
More assets
For extra useful articles, protection, and solutions to frequent questions on Windows 10 and Windows 11, go to the next assets: