
Designers are at all times trying to find instruments that assist ease their workflow and create modern options for his or her customers. This ranges from parts, model guides, and design methods, to plugins and extensions.
In this text, we will take a look at parts as options which may help increase your effectivity as a designer. I’ll present you easy methods to create an interactive button part utilizing Figma.
Table of Contents
- Prerequisites
- What are Components?
– Button parts - How to Create an Interactive Button Component in Figma
– Build the button part
– How to create variants
– How to create hover and energetic states
– How to create different button states
– How to group buttons by states
– How to make the button parts interactive - Conclusion
Prerequisites:
To get probably the most out of this text, it will be useful to have primary data of easy methods to use Figma and its options. But notice that this isn’t vital, as I wrote this text for everybody – regardless of their particular person stage of data.
This article is for everybody who’s desirous about studying extra about parts, reusable parts, Figma, and design on the whole.
What are Components?
Components are reusable design parts that you need to use a number of occasions inside a challenge or throughout totally different tasks.
Components are interactive constructing blocks for making a consumer interface. They could be organized into classes primarily based on their goal: Action, containment, communication, navigation, choice, and textual content enter. – Material Design 3
Components can vary from easy parts like buttons or icons to extra advanced buildings like navigation bars or complete UI modules. They assist preserve consistency and uniformity in a design, they’re scalable, they usually’re very useful for collaboration.
Button Components
Buttons, typically referred to as CTAs, are parts which permit a consumer to hold out a selected motion like signing up, shopping for a product, subscribing to a publication, and so forth. They come in several codecs and sizes, and are crucial parts in design.
Button parts usually include visible attributes comparable to form, measurement, colour, and typography to convey their performance and encourage consumer interplay. They can range in model and look primarily based on the design system, model tips, or the context of their utilization inside an utility or web site.
How to Create an Interactive Button Component in Figma
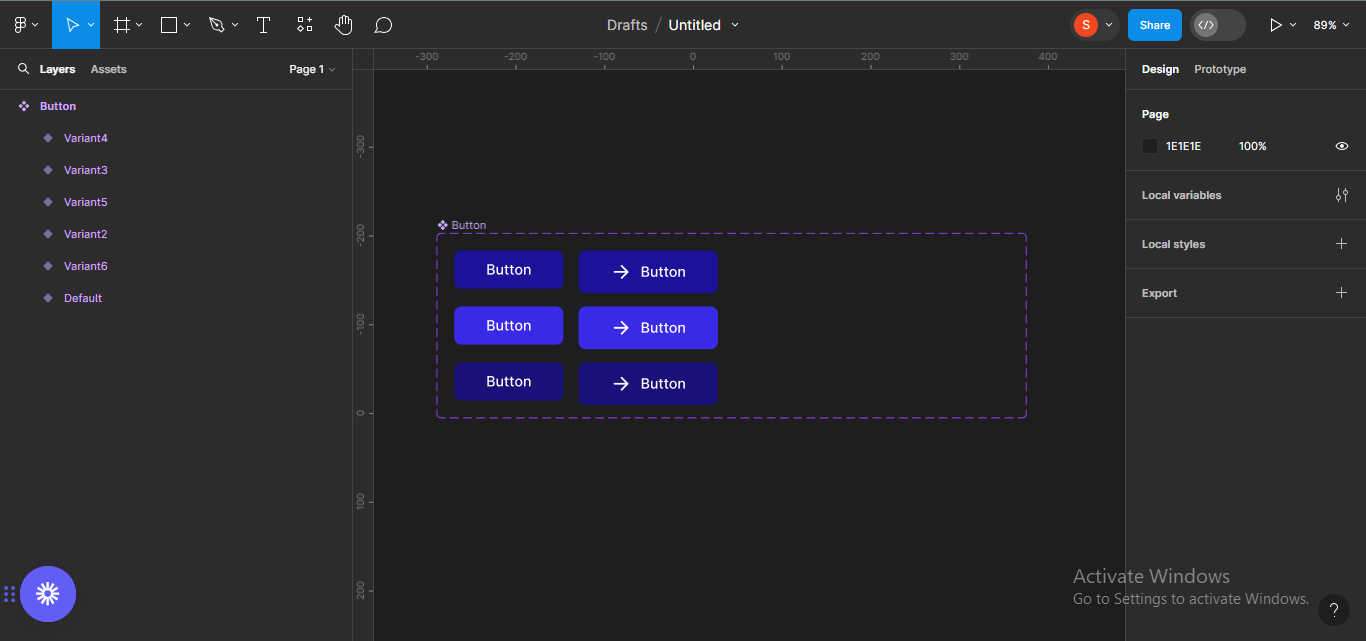
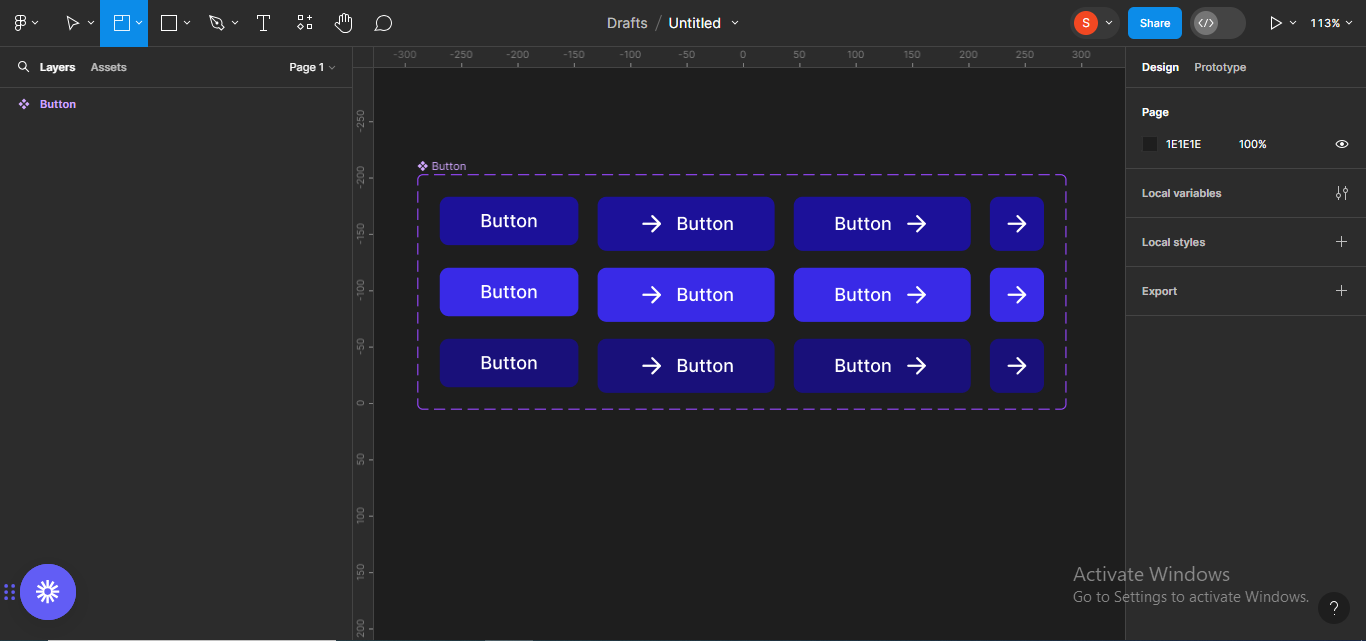
Next, we will create an interactive button part in Figma. This button part will include textual content solely buttons, buttons with icons on both the left or proper aspect of the textual content, and buttons with icons solely.
The button part will include totally different button states (default, hover, and energetic), and might be interactive.
This could be very useful for if you’re designing interfaces with totally different use circumstances. For occasion, you possibly can need a button in your design to hold textual content and an accompanying icon, for a specific display. In one other display, you would possibly need to use an icon solely button. If you could have already created these totally different parts, you may save numerous time.

Let’s get began!
Build the Button Component
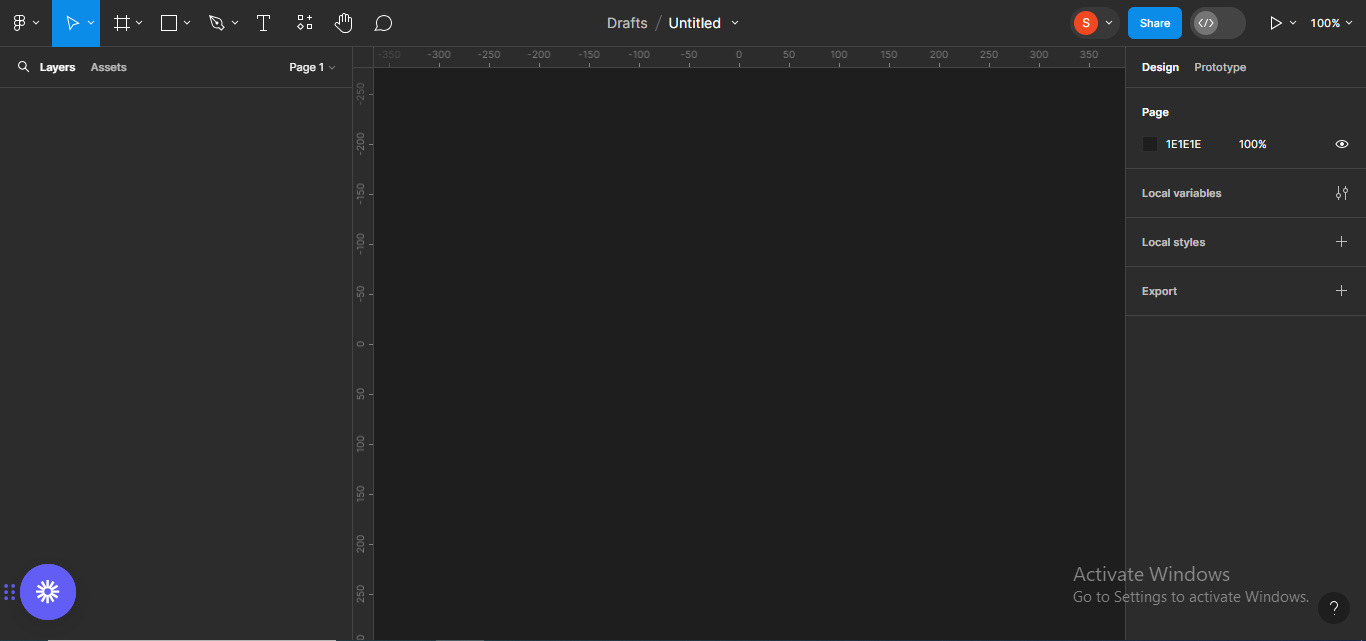
Open a brand new Figma file. If you do not have a Figma account, go forward and create one at figma.com.
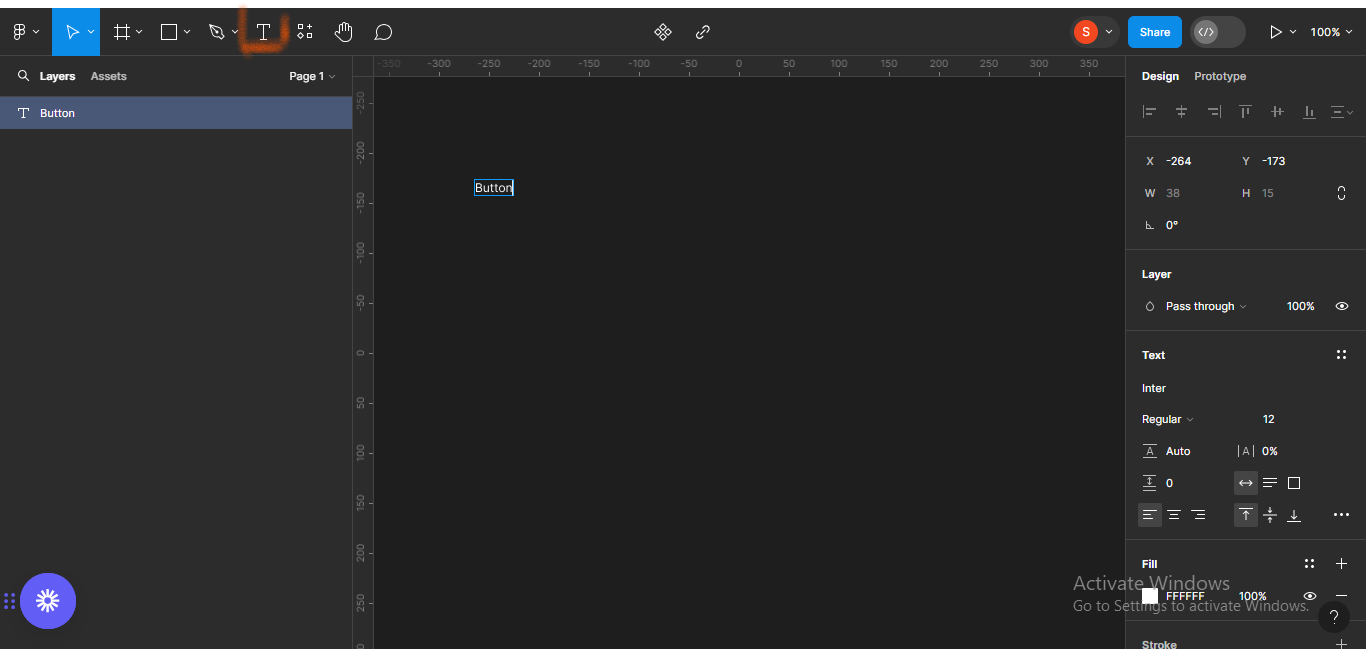
Next, click on on the Text icon on the left hand panel, and sort Button.
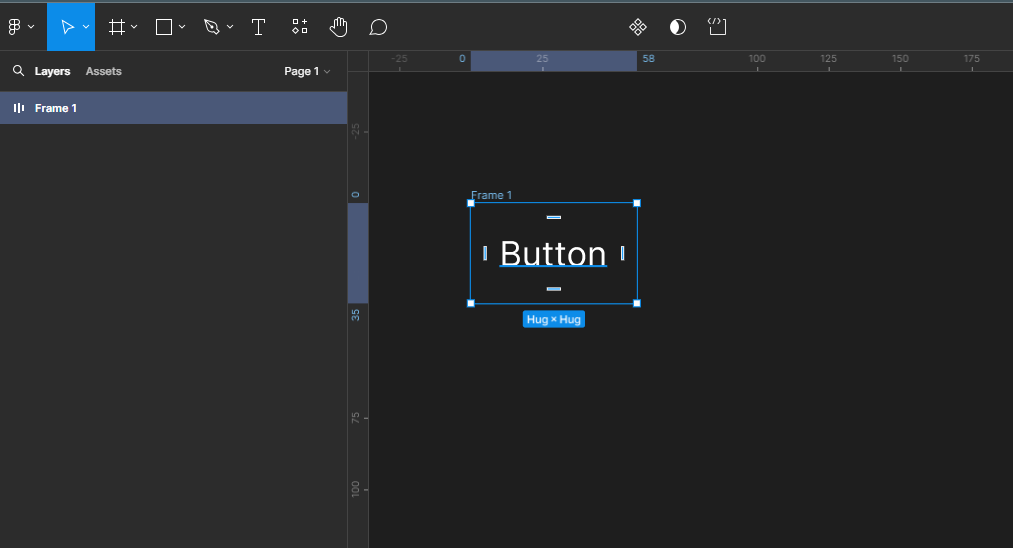
Next, add auto-layout (Shift + A).
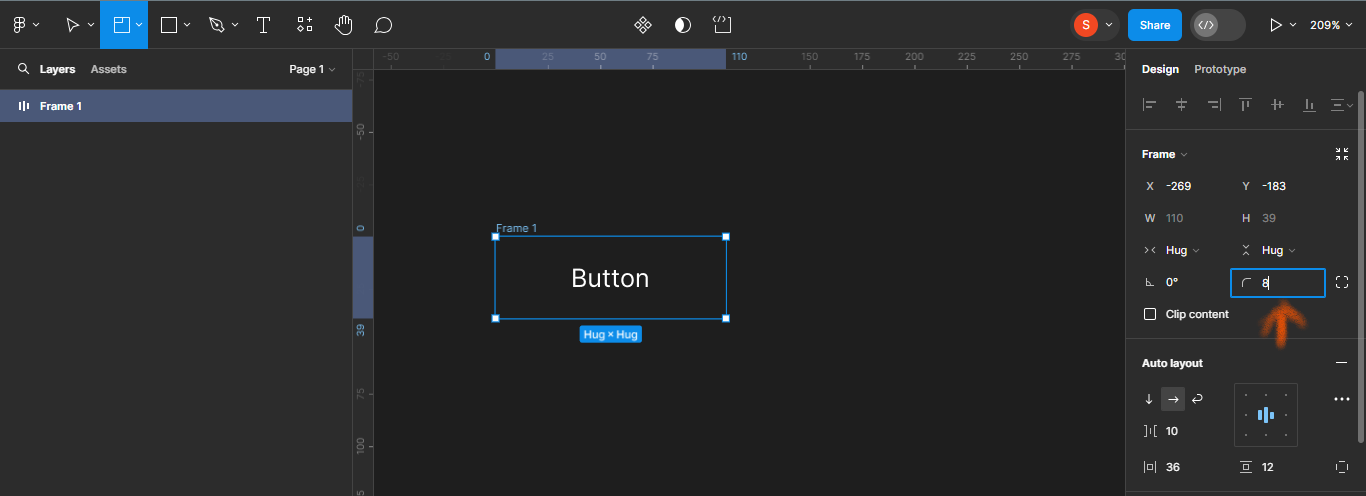
Make the horizontal button padding to be 36px and the vertical padding 12px.
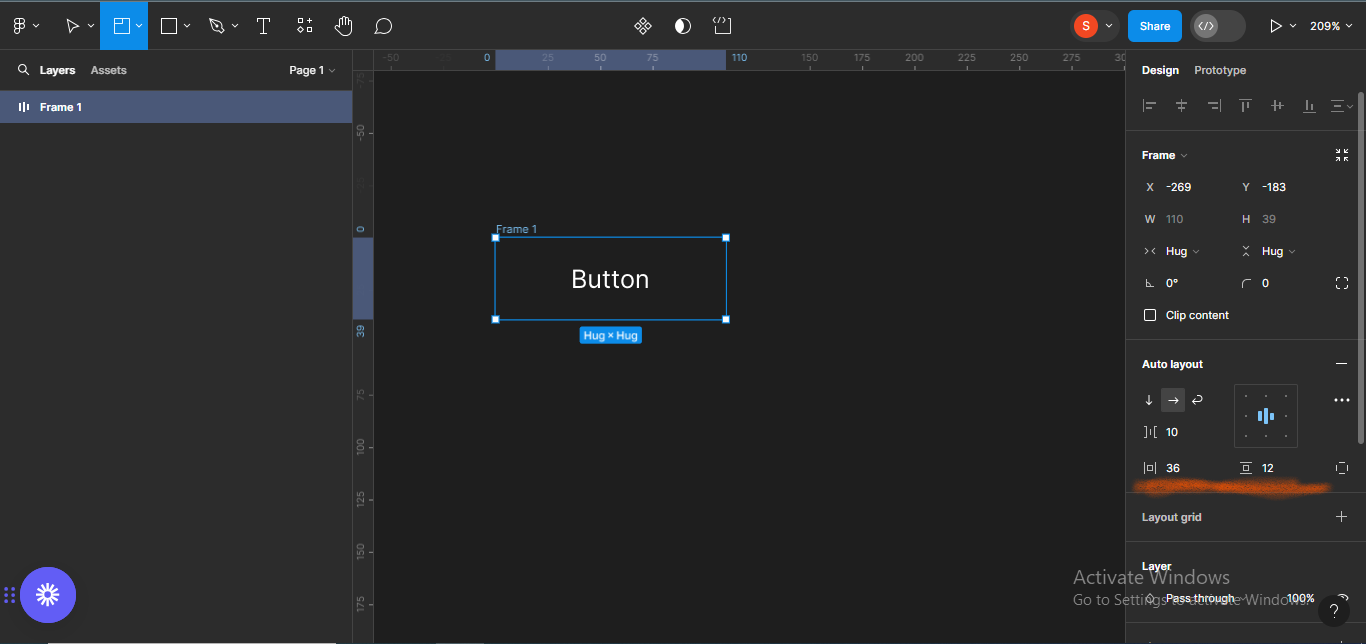
Also, give the button a border radius of 8px.
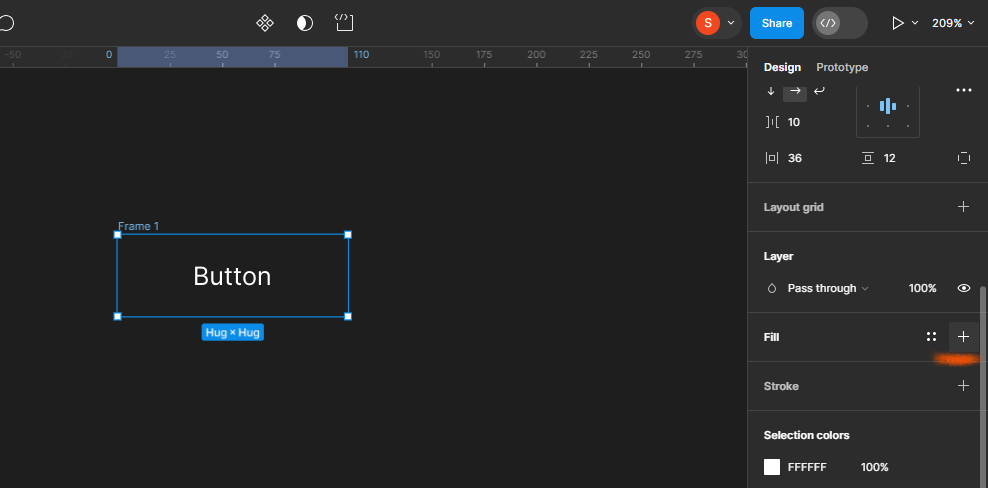
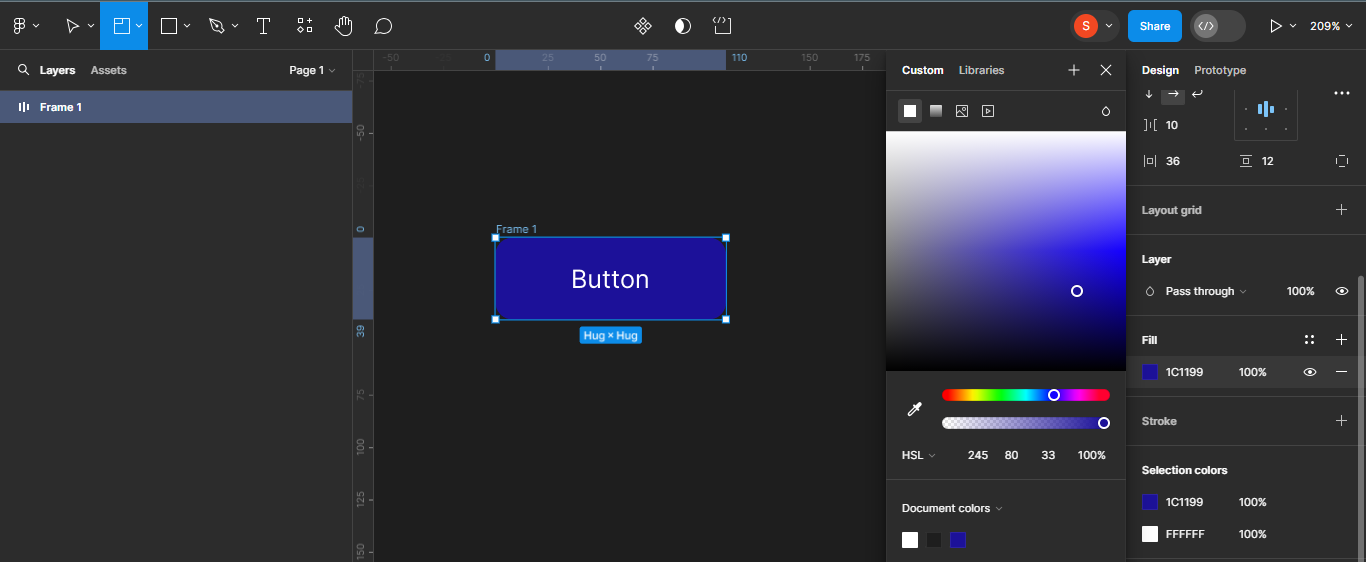
Add a fill to the button.
I’ll select the colour code #1C199, which is a shade of blue.
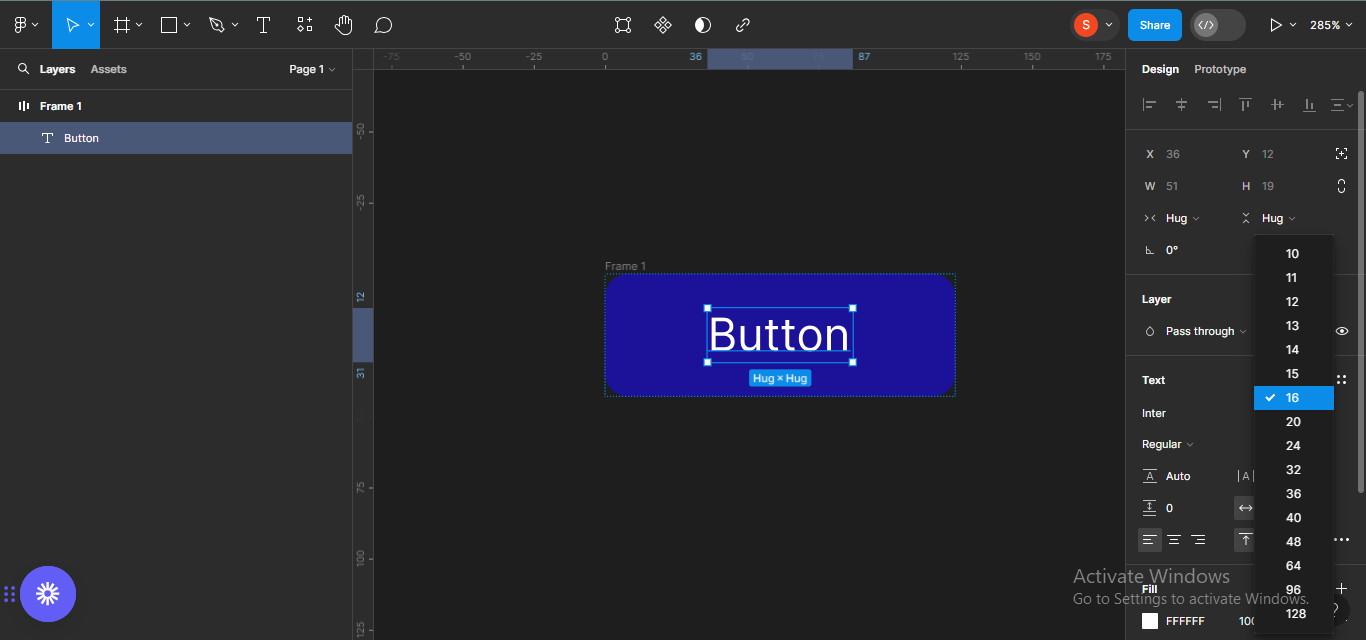
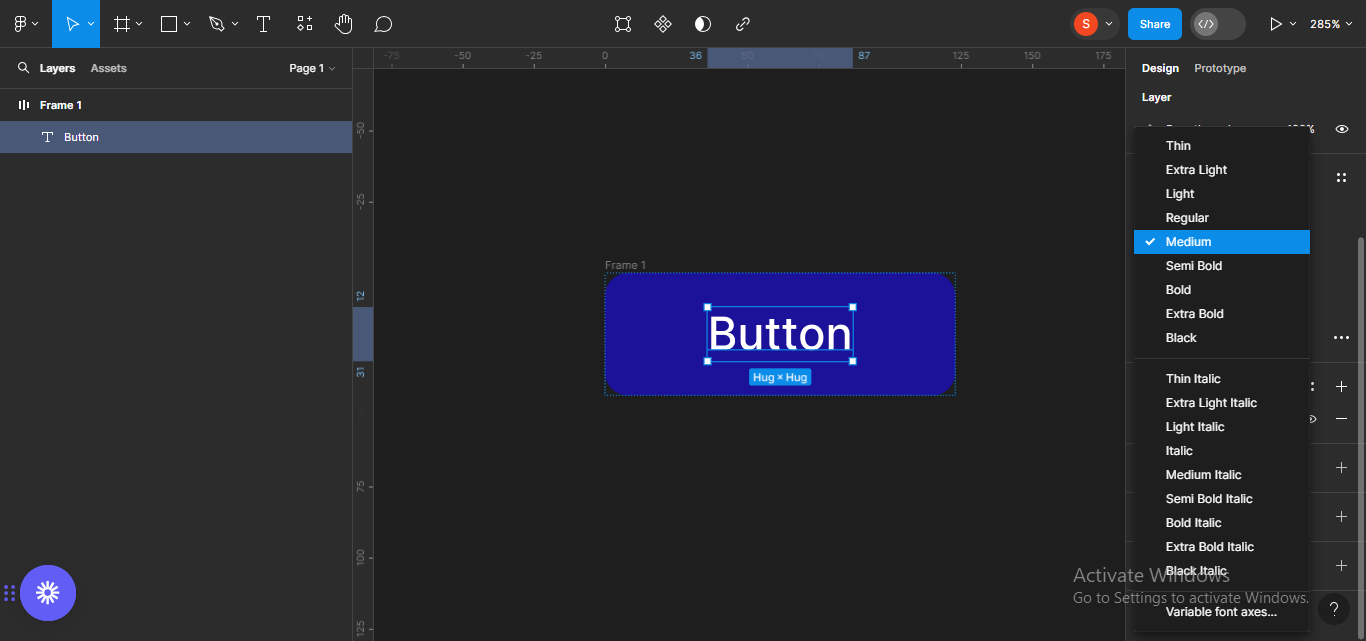
Next, I’ll make the textual content a bit bit bolder. To try this, click on on the textual content, and transfer to the font part in your proper panel.
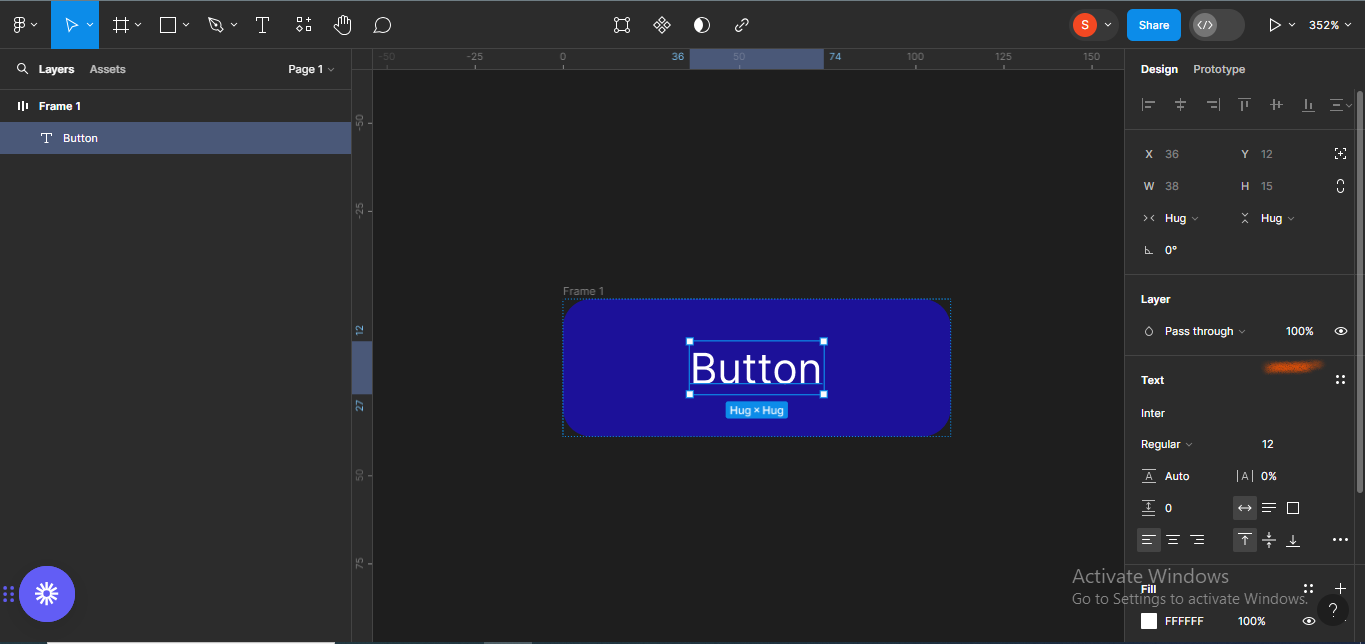
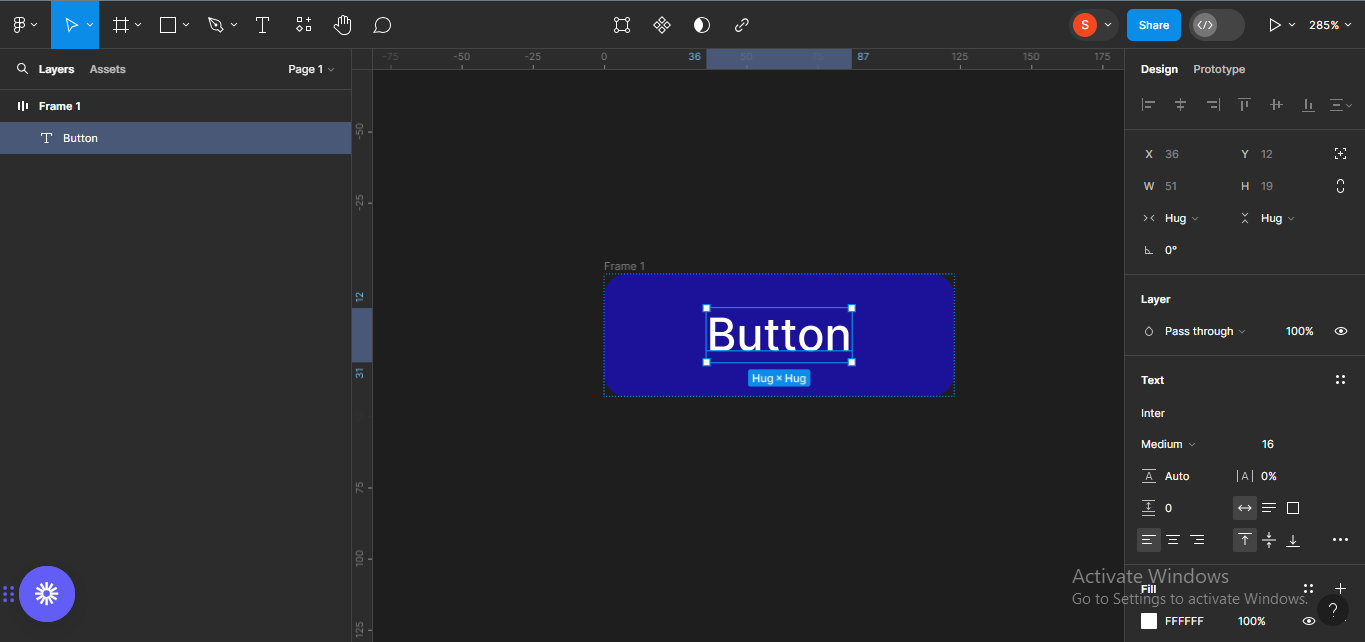
I’ll give the button a font measurement of 16px, and make the burden “medium”.
Next, I’ll add any icon of my option to the button body. This will allow me simply create a button part with icons, and never simply textual content when the time comes.
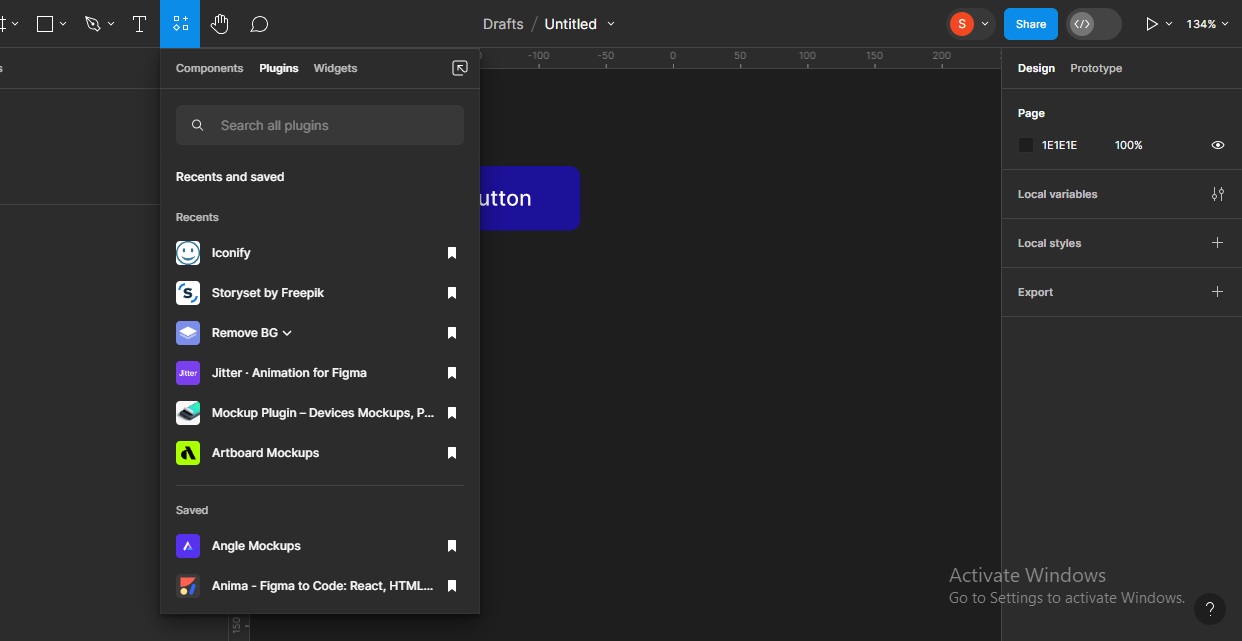
To add an icon, I’ll use a Figma plugin referred to as Iconify, which is without doubt one of the largest icon collections in Figma. To do that, right-click in your canva and a menu will pop-up. Go to the Plugins tab.
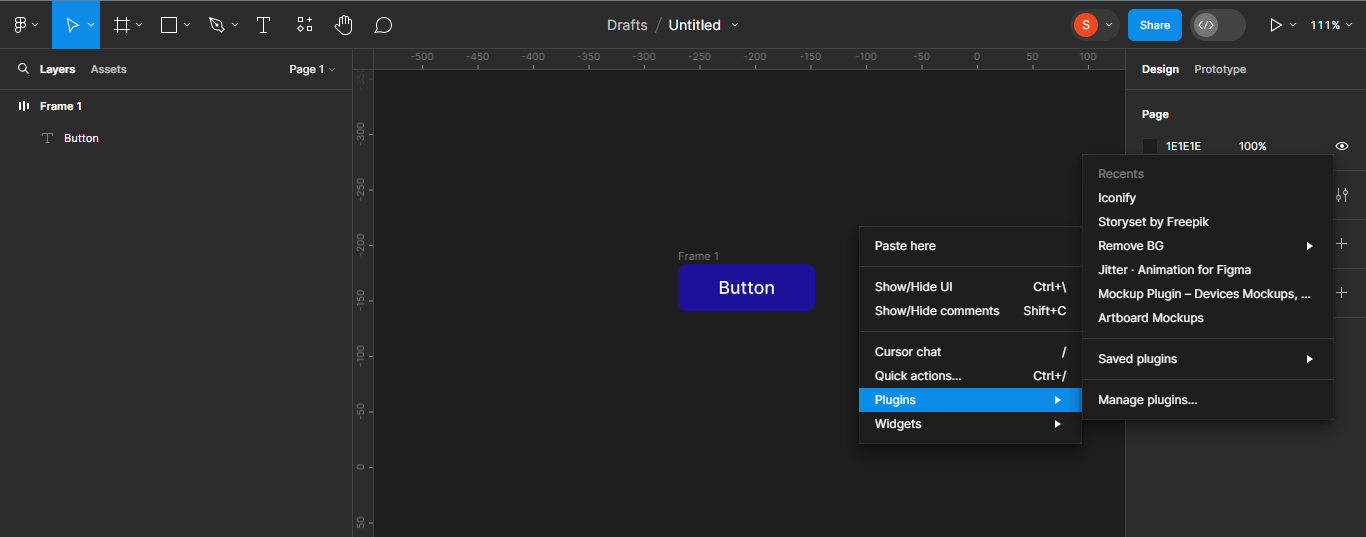
An inventory of the latest plugins you could have used will pop-up. You’ll additionally see all of the Saved plugins you could have. The first plugin on my checklist is Iconify (that is as a result of I take advantage of it loads, lol). Now, I’ll simply click on on Iconify and seek for the actual icon I need to use.
If you could have by no means used a plugin earlier than, and so there are not any plugins in your checklist, you need to use the sources part to seek for your plugin of selection and put it aside to your checklist.

I need to use the ahead arrow icon, so I’ll simply seek for that utilizing the search subject on the plugin.
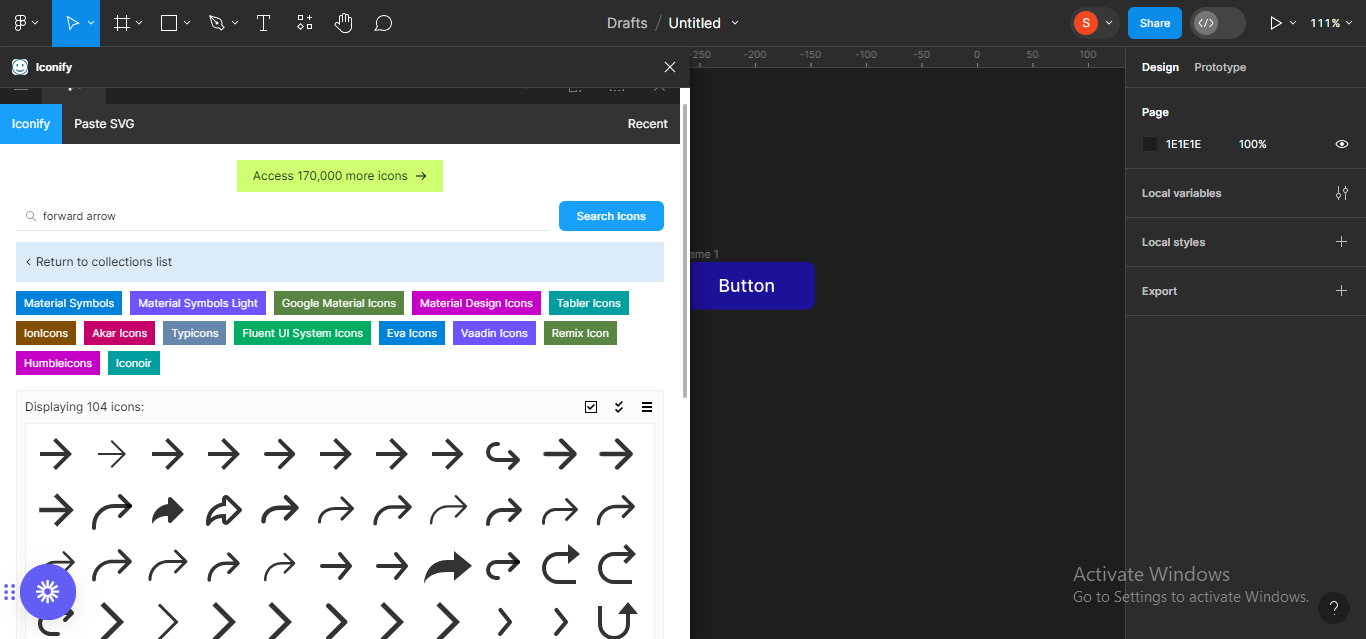
A whole lot of ahead arrow icons from totally different collections will pop-up so, I’ll simply select any specific one which works finest for me, on this case, a ahead arrow icon from IonIcons.
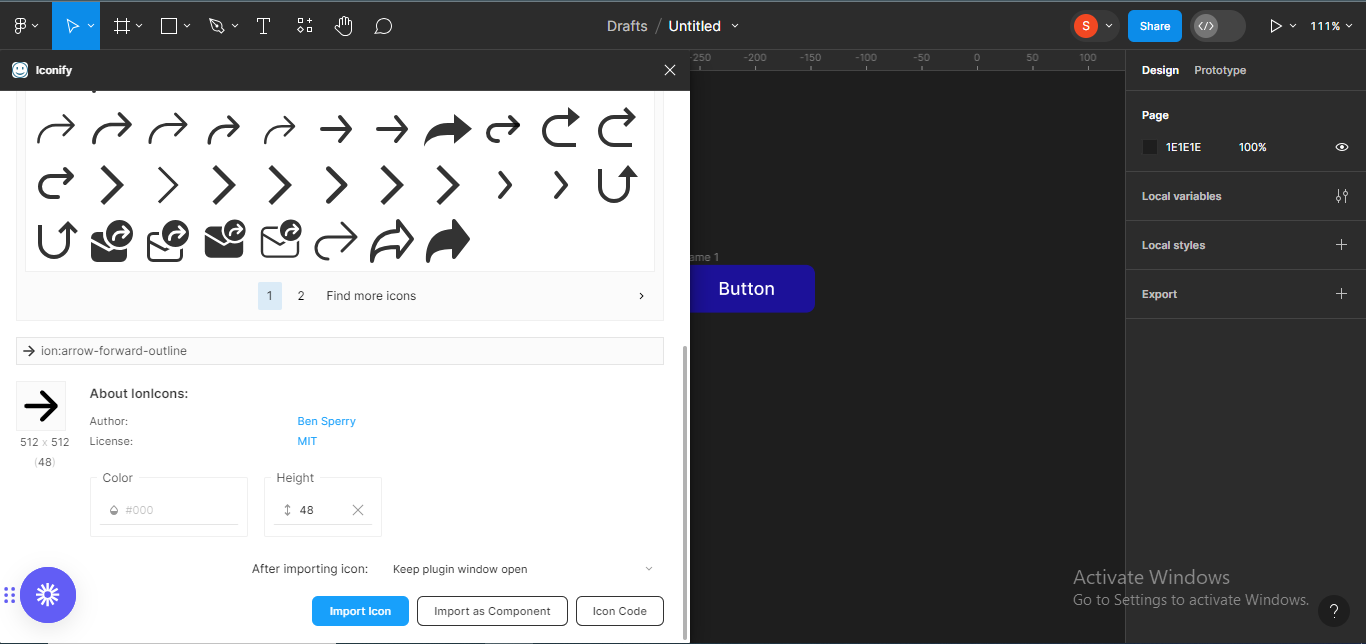
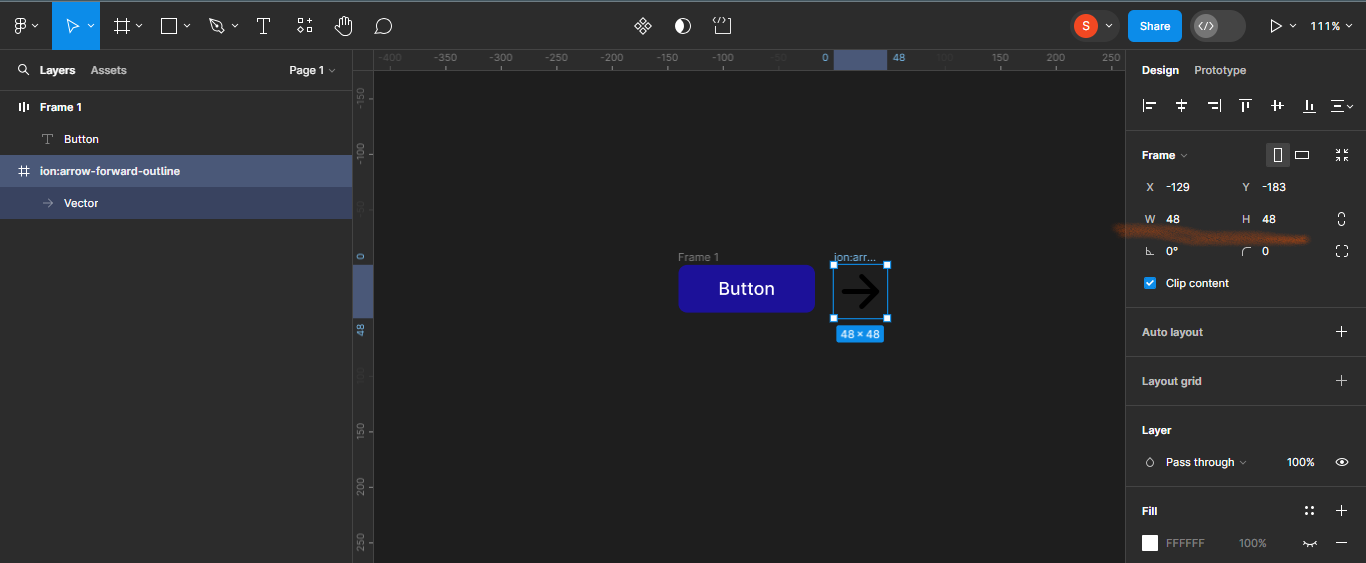
I’ll choose the icon and click on on the Import icon button so it may well seem on my Figma file.
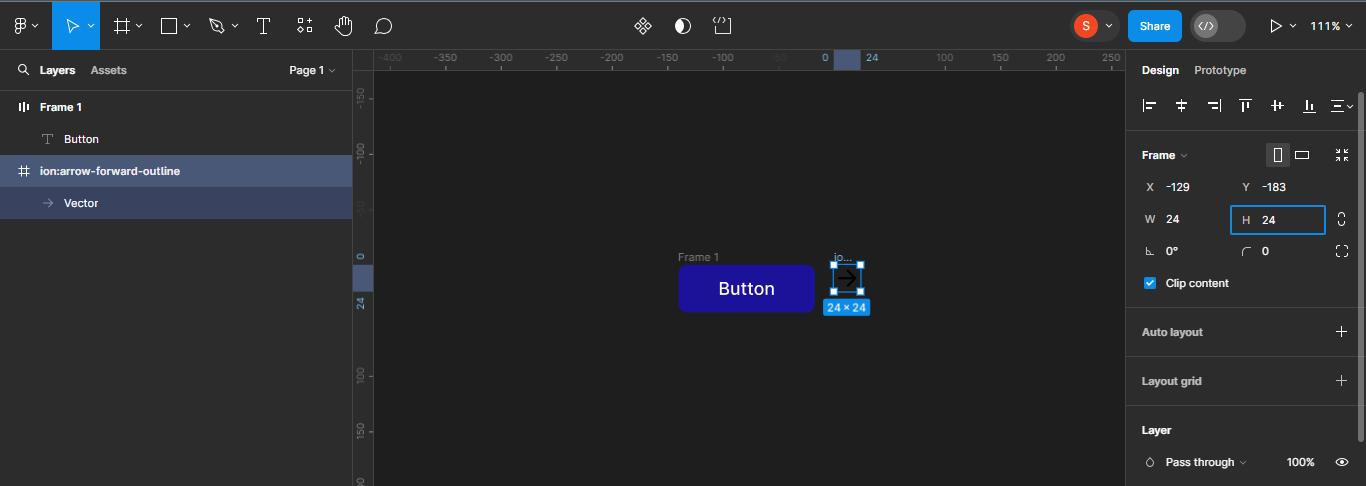
Next, we’ll scale back the dimensions of the icon to no matter top and width we would like it to be. It’s at the moment on 48 x 48 and I would like it to be 24 x 24.
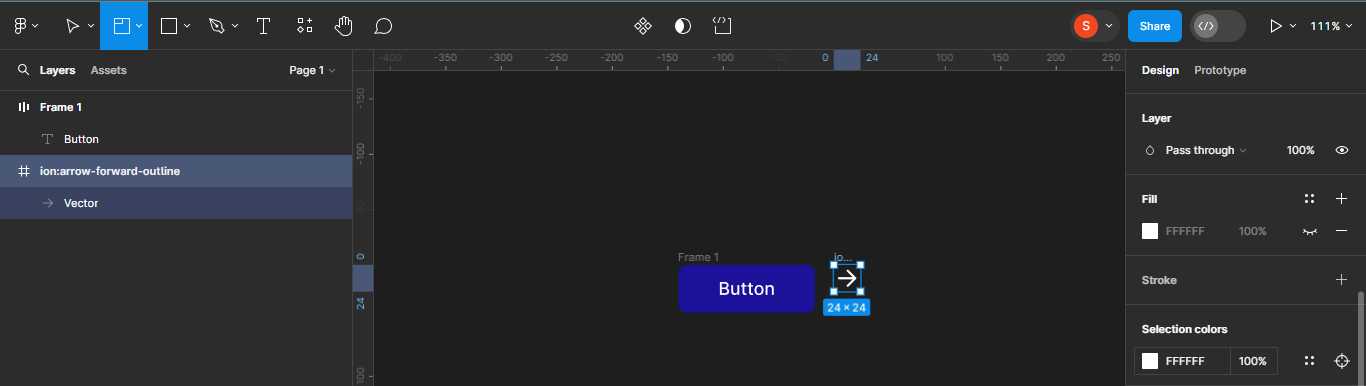
We’ll additionally change the color of the icon to match the textual content color (white). To do that, ensure that the icon is chosen after which scroll right down to Selection colors to enter the colour code, which on this case is #FFFFFF.
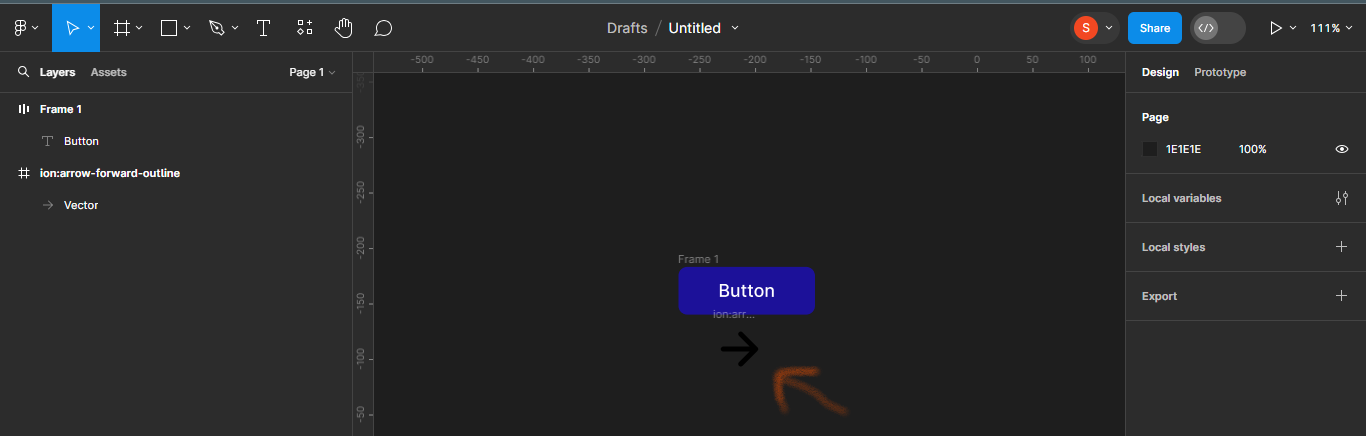
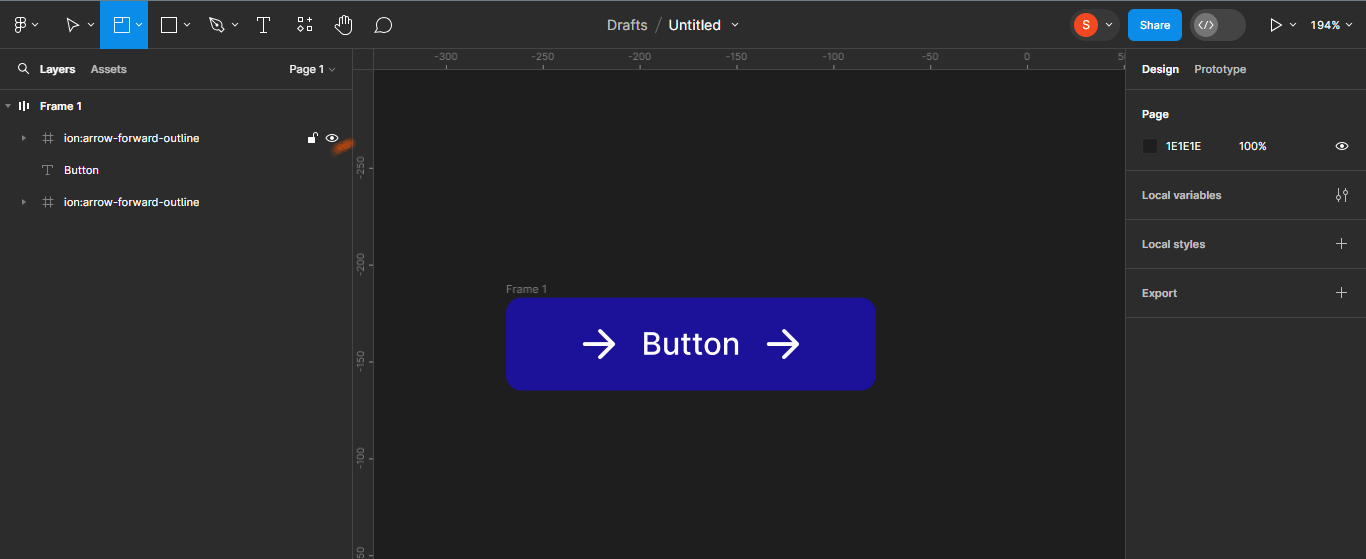
Next, we’ll add the icon contained in the button body. To do that, simply drag your icon contained in the body.
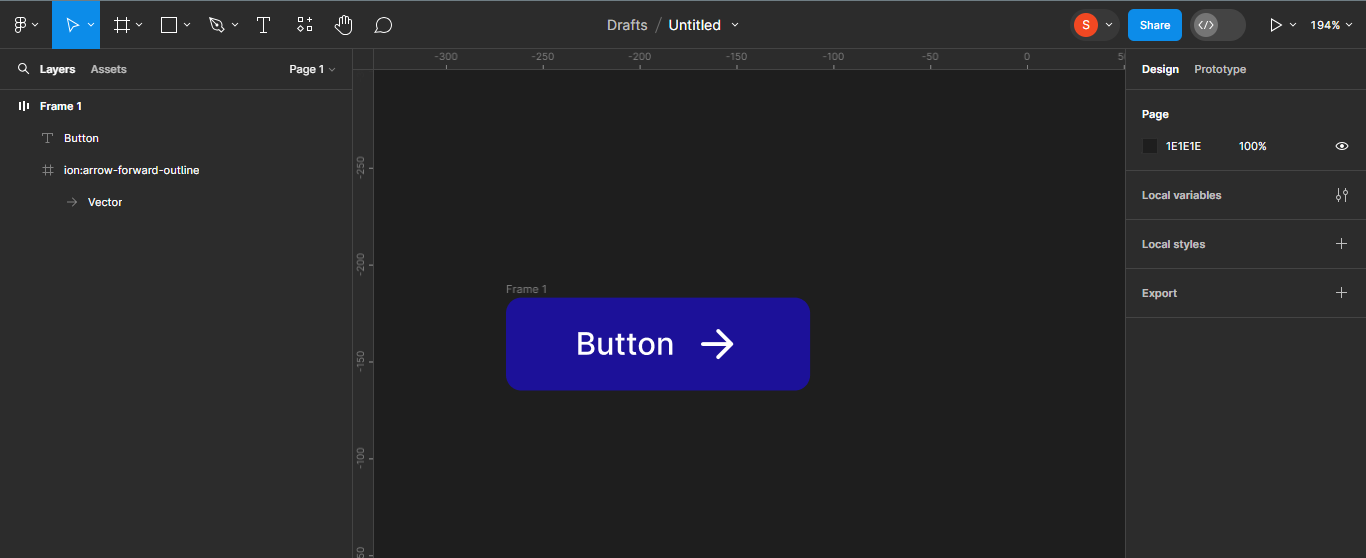
You’ll discover that the body measurement will increase to accommodate the icon added.
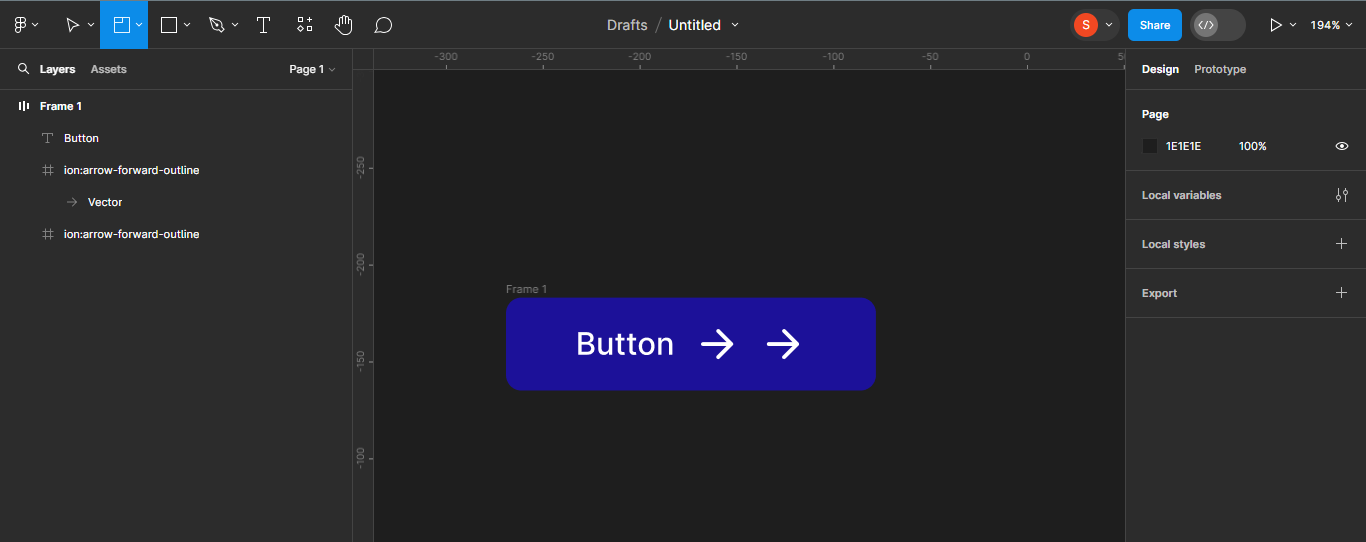
Next, duplicate the icon and transfer it to the opposite aspect of the textual content. Duplicating the icon will assist us simply create button parts with icons on both sides of the textual content later.
To do that, merely use Ctrl + D, and transfer the duplicated icon to the opposite aspect.
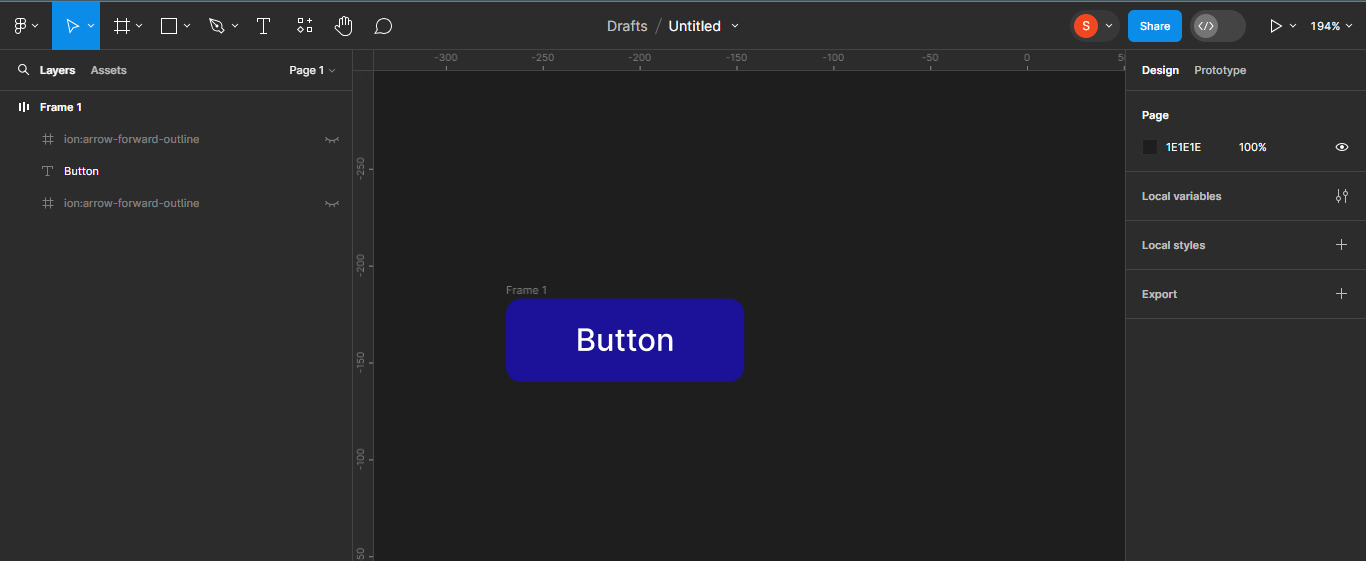
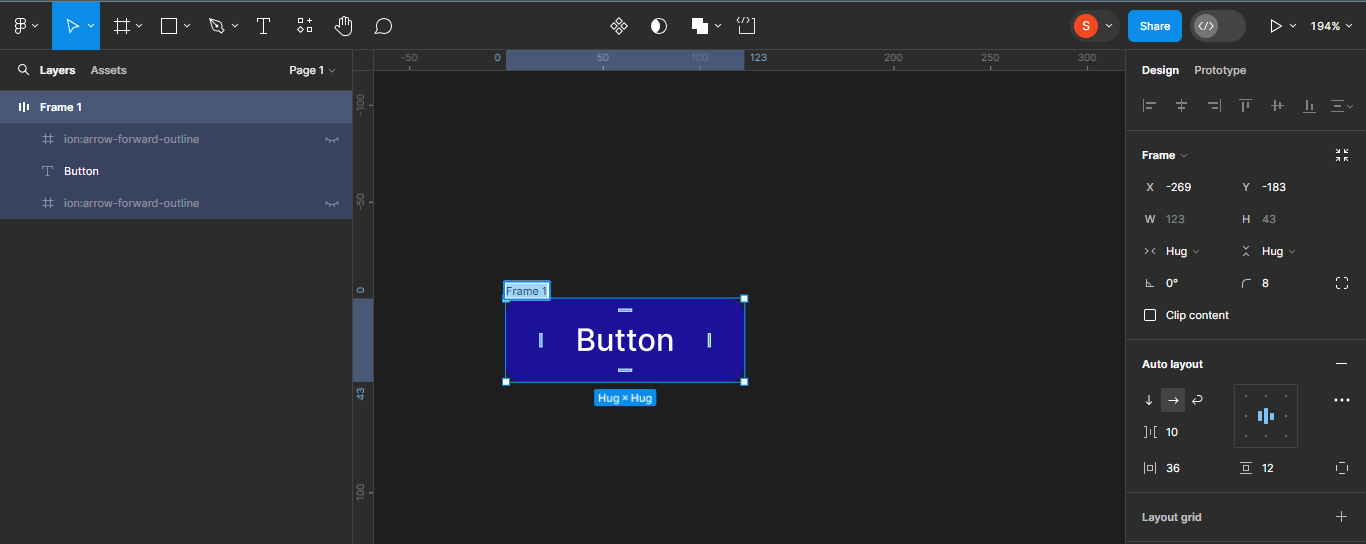
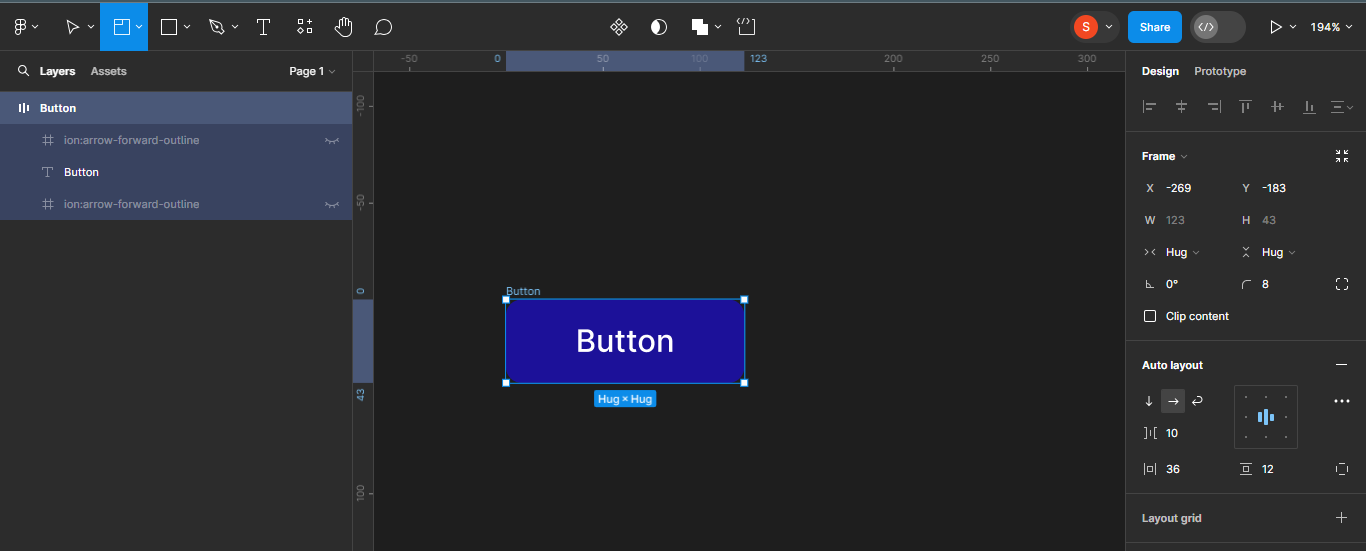
Next, I’ll disguise each icons as a result of I need to create my first button part (textual content solely button). I’ll rename the body to Button.
To disguise each icons, transfer to the layers panel in your left, and click on on the attention icon by the aspect of the belongings you need to disguise.
You’ll discover that the body resizes mechanically as soon as each icons are hidden.
I’ll then rename the body to Button. To try this, double click on on the heading of the body, and rename.
How to Create Variants
Next, we’ll make the button body a variant.
Variants enable you to create a number of variations or states of a part. They’re very helpful when designing interfaces which have totally different states or variations, comparable to buttons with totally different sizes or designs, like we’re creating right here.
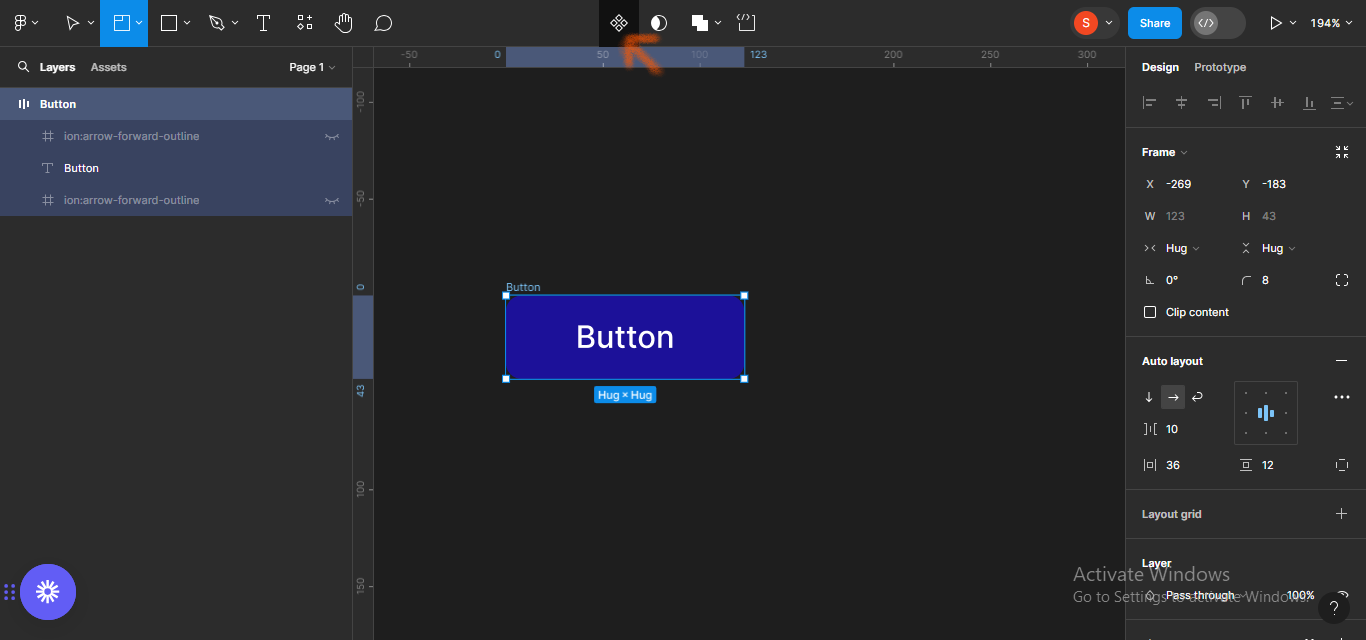
To make the button body a variant, double-click on the part icon on the prime of your display.
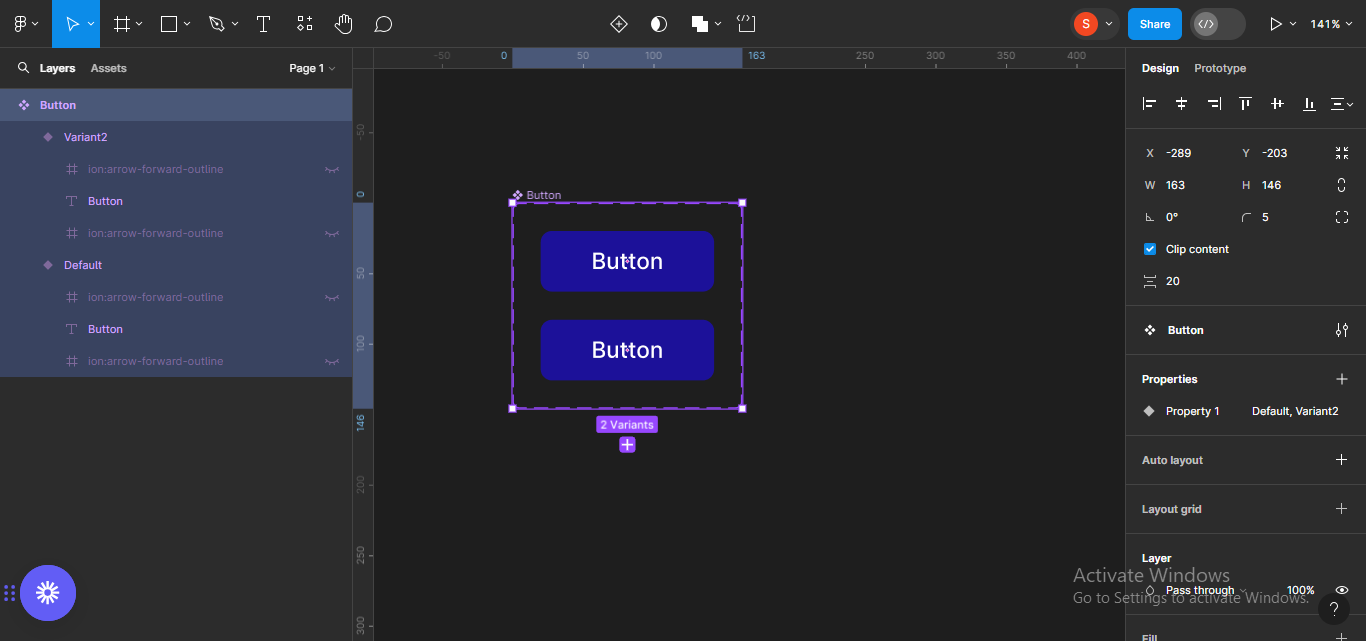
Next, I’ll add one other variant as a result of I need to have three states for the button (Default, Hover, and Active). To add one other variant, click on on the plus icon on any of the already current variants.
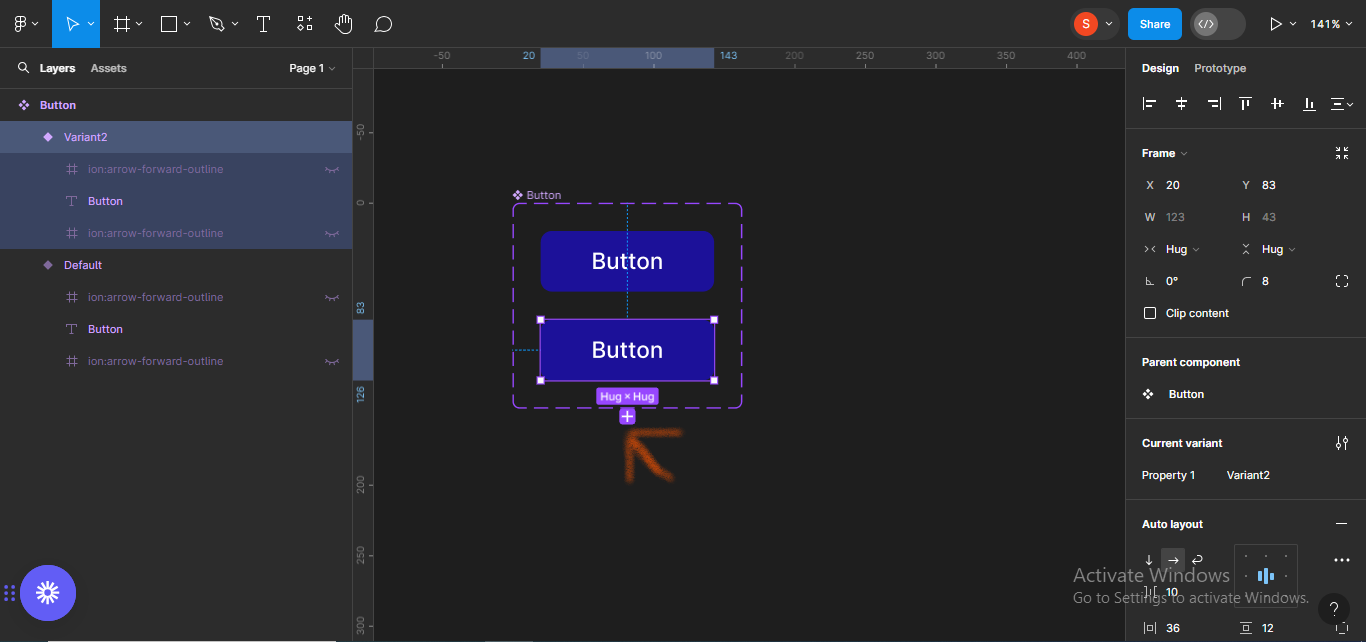
Automatically, a brand new variant might be added.
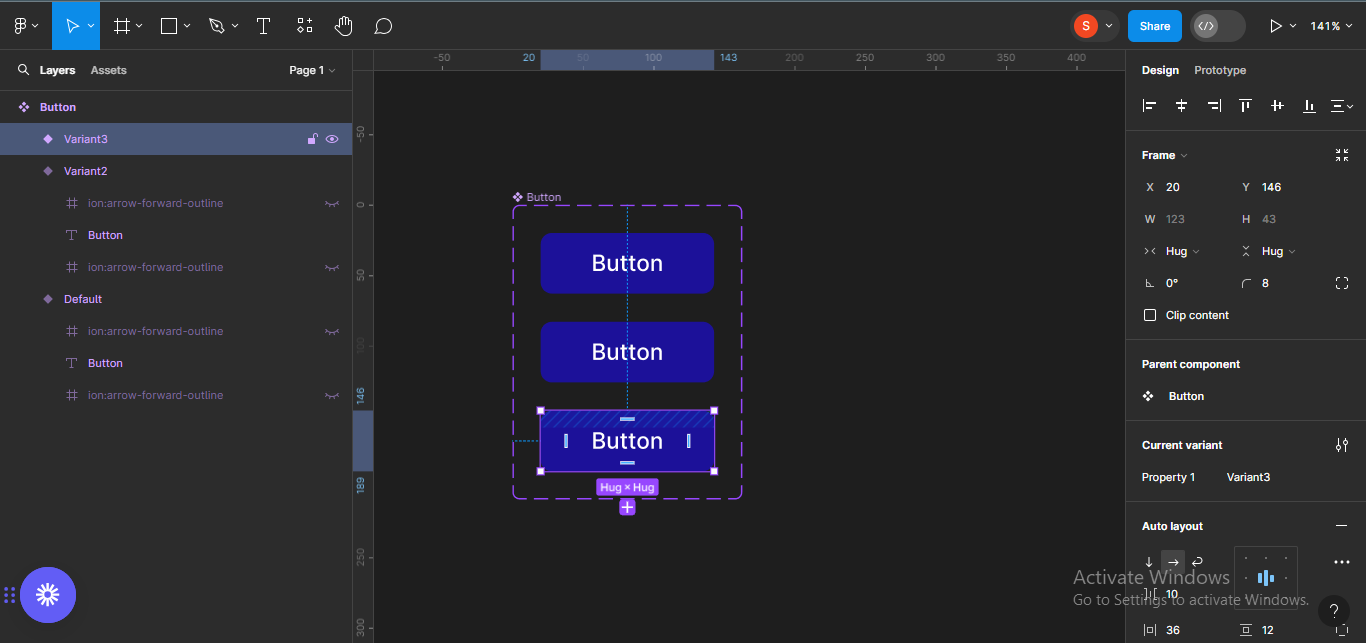
Next, I’ll improve the dimensions of the part body so it may well accommodate different variants that might be added. To do that, merely choose the entire part, and drag to your glad measurement.
How to Create Hover and Active States
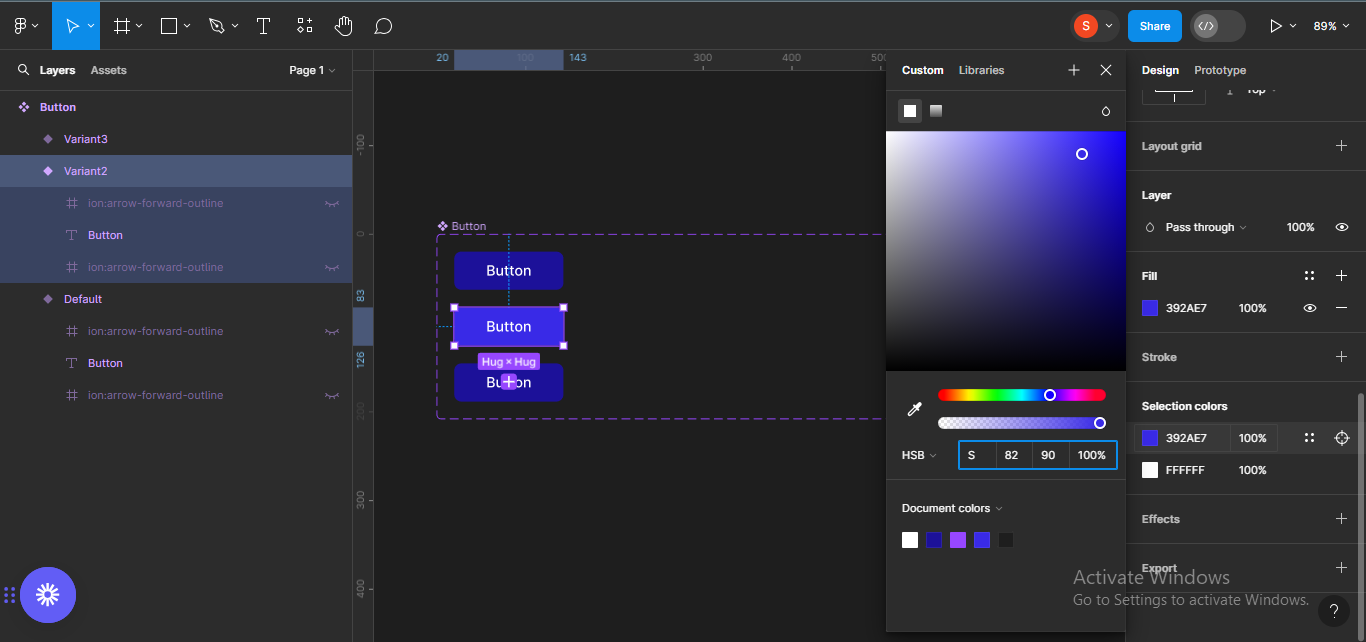
Next, I’ll tweak the final two buttons (hover and energetic states), so the distinction between the three button states might be apparent. To do that, I’ll make the hover state lighter, and the energetic state darker.
For the hover state, I’ll change the colour code to #392AE7, which is a lighter shade of blue. Make certain the actual button is chosen so the adjustments take impact:
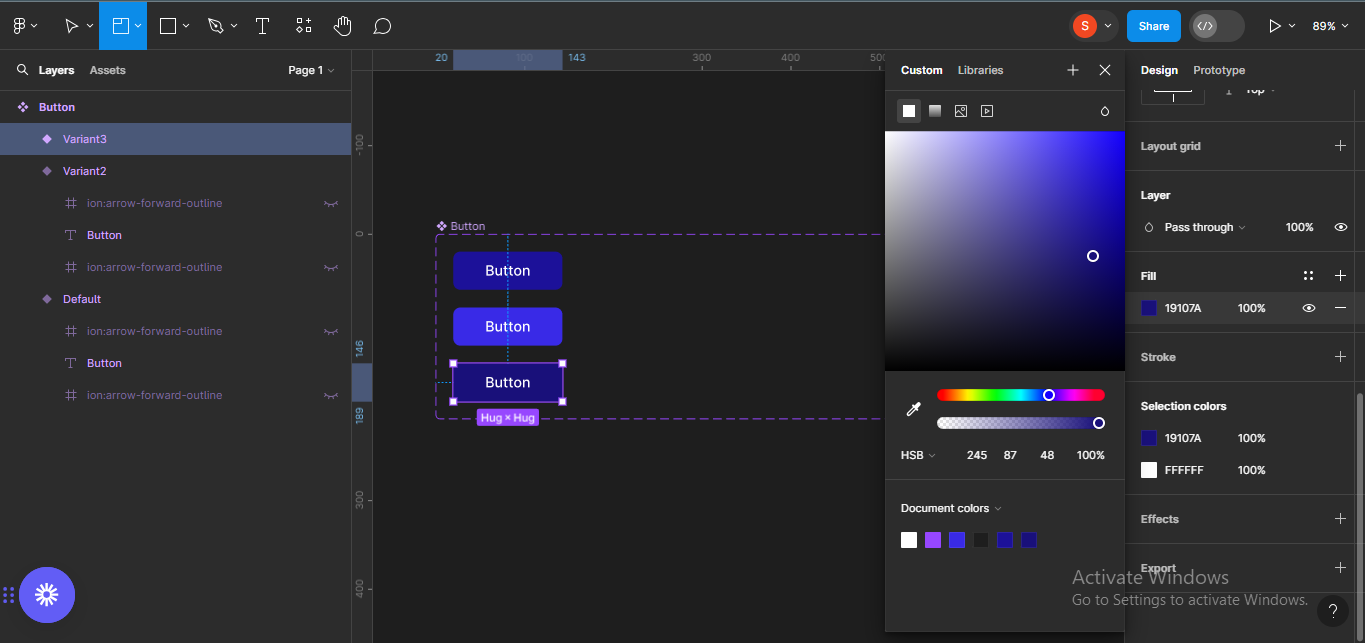
For the energetic state, I’ll change the colour code to #19107A which is a barely darker shade of blue.
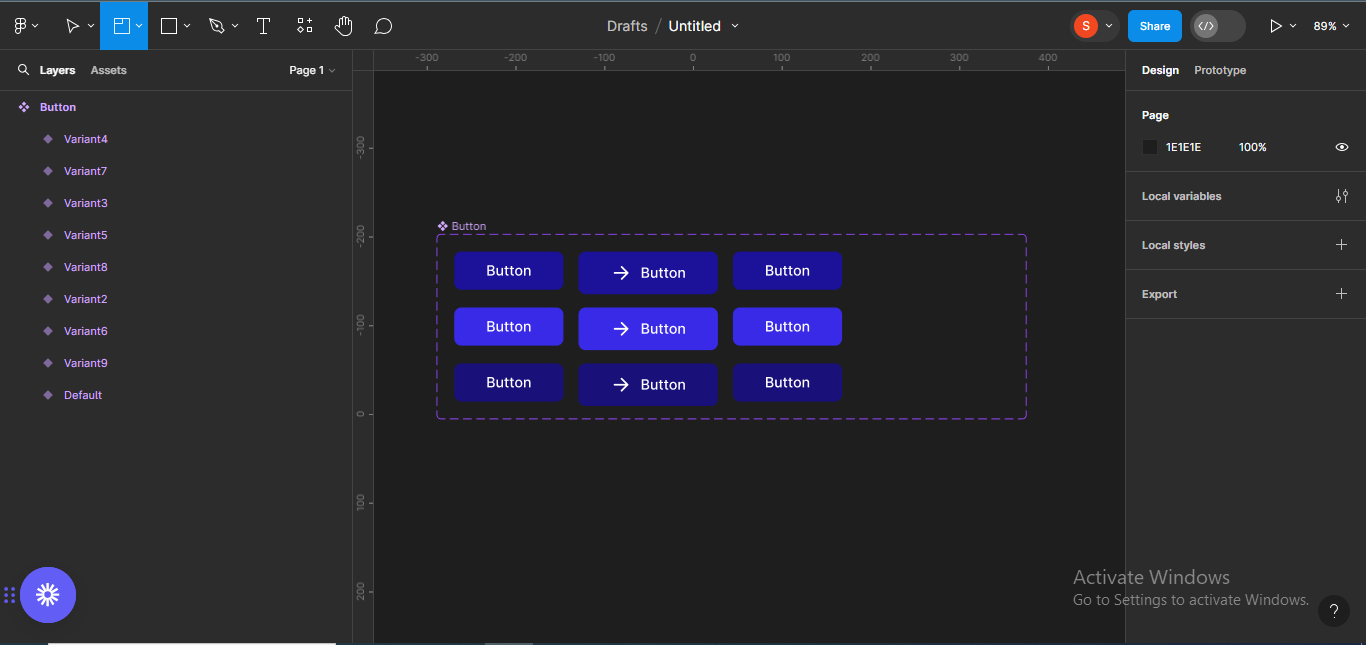
How to Create Other Button States
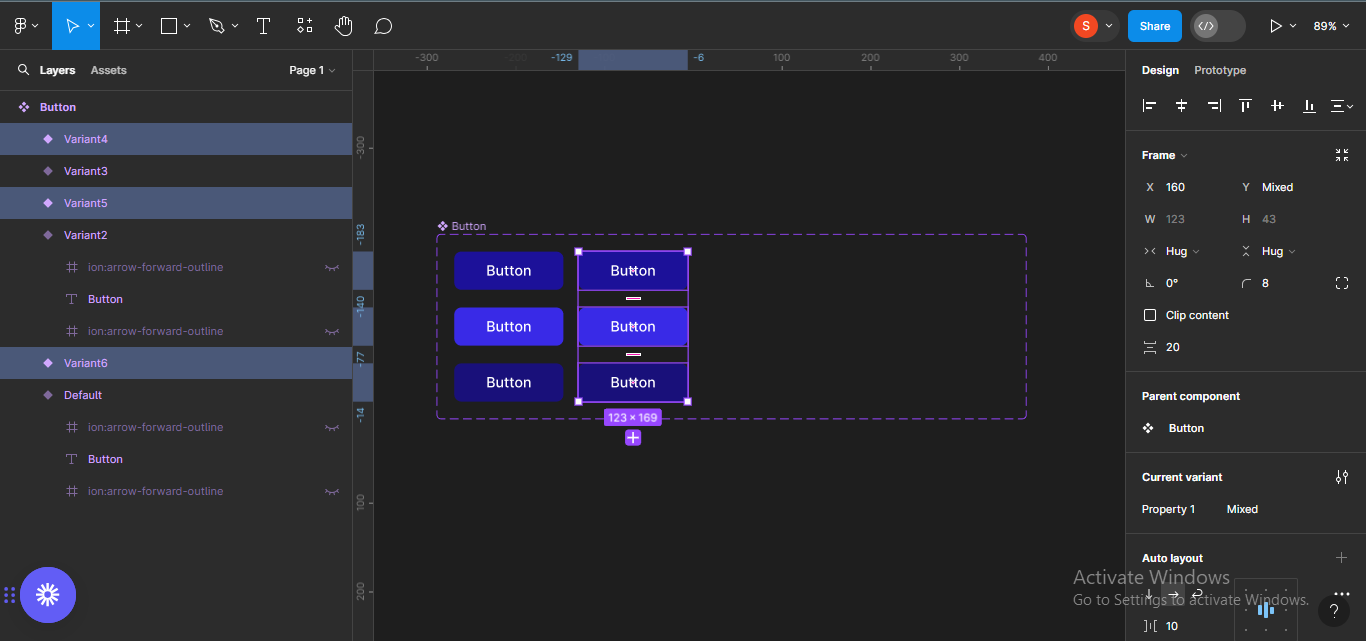
Next, we need to create different button states (buttons with icons on both aspect of the textual content, and with icons solely).
To begin with, I’ll duplicate the three buttons. To do that, choose the three buttons and duplicate utilizing Ctrl + D.
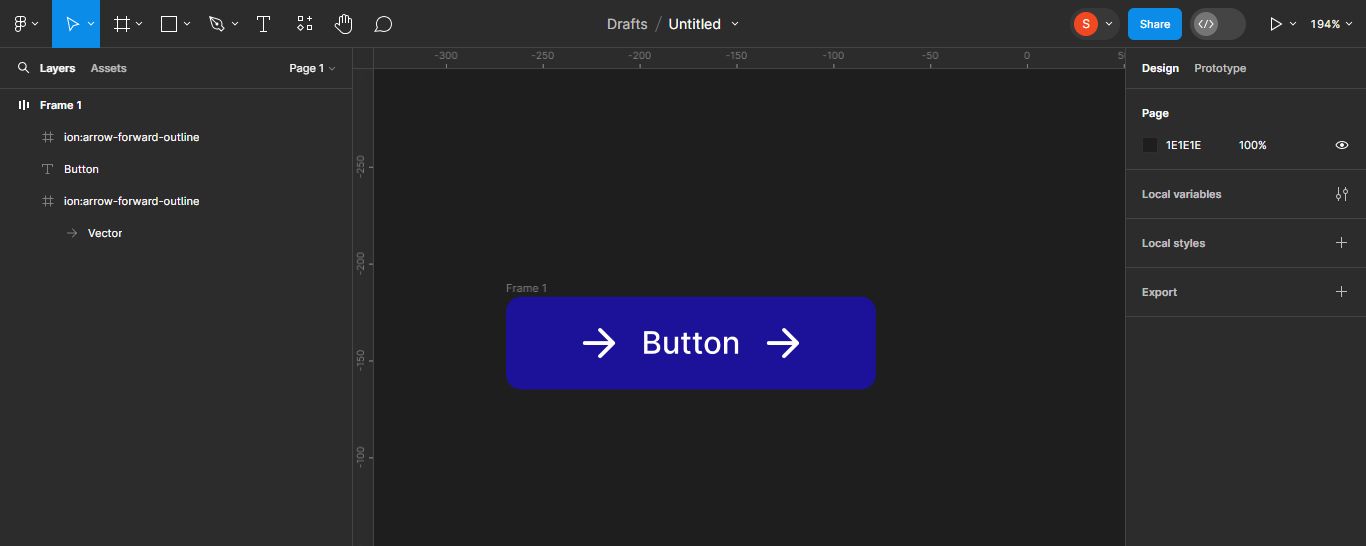
Next, we need to create button parts with textual content and a left icon. To do that, click on on the attention on the left icons on every of the icons to disclose them.
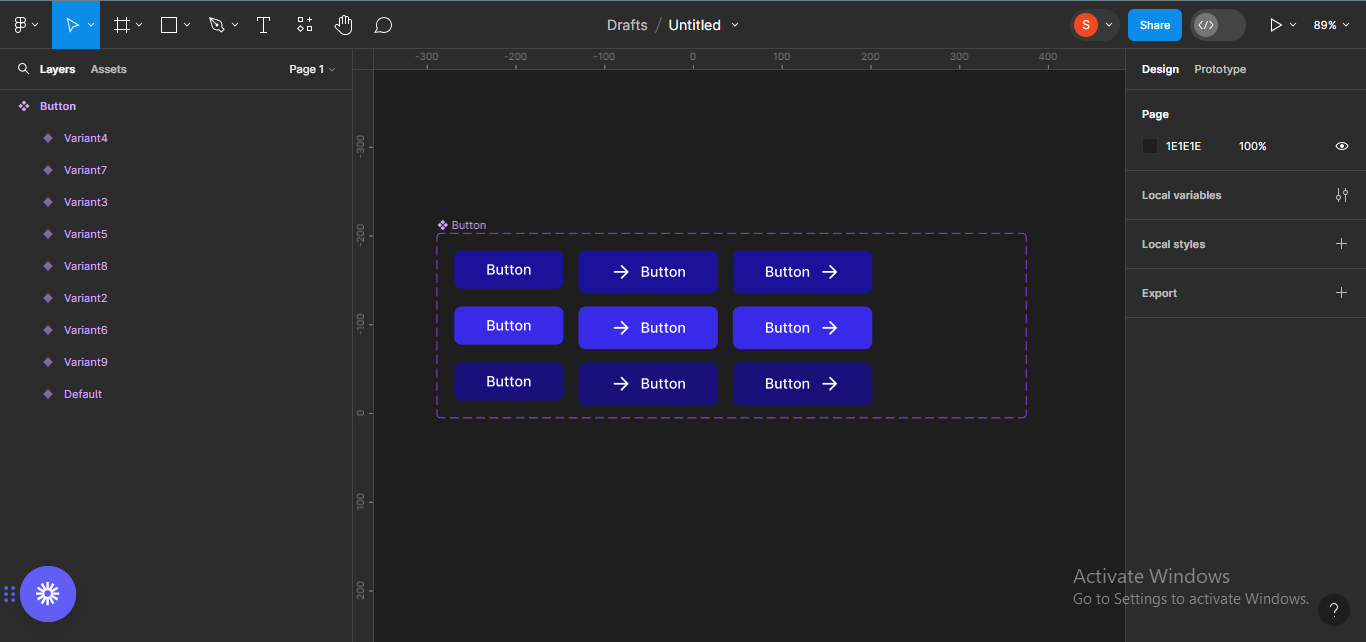
Next, we need to create button parts with textual content and a proper icon.
To do that, duplicate the buttons once more, and do the identical for the precise icons.
Lastly, we need to create button parts with icons solely.
To try this, we’ll duplicate the buttons one final time to cover the textual content.

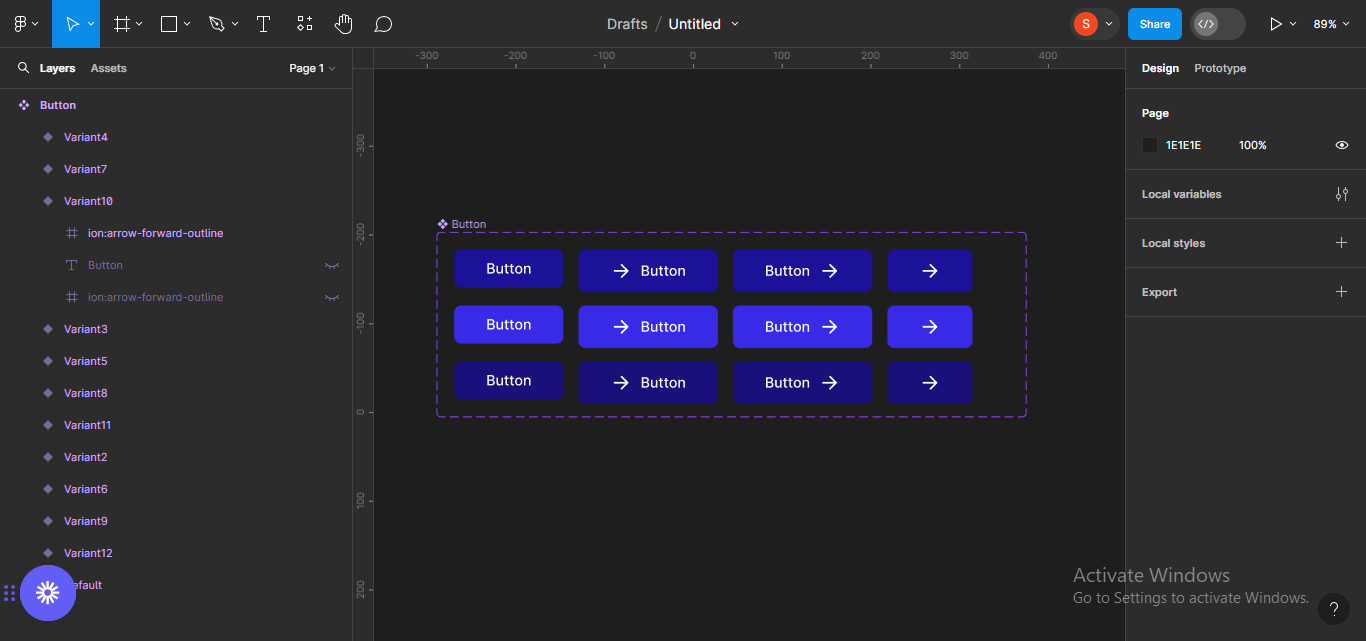
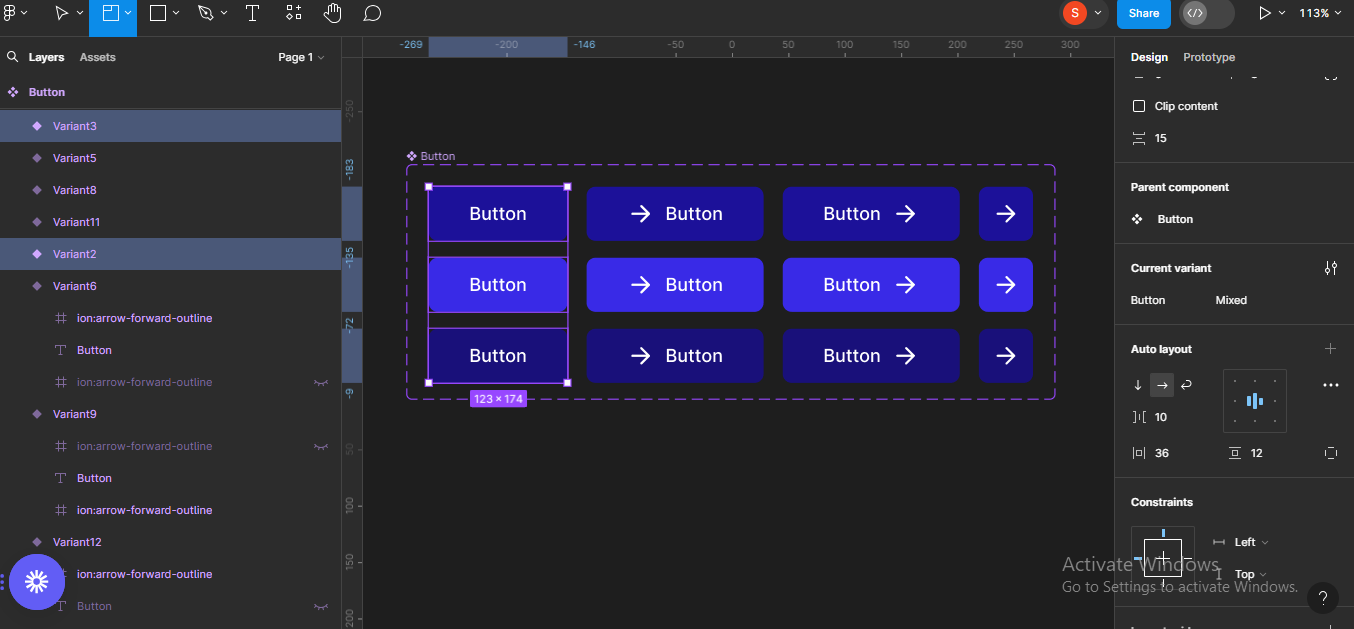
I’ll make the icon solely frames a sq. form. To try this, choose the three frames and drag to resize.
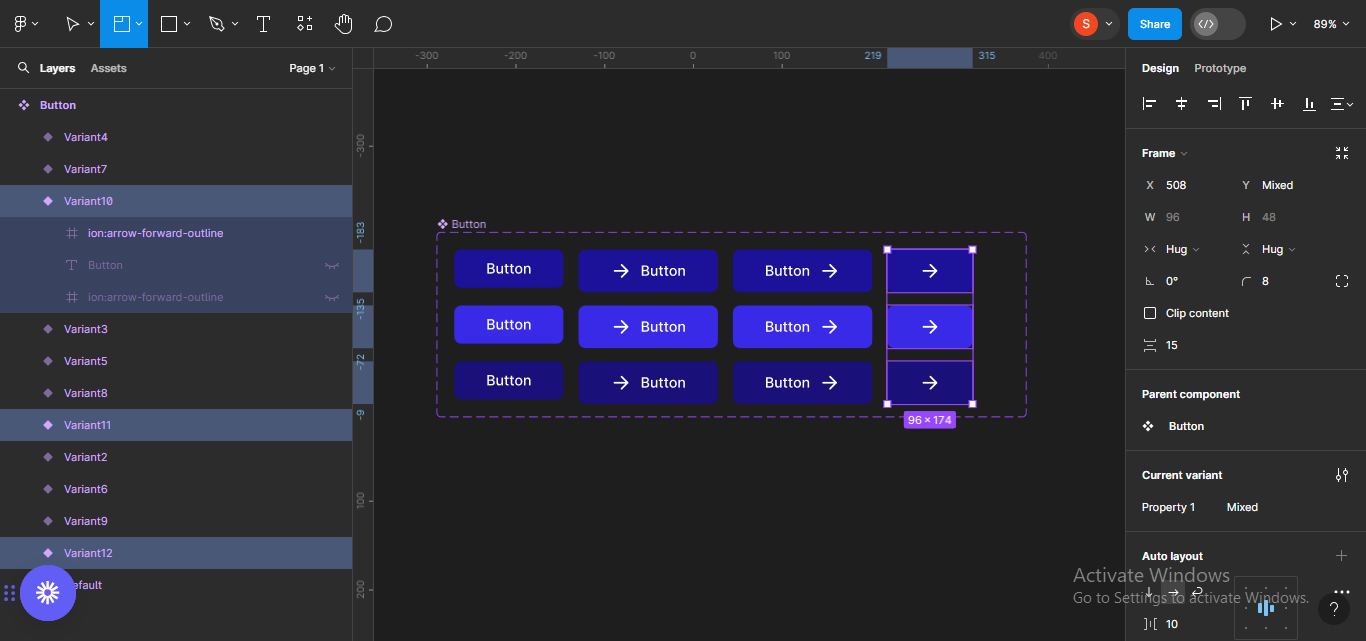
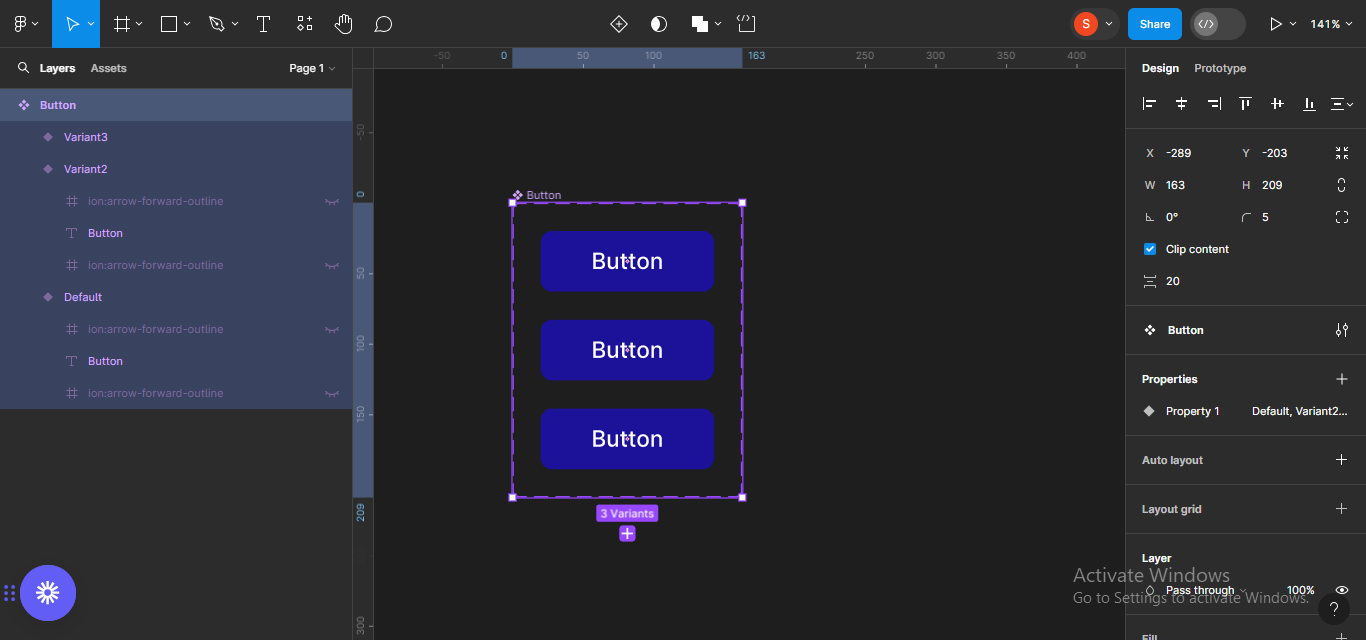
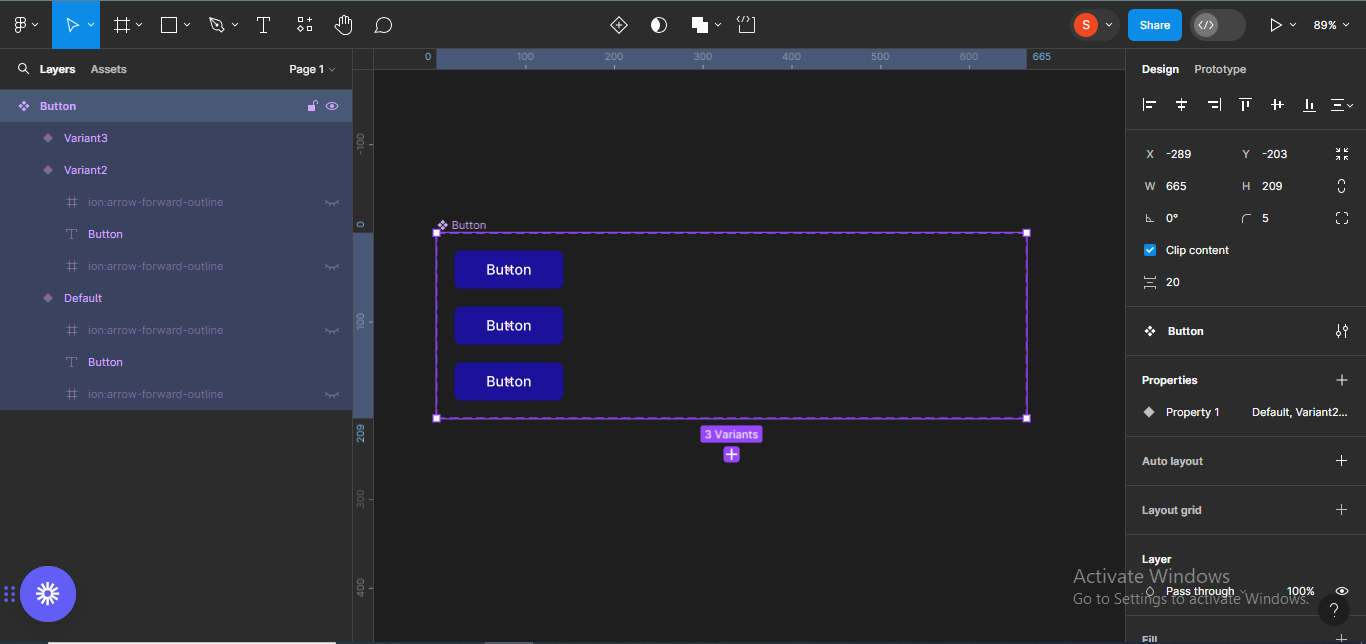
I’ll now resize the part body to suit its content material.
Next, we’ll rename the totally different button states so it will be simple to establish them. First, choose the entire part body. Then transfer to the part labelled Properties, and alter Property 1 to Button to indicate that it is a button part.


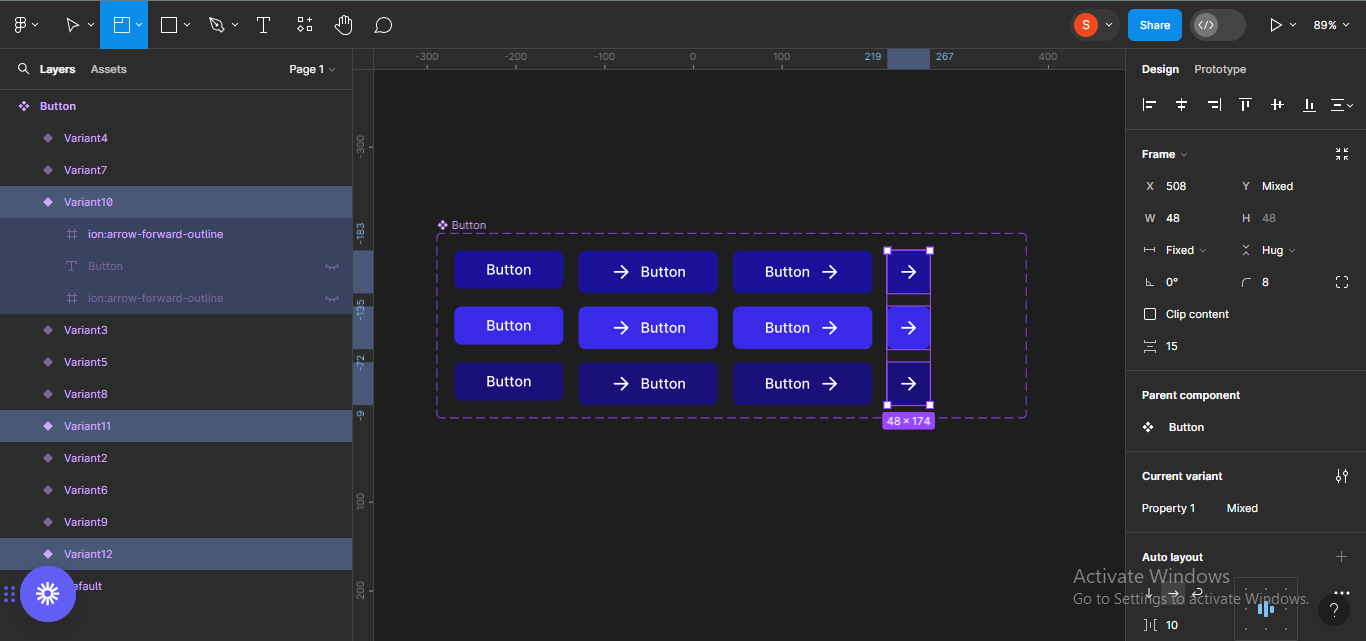
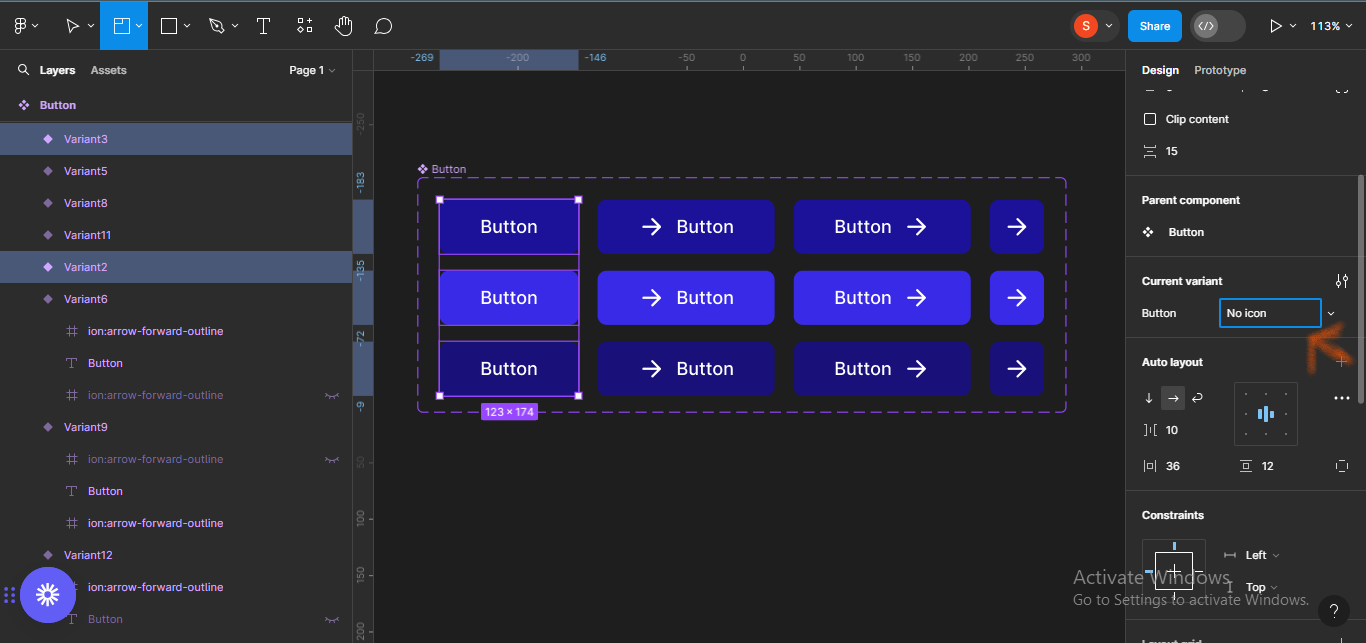
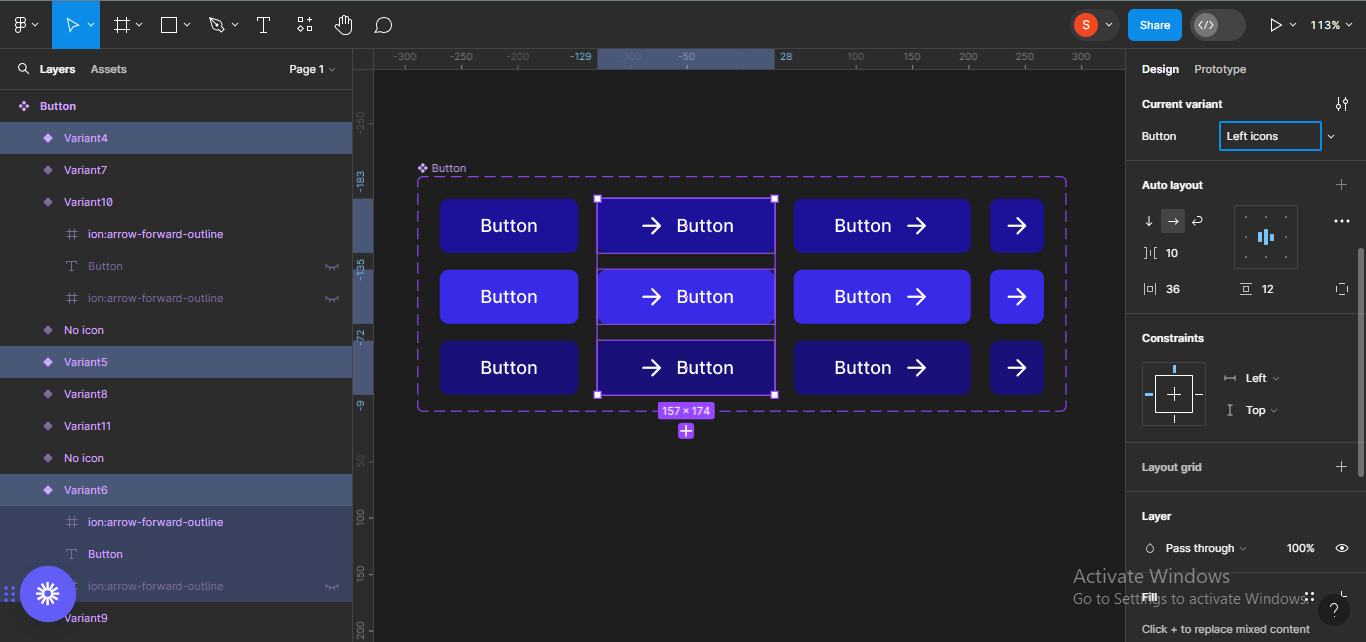
Next, we’ll rename the button frames by icons. Select the primary three frames horizontally, and go over to the Current variant part. Rename them No icons.
We’ll do similar for the subsequent three buttons, and title them Left Icons.
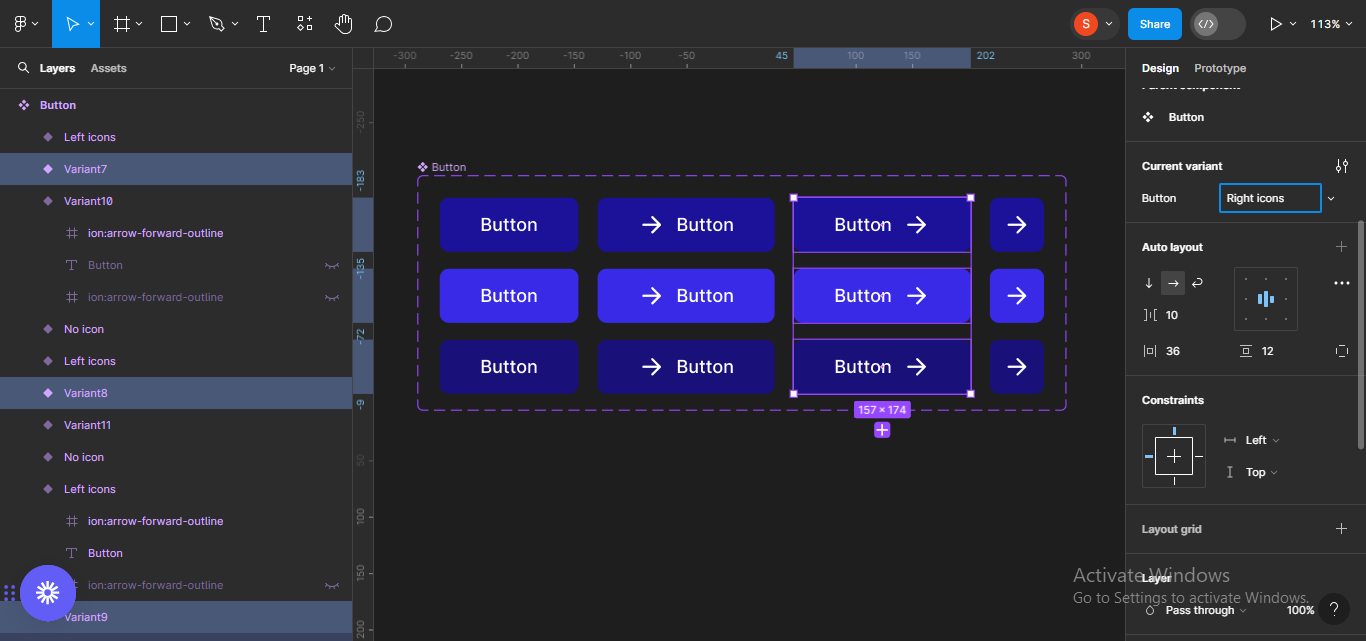
We’ll do the identical factor for the subsequent set, renaming them Right Icons.
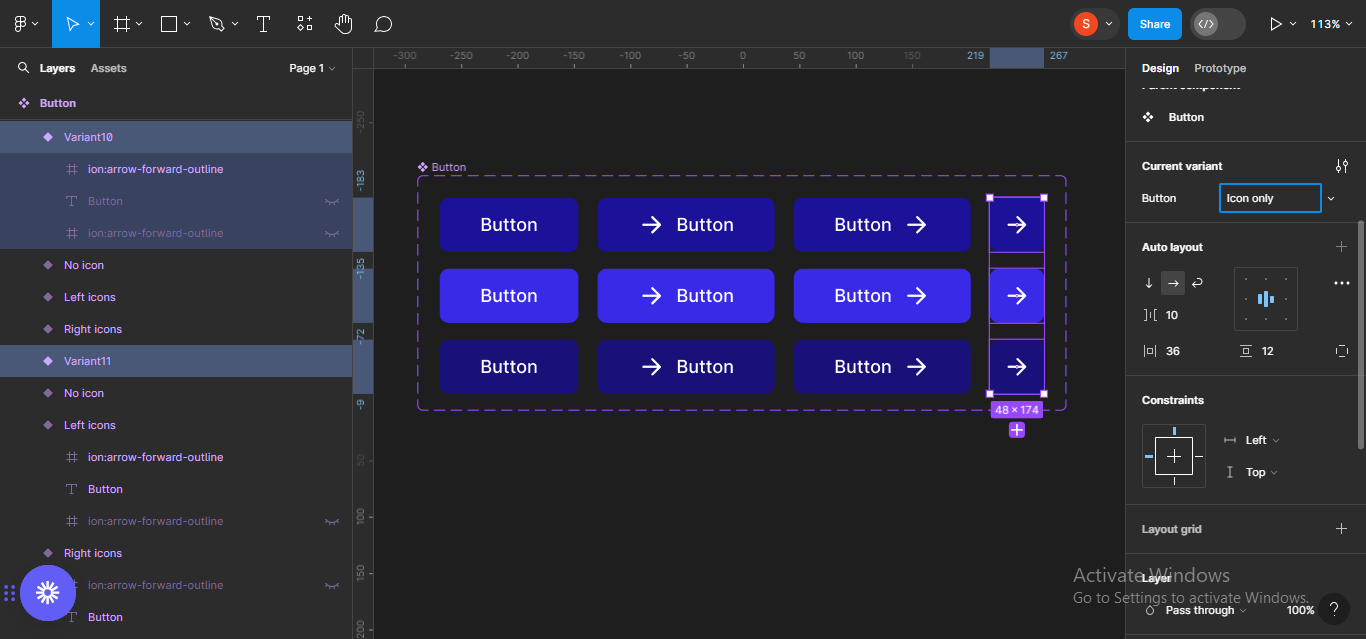
Finally, for the final set, we’ll rename the buttons Icons solely.
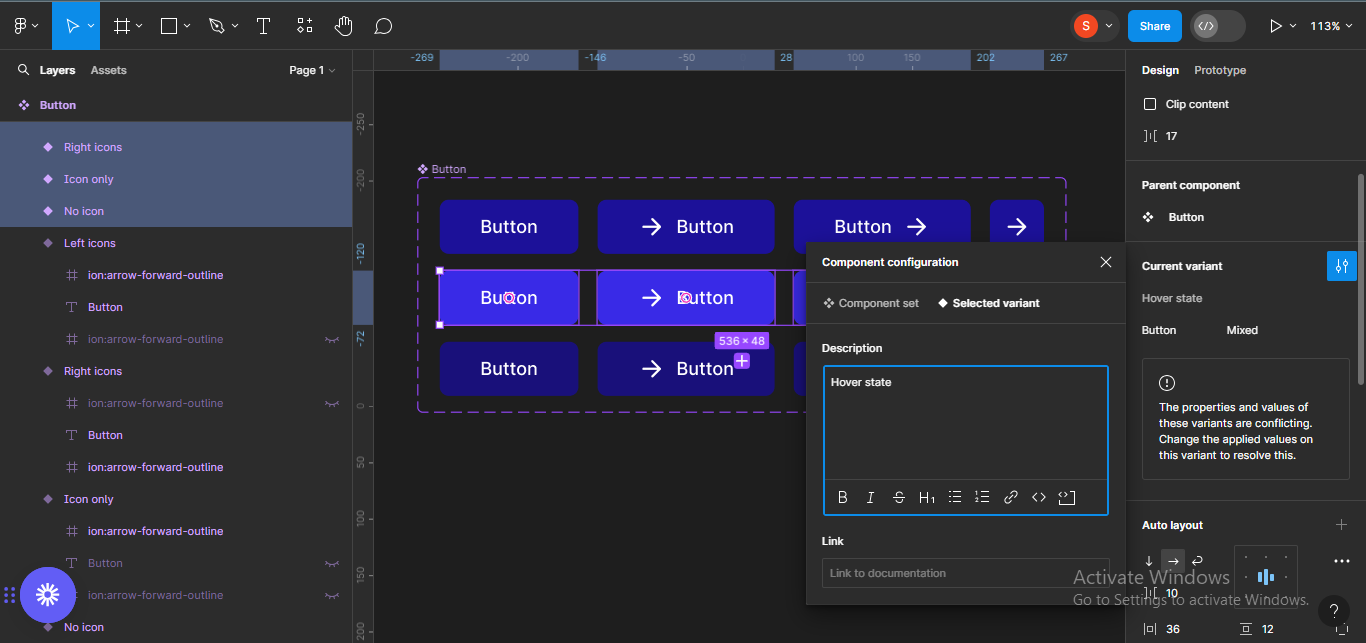
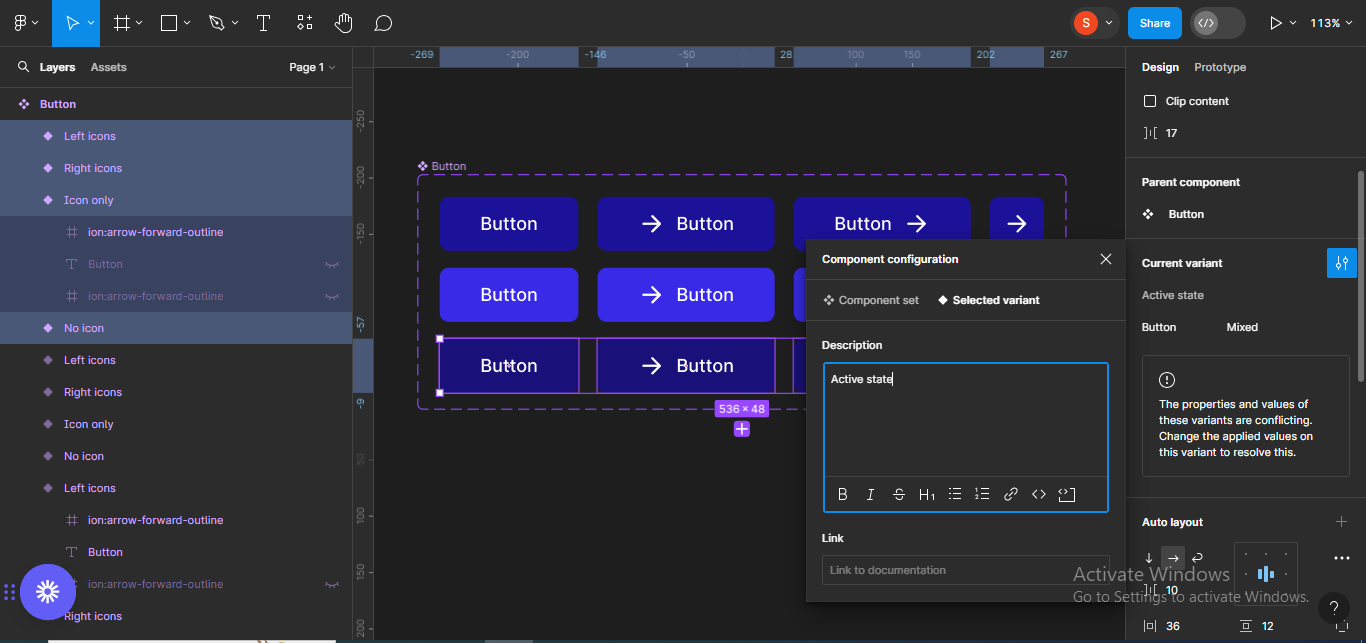
How to Group Buttons by States
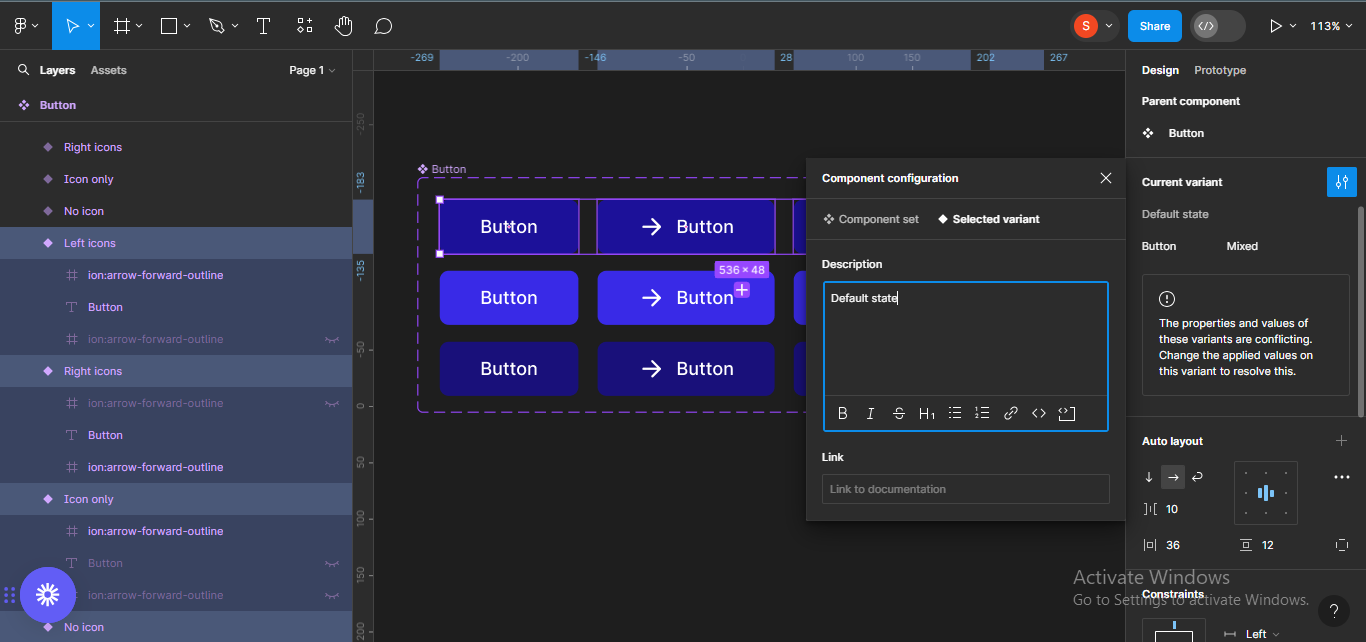
Next, we’ll group the buttons by states and title them. We’ll begin with the primary state: Default. Select all of the button frames beneath default and transfer to the Current variant part on the precise hand panel. Click on the configure icon to edit the part configuration.

Click on the outline field so as to add an outline. In this case, I’ll merely sort Default state.
Do the identical for the opposite two states – hover and energetic.
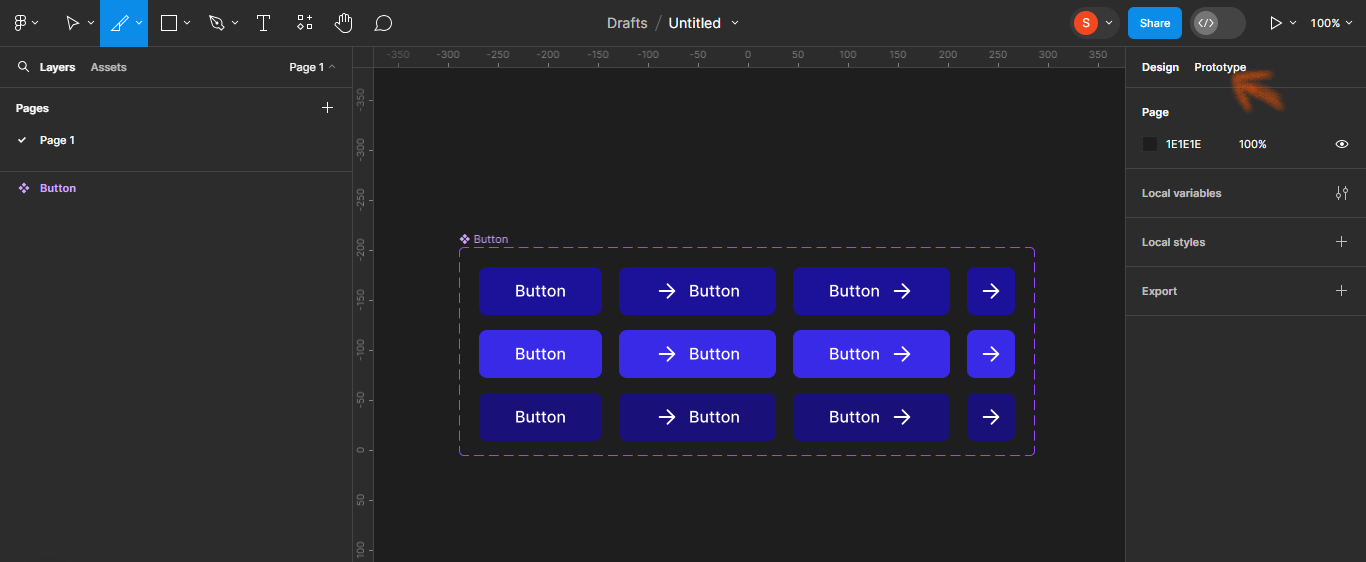
How to Make the Button Components Interactive
To begin, swap to the Prototype tab, positioned on the prime of your display, right-hand panel.
Next, add an interplay from the primary to the second no icon button body. To do that, click on on the primary button body and drag the plus icon to the second body.
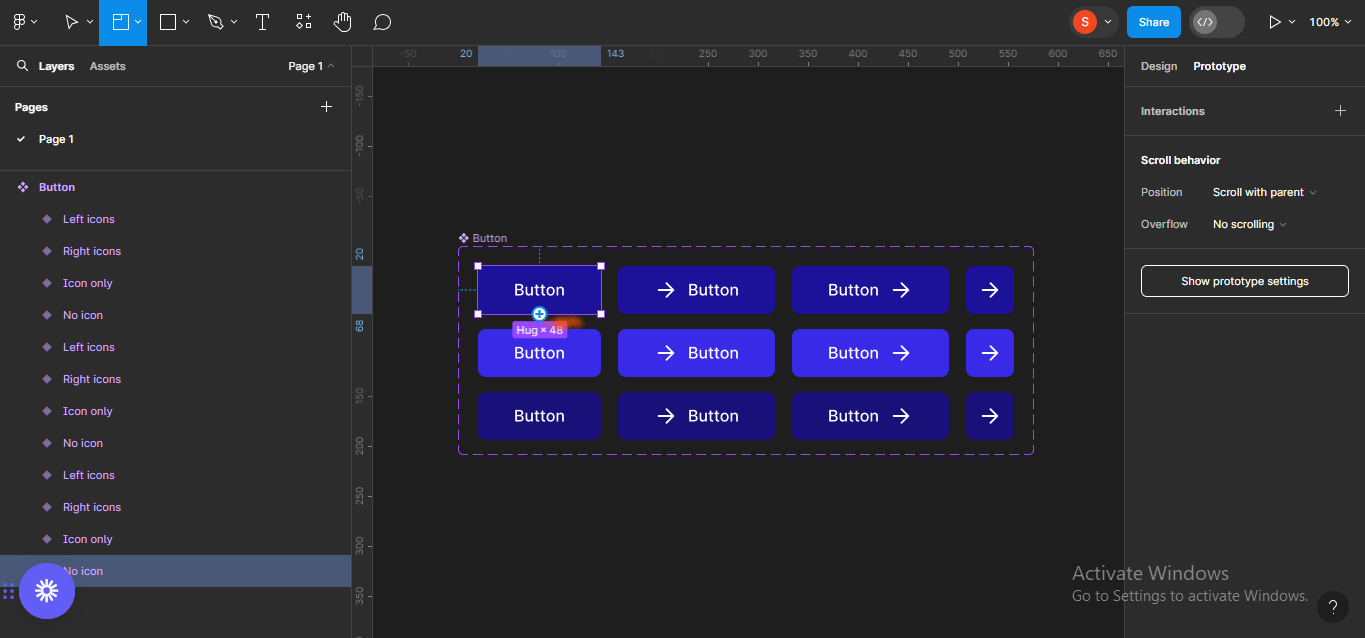
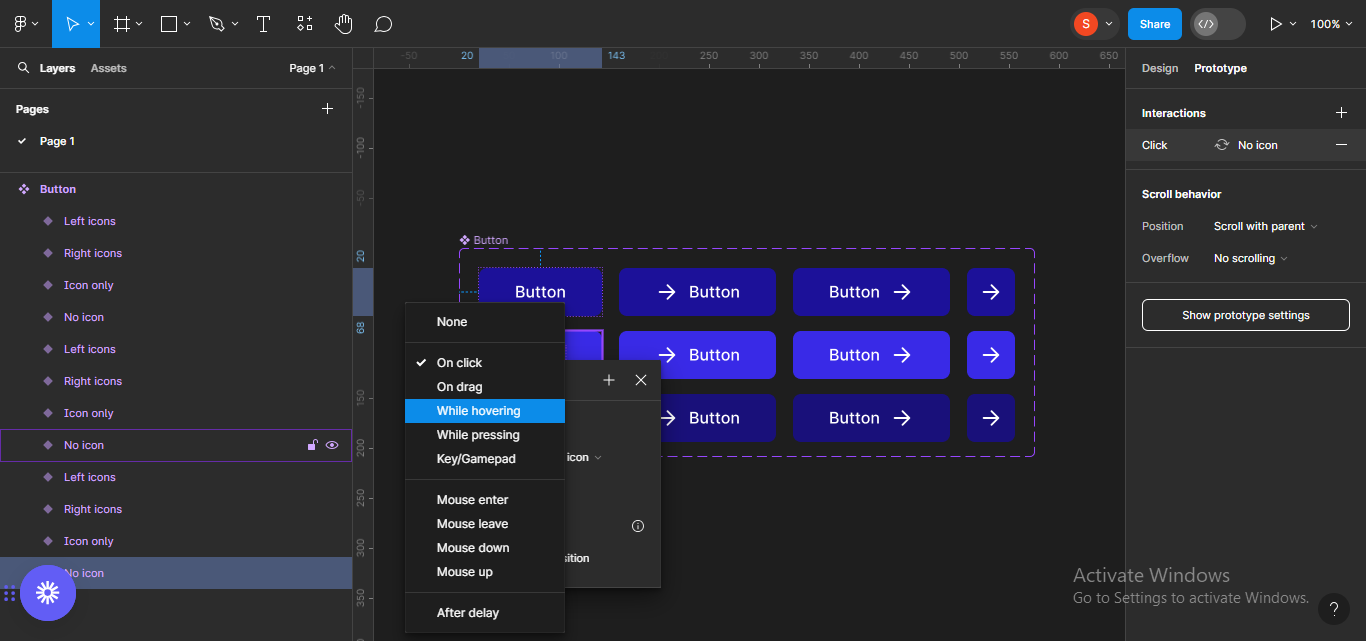
This will convey up a listing of interplay choices and settings for the animation.
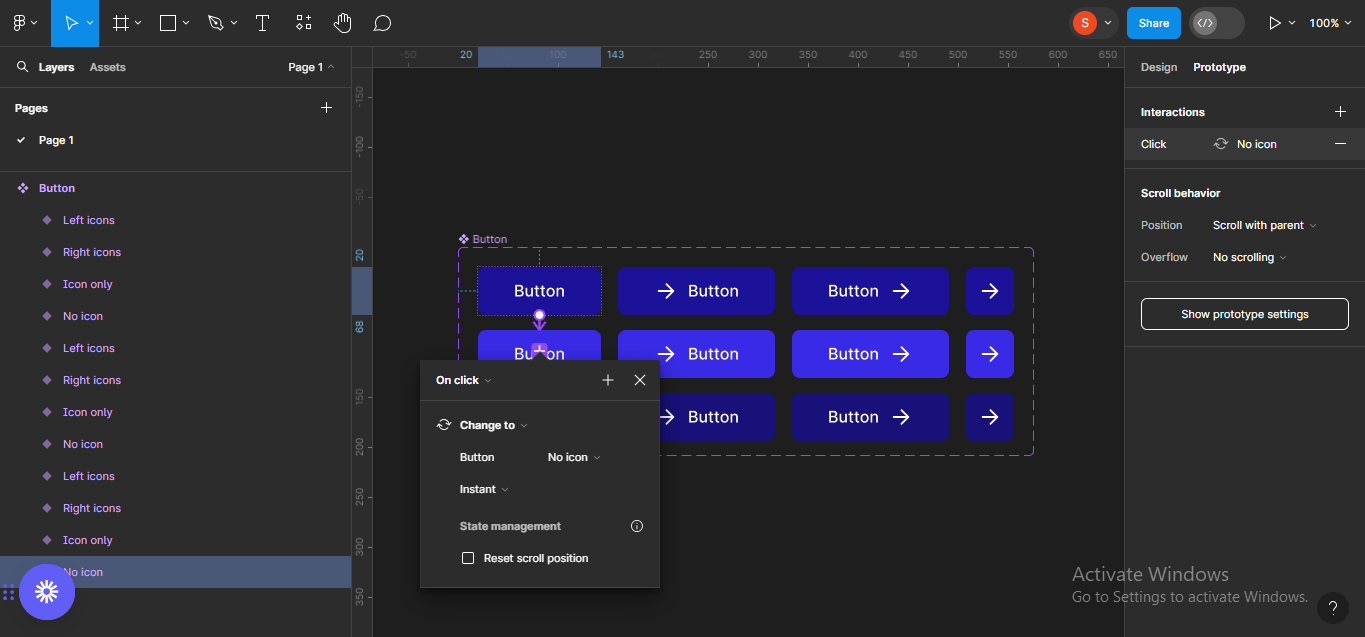
Change On click on to While hovering.
Do the identical for the subsequent button body however, as an alternative of While hovering, change to While urgent.
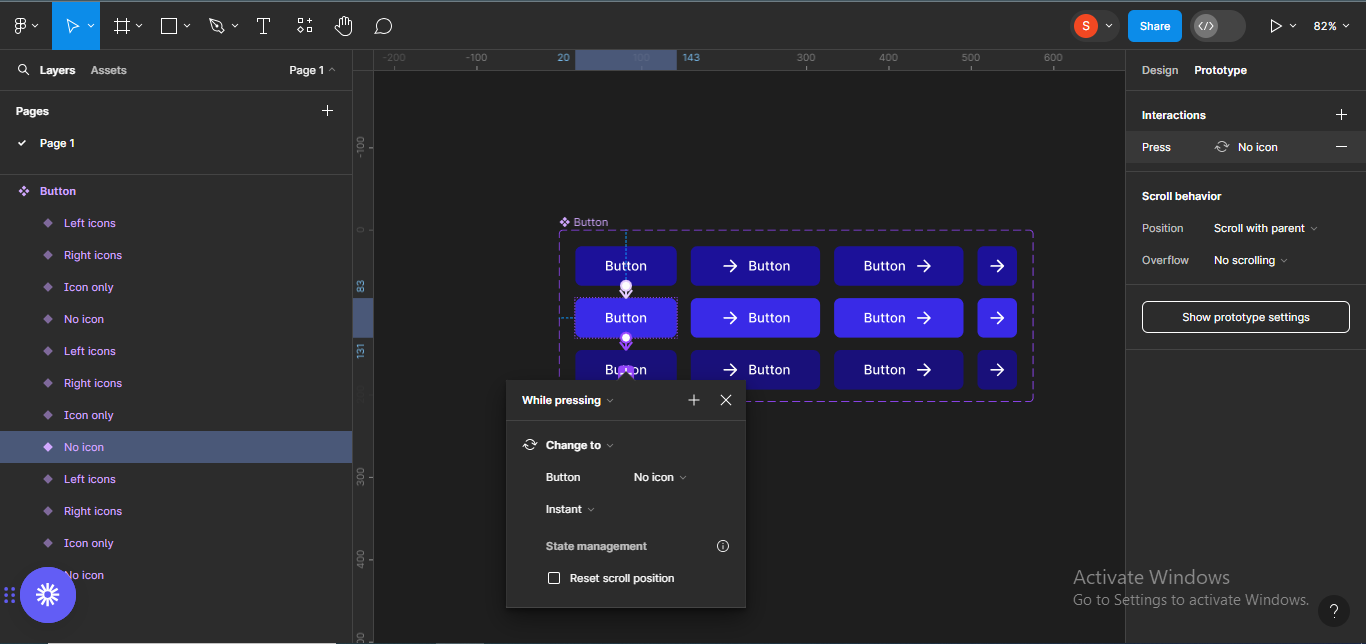
Now, repeat the identical steps for the opposite units.

Voilà, you simply created an interactive button part.
Conclusion
Components assist improve your designs and make them extra environment friendly. They additionally enable you to save time they usually enhance consistency throughout your designs. But they’ll solely assist once they’re created the precise method.
Practicing typically will assist enhance your potential to create useful reusable parts. Remember, make each choice along with your customers in thoughts.