
You can use knowledge insights derived out of your web site or app to make necessary choices that’ll assist develop your enterprise. This info might help you enhance person expertise, create efficient content material methods, and so forth.
Google Analytics is an efficient instrument for monitoring and analyzing visitors and occasions in your web sites and cell apps. In this text, you may discover ways to add Google Analytics to your Astro web site.
To comply with alongside, you may want the next:
- A Google account.
- A deployed Astro mission.
Let’s get began!
How to Add Google Analytics to an Astro Website
Before including Google analytics, ensure you’ve already deployed your mission. Here’s one which I’ve deployed utilizing Netlify: https://astro-article.netlify.app/. This is an Astro weblog template created with the npm create astro@newest -- --template weblog command.
This part might be divided into two sub-sections. In the primary sub-section, you may discover ways to create an Analytics account and learn how to arrange your account for monitoring and monitoring your web site.
In the second sub-section, you may discover ways to configure your code to sync with Google Analytics.
How to Set Up Google Analytics
You can comply with these steps to arrange Google Analytics:
Step #1 – Account Creation Page
The first step is to create a Google Analytics account. You can try this by visiting the Google Analytics web site.
When the web page hundreds, you must see one thing just like this:
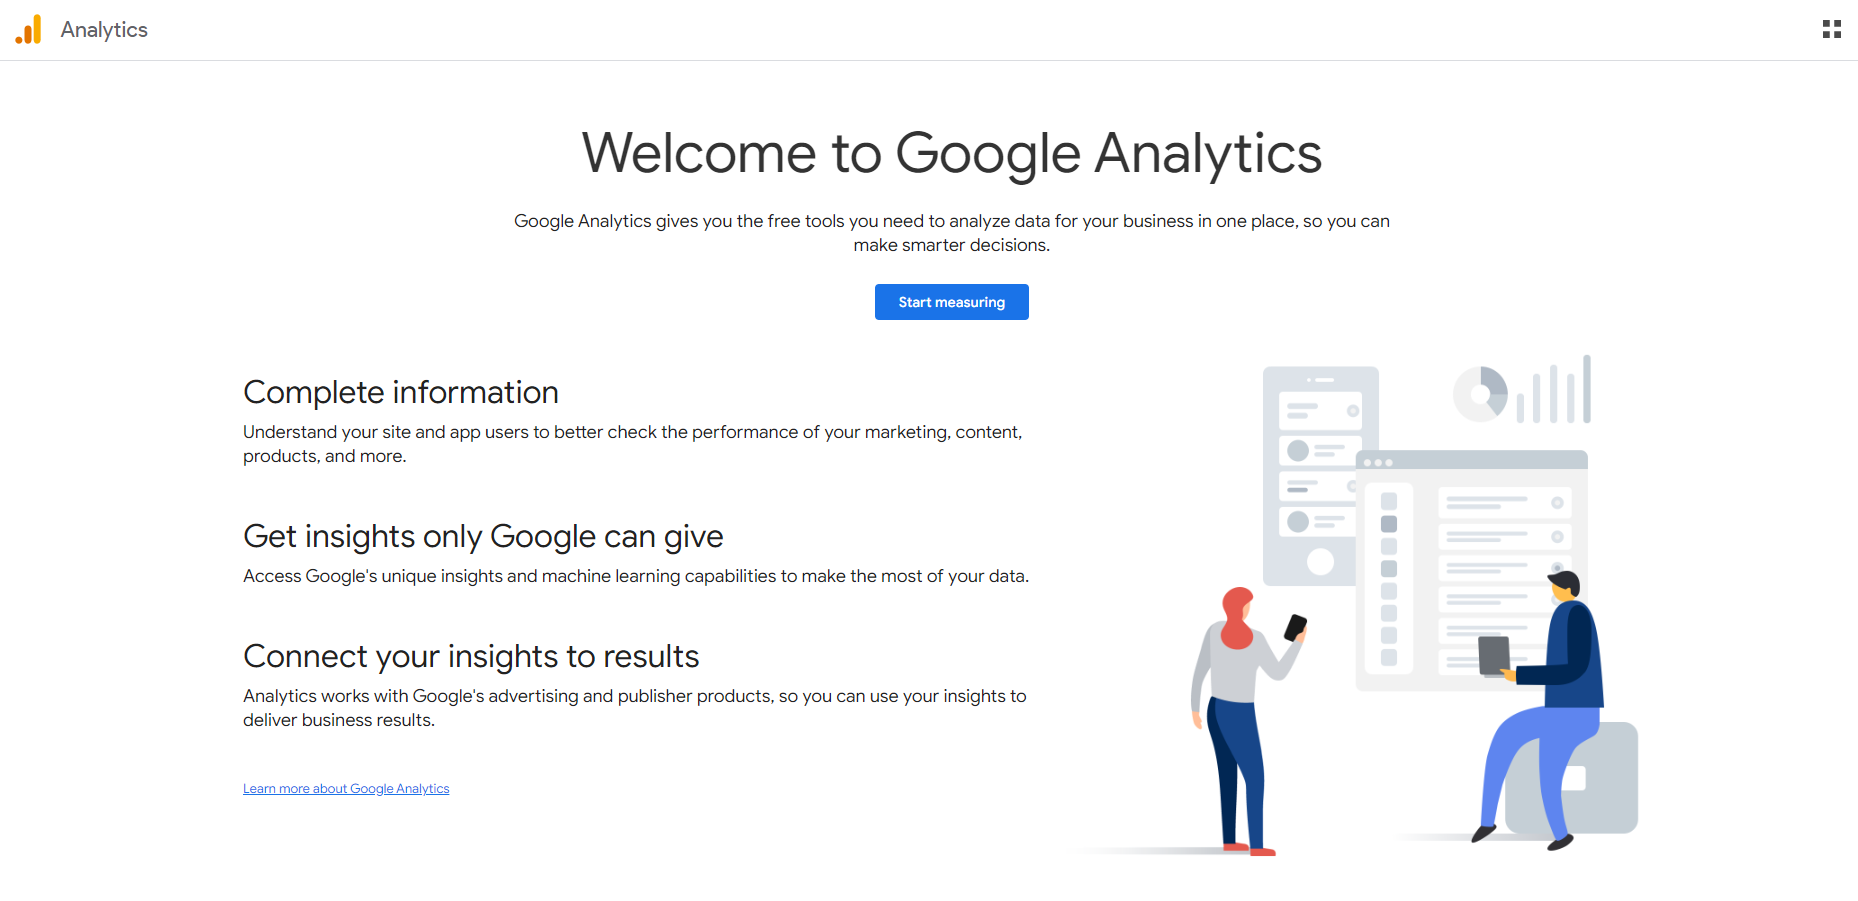
Click on the “Start measuring” button. This will take you to the account creation web page the place you may fill in some data about your web site/app. That is:
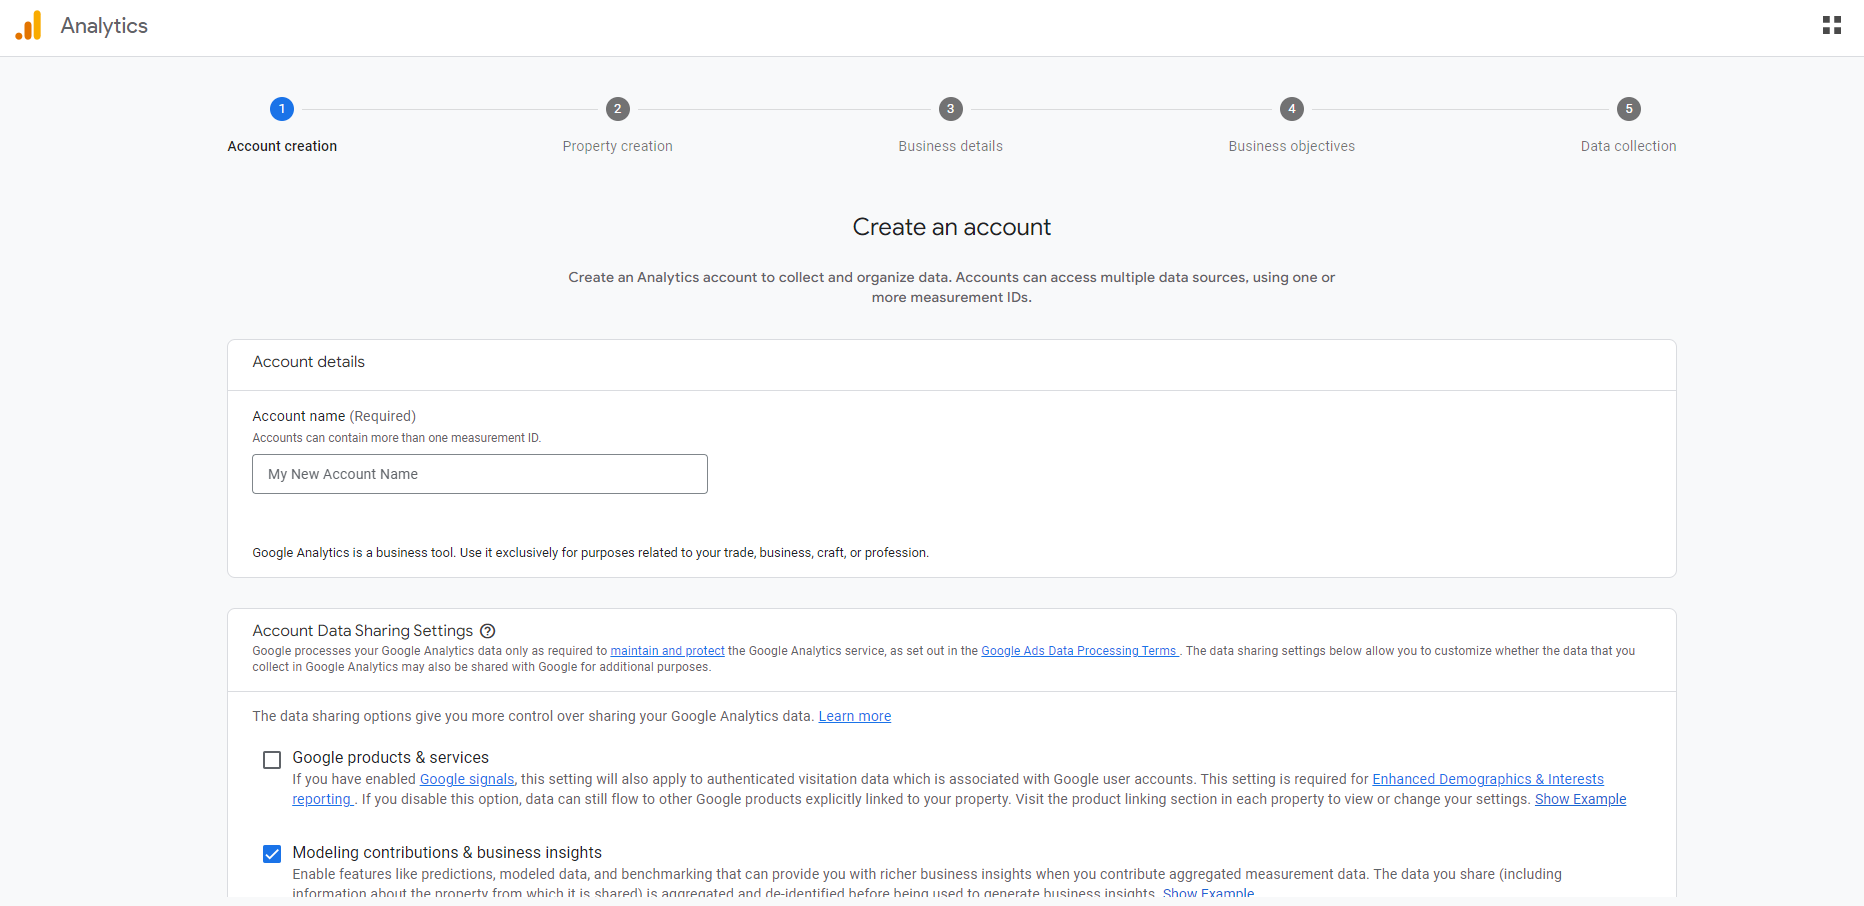
After inputting an account title, scroll down the web page and click on on the “Next” button.
Step #2 – Property Creation Page
On the property creation web page, you possibly can create a property title, time zone, and forex.
A property acts as a singular identifier in your web sites and apps. So it is sort of a container for all the information associated to a specified web site or app.

Step #3 – Business Details Page
On the enterprise particulars web page, you possibly can specify your business class and the enterprise dimension.

Step #4 – Business Objectives Page
The enterprise goals helps Analytics generate customized experiences for your enterprise. You can choose the choices which are necessary to your web site, app, or product class.

After deciding on the choices, click on on the “Create” button.
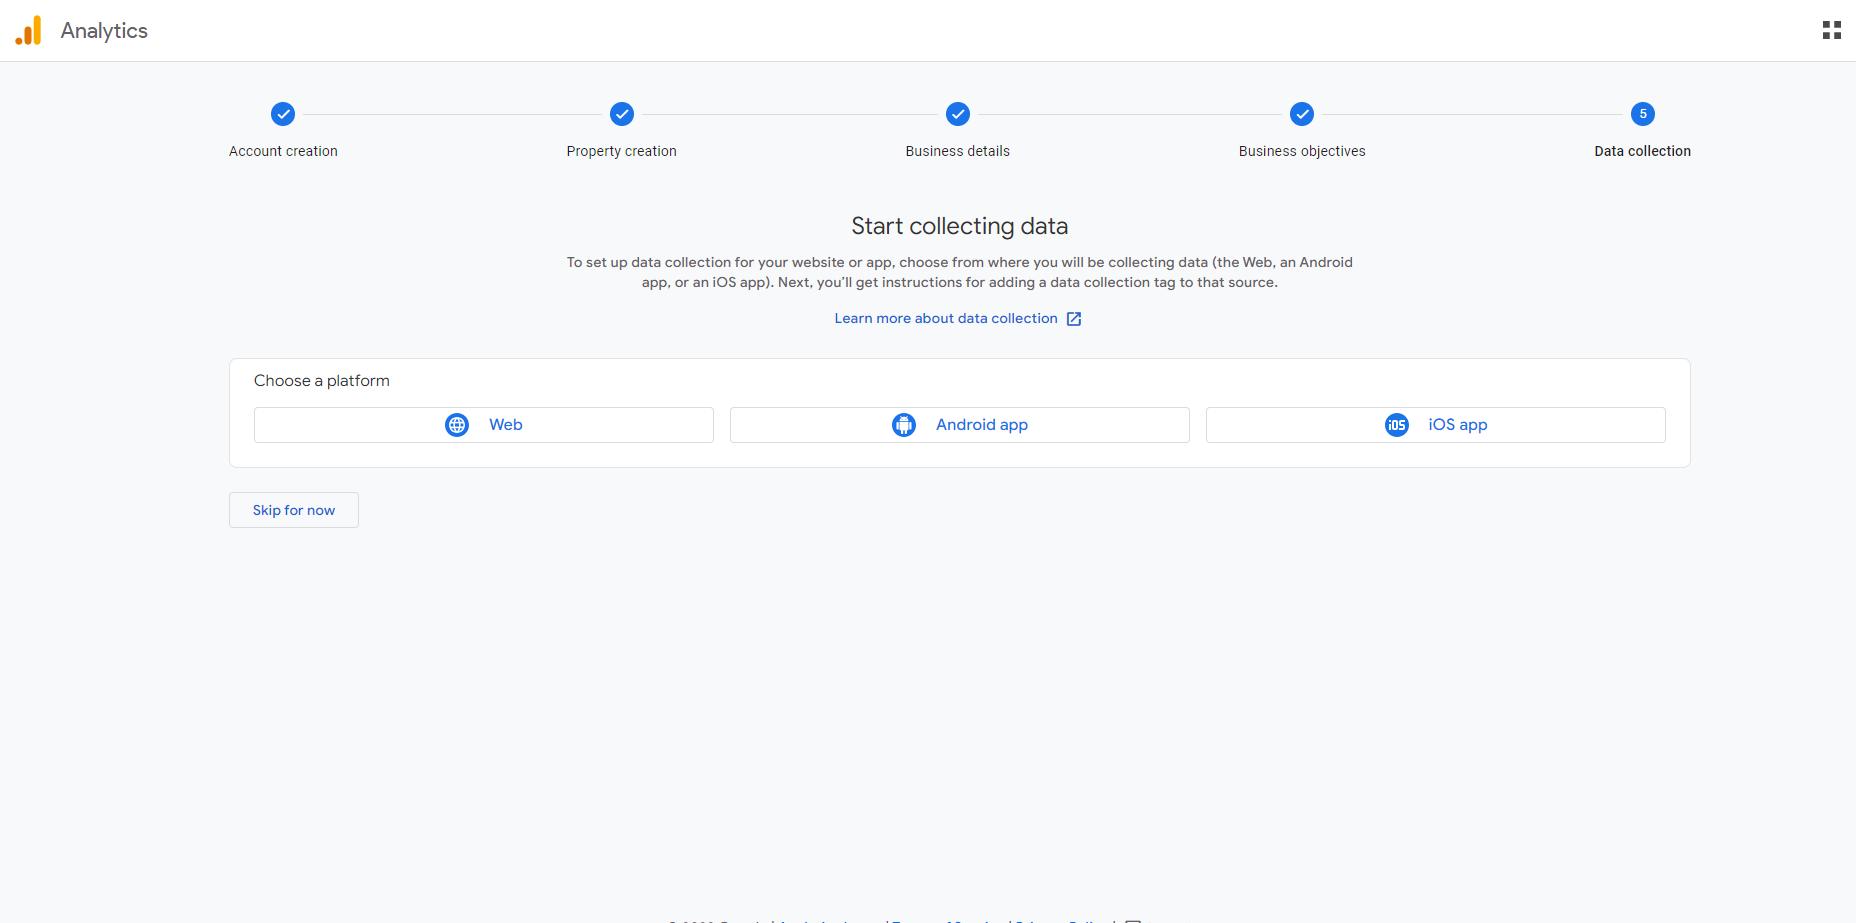
Step #5 – Data Collection Page
On the information assortment web page, you possibly can select between totally different platforms to gather knowledge from. Since we’re working with an internet site, we’ll go along with the Web choice.
Next, you may need to create an information stream by inputting your web site URL and your stream title (this may be no matter you need, however I’ll advocate utilizing a reputation associated to your web site).

In my knowledge stream info, I used https://astro-article.netlify.app/ because the URL and “Astro Blog Template” because the stream title.
Make positive you take away the “https://” a part of the hyperlink within the enter field so you aren’t getting the “Valid web site URL is required” error.
So as an alternative of https://astro-article.netlify.app/, it needs to be astro-article.netlify.app/.
This is what mine appears to be like like:
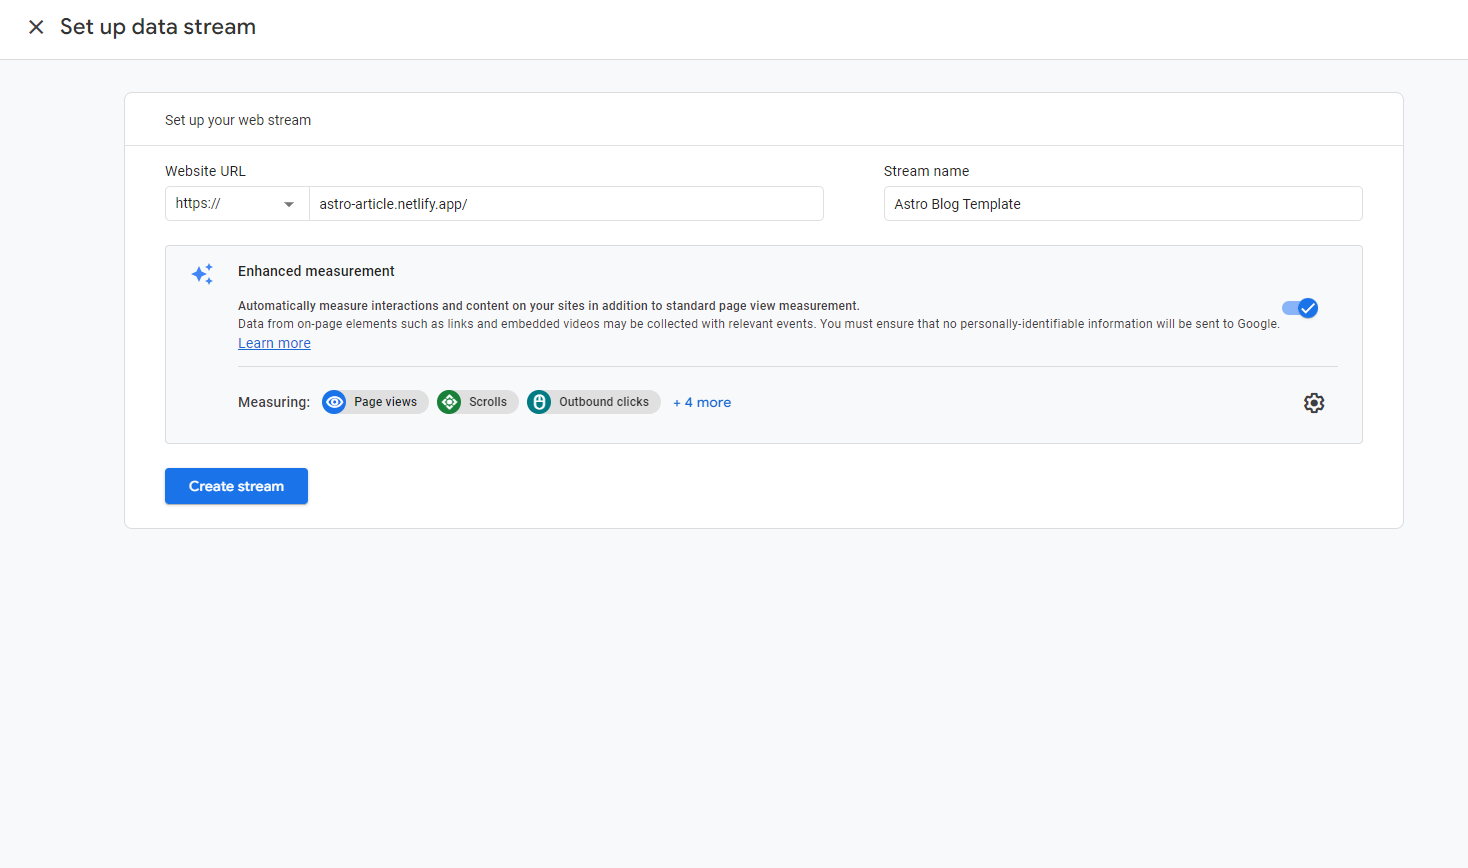
Go forward and click on on the “Create stream” button.
On the following web page/immediate, you may see your stream title, URL, ID, and measurement ID values.
The measurement ID might be necessary in our code integration so you possibly can copy and paste it someplace.
Here’s what the web page appears to be like like:

If you click on on “View tag directions”, you may see a code snippet for guide integration with code. Copy the code and paste someplace as a result of we’ll make use of it quickly.
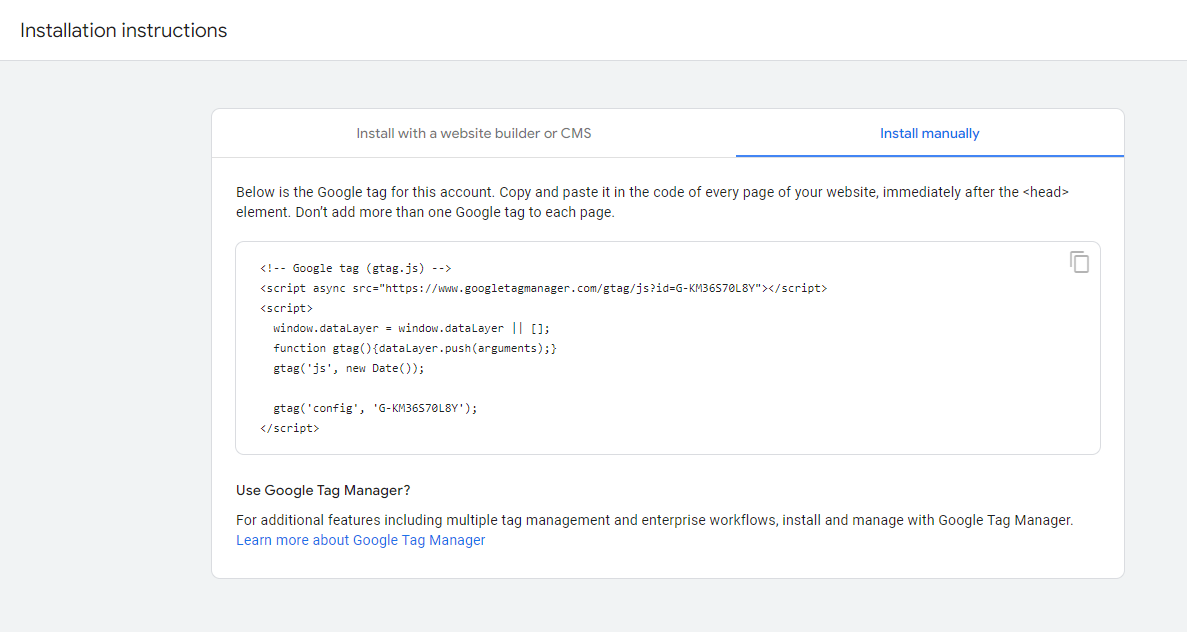
Here’s the code snippet for those who missed it:
<!-- Google tag (gtag.js) -->
<script async src="https://www.googletagmanager.com/gtag/js?id=MEASUREMENT_ID"></script>
<script>
  window.dataLayer = window.dataLayer || [];
  operate gtag(){dataLayer.push(arguments);}
  gtag('js', new Date());

  gtag('config', 'MEASUREMENT_ID');
</script>
If you are copying the code above, ensure you change the 2 MEASUREMENT_ID values with the precise worth of your measurement ID.
How to Integrate Google Analytics and Astro
At this level, we have created a Google Analytics account and generated our mission’s measurement ID. The subsequent factor to do is to sync our code to Google Analytics.
But first, we’ve got to put in a library referred to as Partytown. When utilizing third celebration integrations, you might run into efficiency points since you’re making use of third-party code.
Partytown permits these integrations to run as anticipated with out lowering your website’s efficiency. You can learn extra about that right here.
Step #1 – Install Partytown
Head to your Astro mission terminal and run this command to put in Partytown:
npm set up @astrojs/partytownStep #2 – Configure Partytown
After the set up is full, you may want so as to add the mixing to your astro.config.mjs file:
import { defineConfig } from 'astro/config';
import mdx from '@astrojs/mdx';
import partytown from '@astrojs/partytown'

import sitemap from '@astrojs/sitemap';

// https://astro.construct/config
export default defineConfig({
	website: 'https://astro-article.netlify.app/',
	integrations: [
		mdx(),
		sitemap(),
		partytown({
			config: {
			  forward: ["dataLayer.push"],
			},
		}),
	],
});
In the code above, we imported the Partytown library: import partytown from '@astrojs/partytown'.
We then added this piece of code to the integrations object:
partytown({
      config: {
        ahead: ["dataLayer.push"],
      },
})
Everything else within the code got here with the Astro mission.
Step #3 – Add Google Tag to your Pages
Remember the code snippet from Google Analytics? This is the place we’ll use it.
<!-- Google tag (gtag.js) -->
<script kind="textual content/partytown" async src="https://www.googletagmanager.com/gtag/js?id=MEASUREMENT_ID"></script>
<script kind="textual content/partytown">
  window.dataLayer = window.dataLayer || [];
  operate gtag(){dataLayer.push(arguments);}
  gtag('js', new Date());

  gtag('config', 'MEASUREMENT_ID');
</script>
Note that we added the kind="textual content/partytown" attribute to each <script> tags.
Remember to alter the MEASUREMENT_ID values to the worth of your measurement ID. Mine appears to be like like this:
<!-- Google tag (gtag.js) -->
<script kind="textual content/partytown" async src="https://www.googletagmanager.com/gtag/js?id=G-KM36S70L8Y"></script>
<script kind="textual content/partytown">
	window.dataLayer = window.dataLayer || [];
	operate gtag(){dataLayer.push(arguments);}
	gtag('js', new Date());

	gtag('config', 'G-KM36S70L8Y');
</script>
Do not use the snippet above because it has my measurement ID so it is already related to my web site (not my precise web site :)). Copy the primary code snippet and alter the MEASUREMENT_ID values to the worth of your measurement ID.
To observe and monitor a web page, it’s essential to paste the code snippet in that web page. Copy the code and paste it within the <head> part of each web page file (index.astro, BlogSubmit.astro, and so forth) you need to observe and analyze utilizing Google Analytics.
Here’s an instance utilizing the index.astro file within the pages listing:
---
import BaseHead from '../elements/BaseHead.astro';
import Header from '../elements/Header.astro';
import Footer from '../elements/Footer.astro';
import { SITE_TITLE, SITE_DESCRIPTION } from '../consts';
---

<!doctype html>
<html lang="en">
	<head>
		<!-- Google tag (gtag.js) -->
		<script kind="textual content/partytown" async src="https://www.googletagmanager.com/gtag/js?id=MEASUREMENT_ID"></script>
		<script kind="textual content/partytown">
			window.dataLayer = window.dataLayer || [];
			operate gtag(){dataLayer.push(arguments);}
			gtag('js', new Date());

			gtag('config', 'MEASUREMENT_ID');
		</script>
		<BaseHead title={SITE_TITLE} description={SITE_DESCRIPTION} />
	</head>
... <!-- The remainder of the HTML code -->
In the code above, we put the code from Google Analytics within the <head> tag. You can do that for all of the pages you need to observe and monitor.
Remember so as to add the kind="textual content/partytown" attribute to the <script> tags, and to alter MEASUREMENT_ID (utilized in two locations within the snippet) to the worth of your measurement ID.
Step #4 – Build and Deploy your Project
Deploy your mission utilizing your most popular course of.
In my case, I take advantage of npm run construct to construct into the dist folder, after which push the code to GitHub. This routinely triggers a Netlify deployment.
You do not have to make use of my methodology, however be certain your mission builds earlier than deployment.
Once your web site has been deployed, you might have to attend as much as 48 hours to start out seeing your analytics within the Google Analytics dashboard.
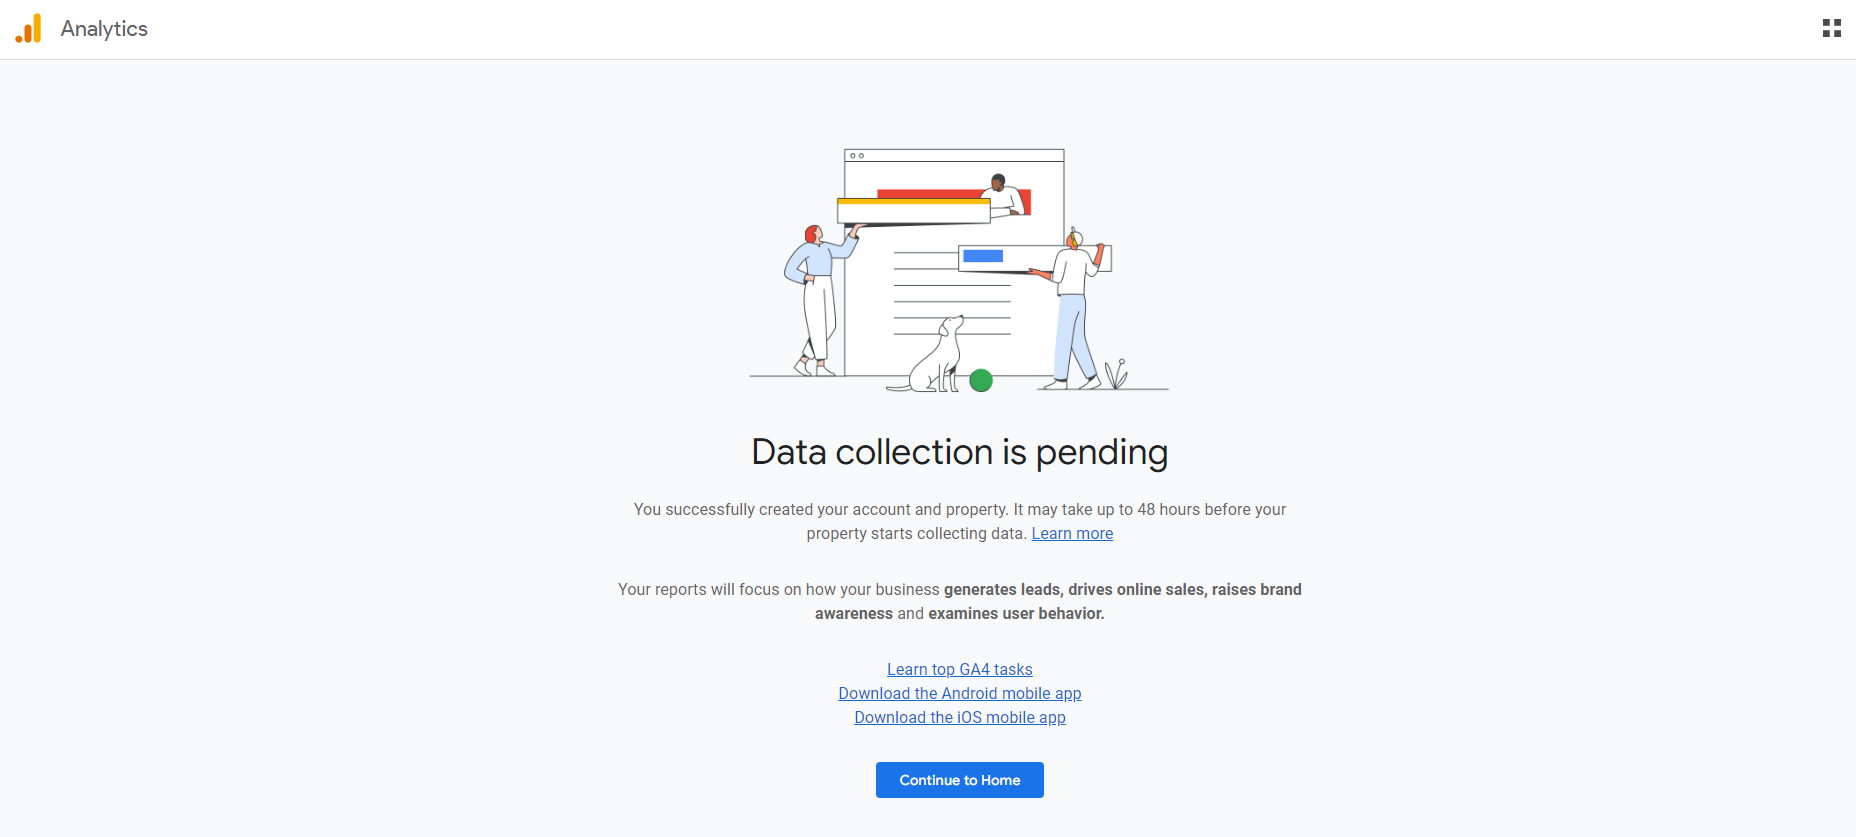
You’ll see this web page while you click on on the “Continue to Home” button:
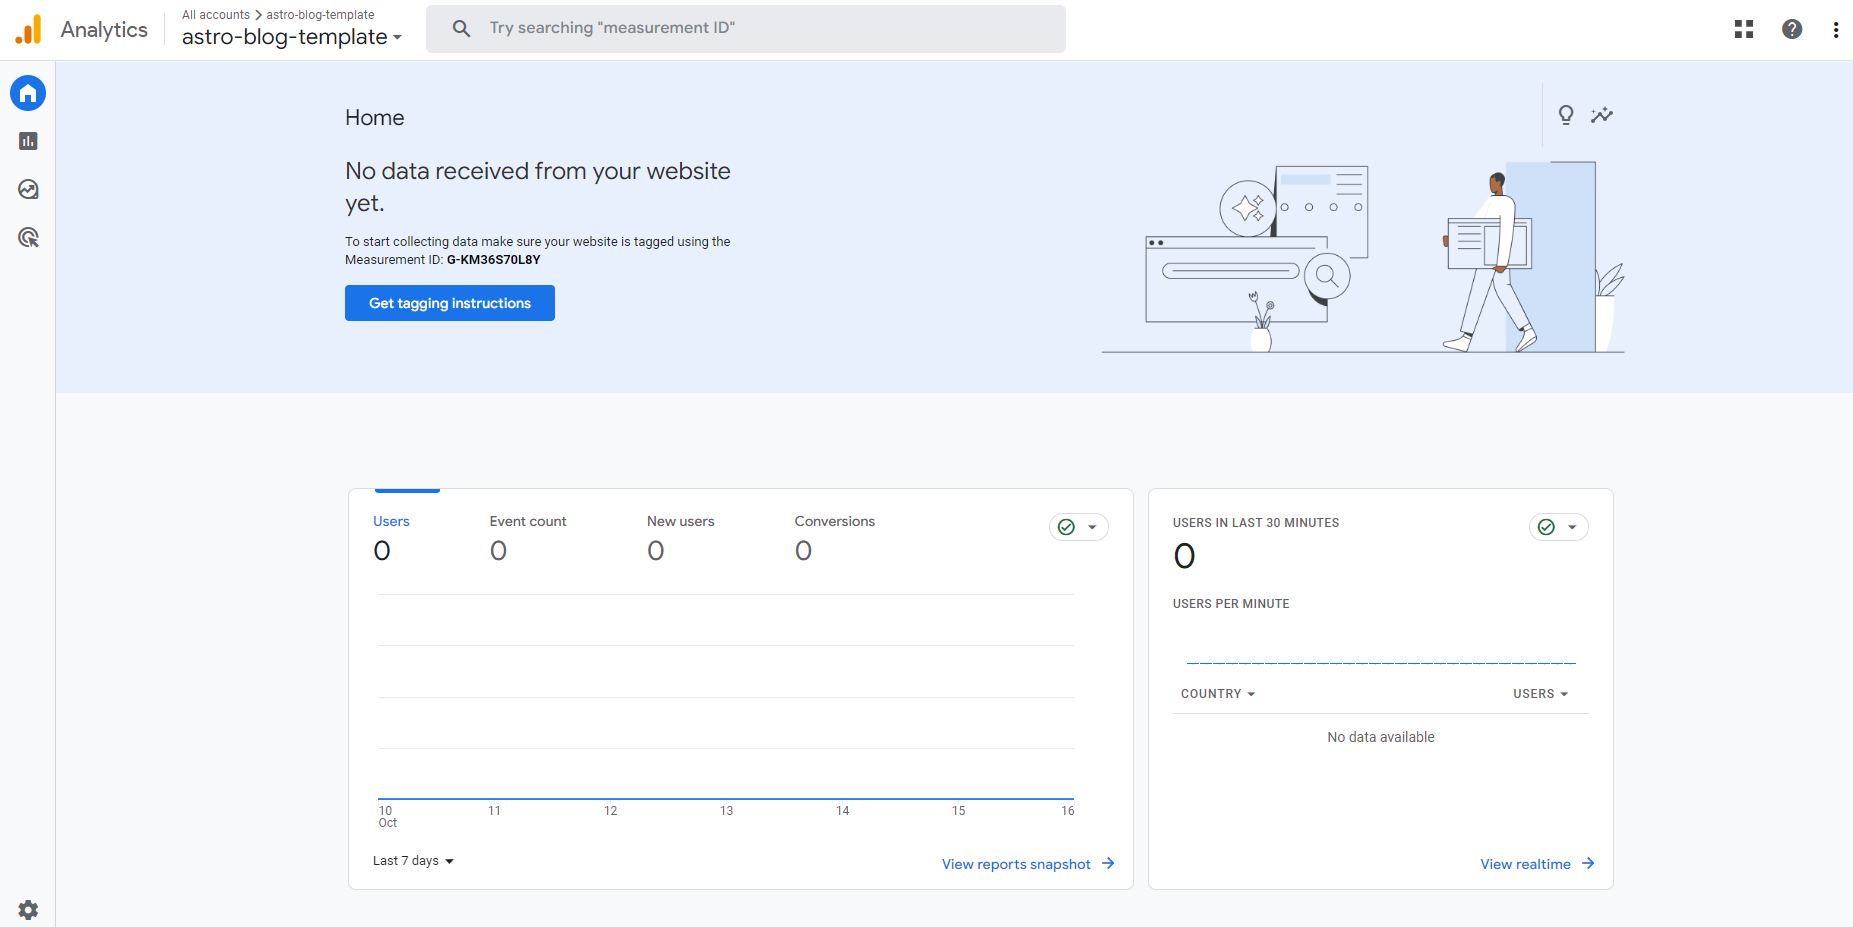
This is your Analytics dashboard. You can view and analyze your knowledge right here when there’s knowledge obtainable.
And there you will have it! You’ve efficiently built-in your mission with Google Analytics.
Summary
In this text, we noticed learn how to add Google Analytics to an Astro mission. This can be utilized to trace and analyze visitors and occasions on web sites and apps.
We noticed learn how to create and arrange an Analytics account.
We then noticed learn how to combine Google Analytics to an Astro mission utilizing code.
Happy coding! You can learn extra Astro tutorials on my weblog.